See pages 62 and 63 for details.
1. Follow steps 1–3 above.
2.
Rotate to select “YES”.
3. Press .
4. Press again.
5. Press .
MENU
SET
SET
JOG DIAL
“TAD/FAX”: Telephone Answering
Device/Facsimile mode (p. 68)
“FAX ONLY”: Facsimile only mode
(p. 61)
“TEL/FAX”: Telephone/Facsimile
mode (p. 62, 63)
●
If you select “TEL/FAX”, the unit
will print an information list.
Code Display & Feature Settings How the unit operates
Features Summary
88
Programming table (cont.)
#78
If you use an extension telephone
in the TEL/FAX mode, select the
desired number of rings to be
generated before the unit answers.
TEL/FAX1RING
1, 2, 3, 4
#80
To reset the advanced features to
their default settings
SET1DEFAULT
YES
NO
You can confirm the status of the
other party’s machine.
●
If the ring back tone continues, the
other party’s machine may not be
a facsimile or may have run out of
paper. Check with the other party.
●
The connecting tone volume
cannot be adjusted.
#76
If you often have trouble when
sending a fax, this feature allows
you to hear connecting tones; fax
tone, ring back tone and busy tone.
CONNECTING1TONE
ON
OFF
#77
To change the receive mode in the
AUTO ANSWER setting
AUTO1ANSWER
TAD/FAX
FAX ONLY
TEL/FAX
(The pre-selected setting is in bold type.)
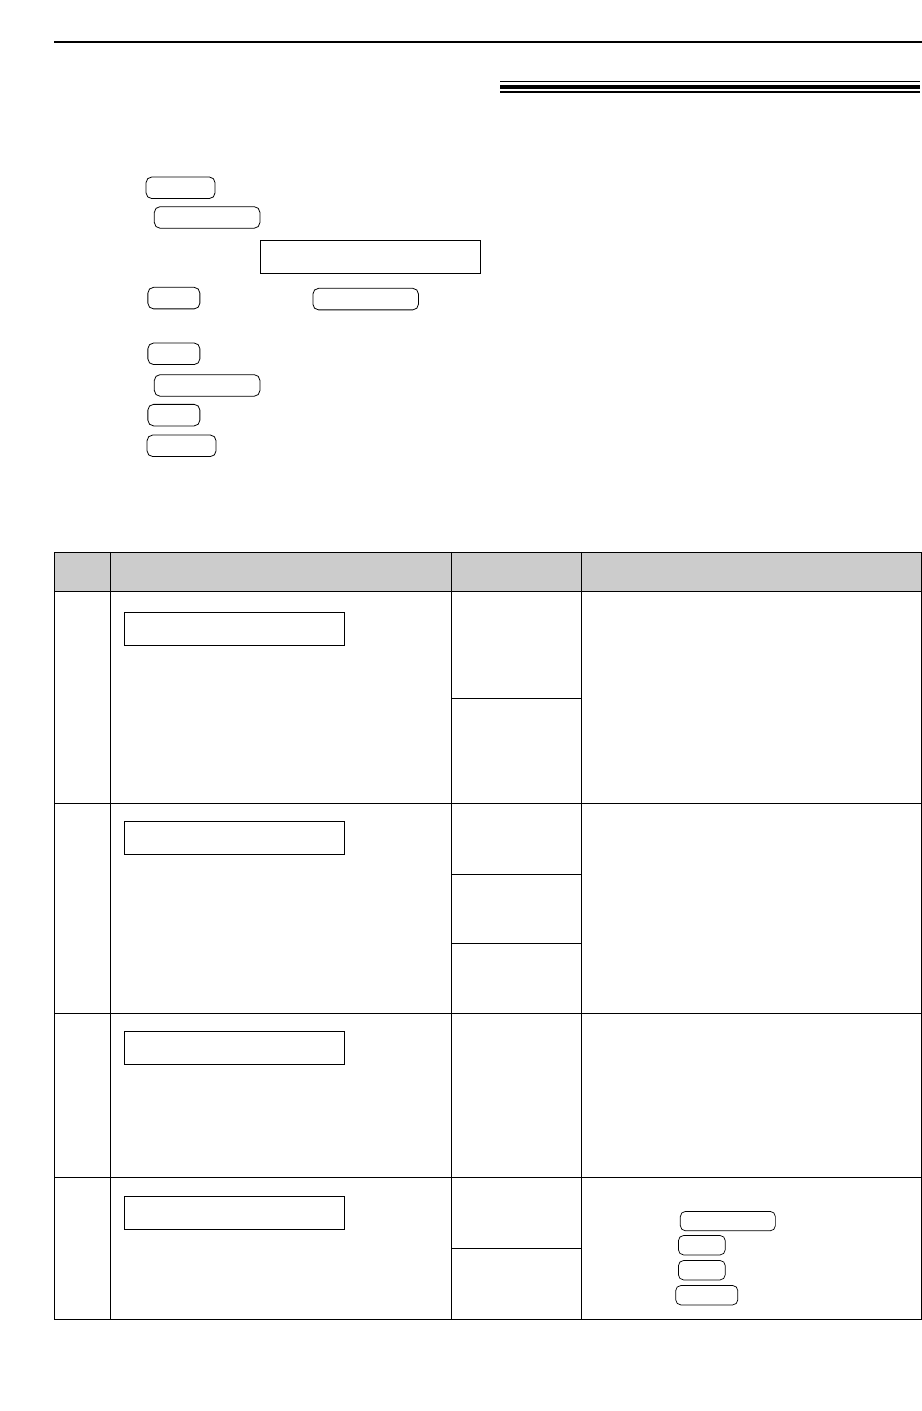
Advanced features (cont.)!
How to set menu options
1. Press .
2. Rotate until the following is displayed.
Display:
Press and rotate until the desired
feature is displayed.
3. Press .
4. Rotate until the desired setting is displayed.
5. Press .
6. Press .
MENU
SET
JOG DIAL
SET
JOG DIAL
SET
ADVANCED1MODE
JOG DIAL
MENU
Note:
●
Step 4 may be slightly
different depending on the
feature.
●
See page 82 for more details.


