


ENGLISH-45
Adjustments and settings
44-ENGLISH
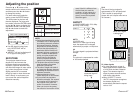
Press the F or G button on the
remote control unit to select an item,
and then press the I or H button
to change the setting.
For items without any selective
setting, press the ENTER button.
The next screen for the item will
then be displayed.
For items with bar scales, press the
ENTER button or the I or H button
to display the adjustment screen,
and then press the I or H button
to make the adjustment.
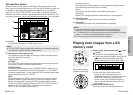
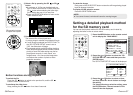
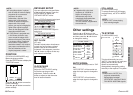
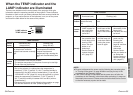
Adjusting the picture
PICTURE ADJUSTMENT
PICTURE MODE STANDARD
DAYLIGHTVIEW AUTO
DETAILED SETUP
SELECT ADJ RETRN
PICTURE MODE STANDARD
[
DYNAMIC
[
NATURAL
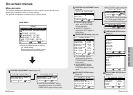
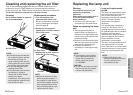
PICTURE MODE
Select the picture mode that best
matches the image source and
room conditions.
The mode best used in dark rooms
is “NATURAL”. For rooms having
regular lighting conditions in use,
select “STANDARD”. For
exceptionally bright rooms, use
“DYNAMIC”.
“PHOTO” and “AUTO” are available
only if an SD signal is being input.
Set to “PHOTO” when projecting
photographs. When set to “AUTO”,
the picture mode will be
automatically switched to the best
mode.
NOTE:
B“AUTO” may not function
correctly if any objects are
placed on the projector.
B“DAYLIGHTVIEW” will be
disabled when “FRONT/REAR”
in the “OTHER SETUP” menu
is set to “REAR”.
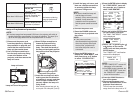
DAYLIGHTVIEW
This adjusts the vividness of the
projected images when the projector
is used under bright lighting.
AUTO
The vividness of the projected
images will be adjusted according to
the lighting condition of the room.
OFF
“DAYLIGHTVIEW” is disabled.
DAYLIGHTVIEW AUTO
[
OFF
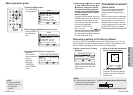
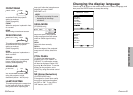
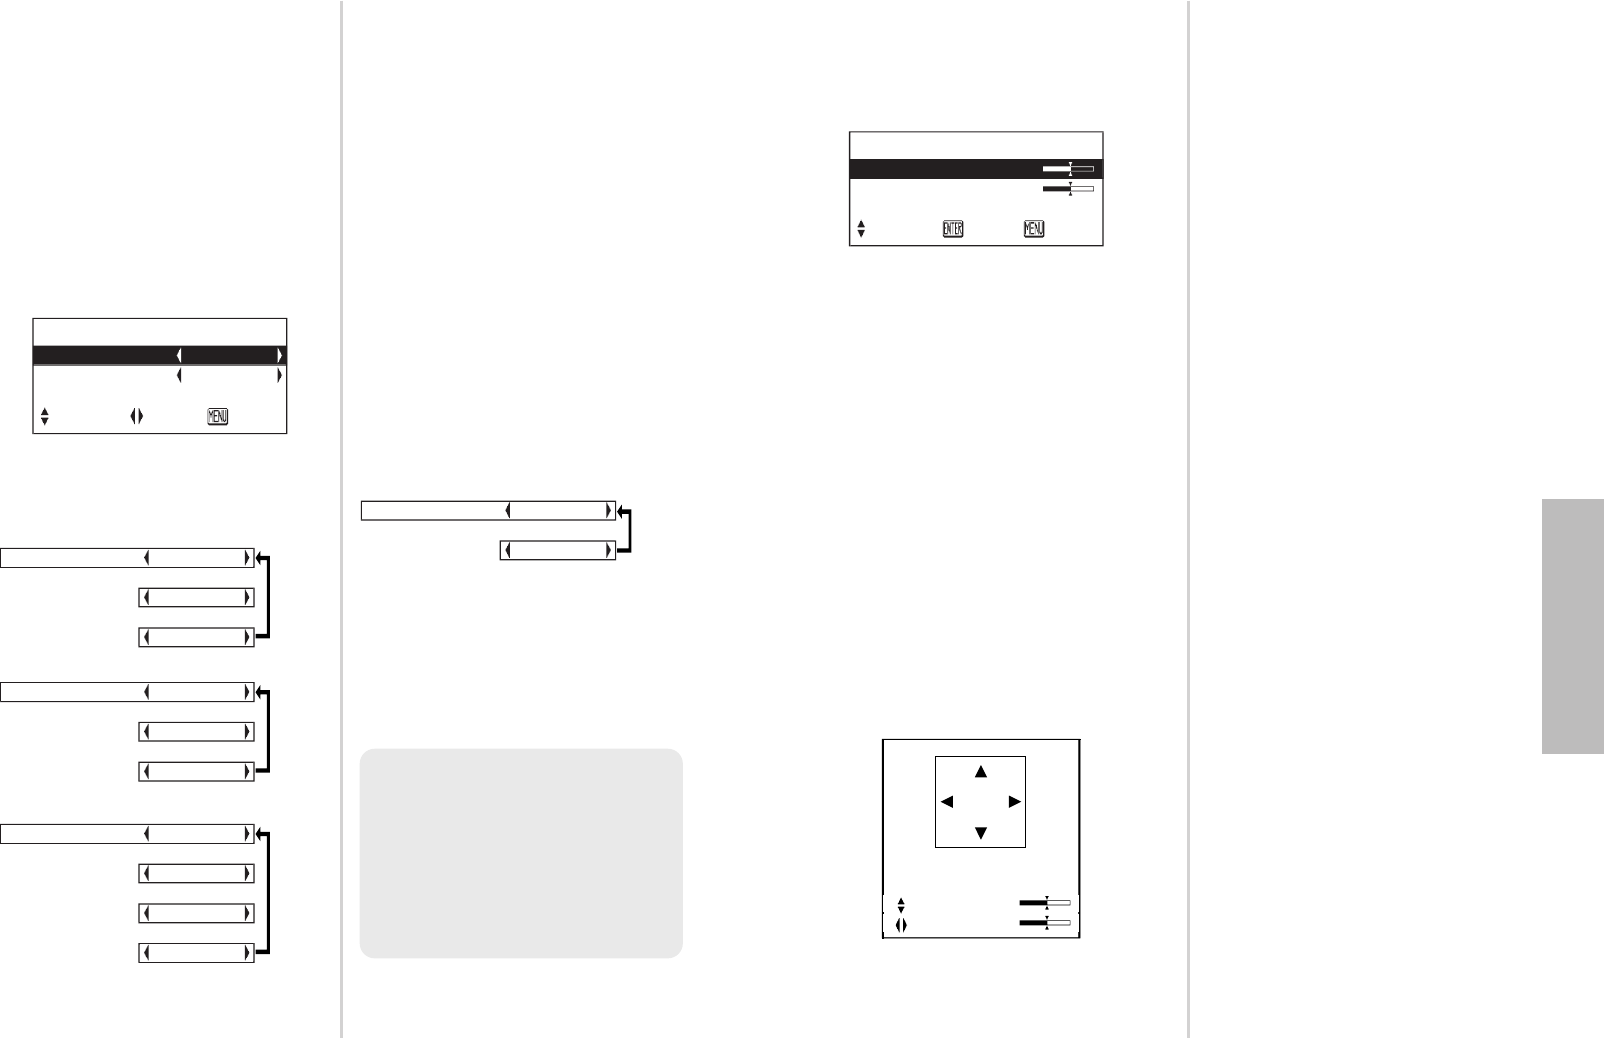
DETAILED SETUP
You can adjust the picture quality of
the projected images in detail. Press
the ENTER button to display the
“DETAILED SETUP” menu.
CONTRAST
This adjusts the contrast of the
picture. (Adjust the “BRIGHTNESS”
setting first if required before
adjusting the “CONTRAST” setting.)
The picture is bright: I button
The picture is dark: H button
BRIGHTNESS
This adjusts the darker areas (black
areas) in the picture.
Black areas are too light: I button
Dark areas are too solid: H button
COLOR ADJUSTMENT
(S-VIDEO/VIDEO/YPBPR only)
You can adjust the color of the
projected image. Press the ENTER
button to display the adjustment
screen.
COLOR
The color is too pale:
FF
button
The color is too deep:
GG
button
TINT
[S-VIDEO/VIDEO (NTSC/NTSC
4.43)/YPBPR only]
This adjusts the flesh tones in the
picture.
The flesh tones are greenish:
I button
The flesh tones are reddish:
H button
DETAILED SETUP
CONTRAST 32
BRIGHTNESS 32
COLOR ADJUSTMENT
SELECT ENTER RETRN
32
32
COLOR
TINT
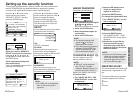
When an S-VIDEO/VIDEO/YP
BPR
signal is being input
PICTURE MODE DYNAMIC
[
NATURAL
[
STANDARD
When a PC signal is being input
PICTURE MODE AUTO
[
PHOTO
[
STANDARD
[
DYNAMIC
When an SD signal is being input