


Pertech Resources Inc. November 2005 220321A 4
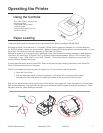
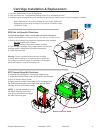
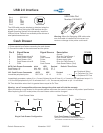
Ribbon Advance Knob
535X Ink Jet Specic Directions
4. Remove the protective vinyl tape from replacement print cartridge.
Do not touch the Ink nozzles.
Do not touch or remove the copper contacts.
5. Push the print cartridge rmly, angled down into the print
cartridge cradle, cradle latch will latch automatically.
6. Close the front cover.
Cartridge Installation & Replacement
1. Press the Power Switch to turn on the printer.
2. Open the front cover. The printhead cradle will move to an accessible position.
3. If replacing print cartridge lift the print cartridge out and discard. Skip this step if no print cartridge is installed.
Note: Replacement ink jet print cartridge for your printer 108541001
Replacement impact print cartridge for your printer 100629011 Black
100629012 Purple.
Warning: Printer is shipped without the print cartridge
installed. When shipping or transporting printer remove the
ink cartridge to prevent damage to the printer. Ink cartridges
should be shipped in original packaging only.
To reset the Ink Status - Close and Re-Open the Cover after Step 3
(See INK STATUS RESET in Conguration section of this manual for available options.)
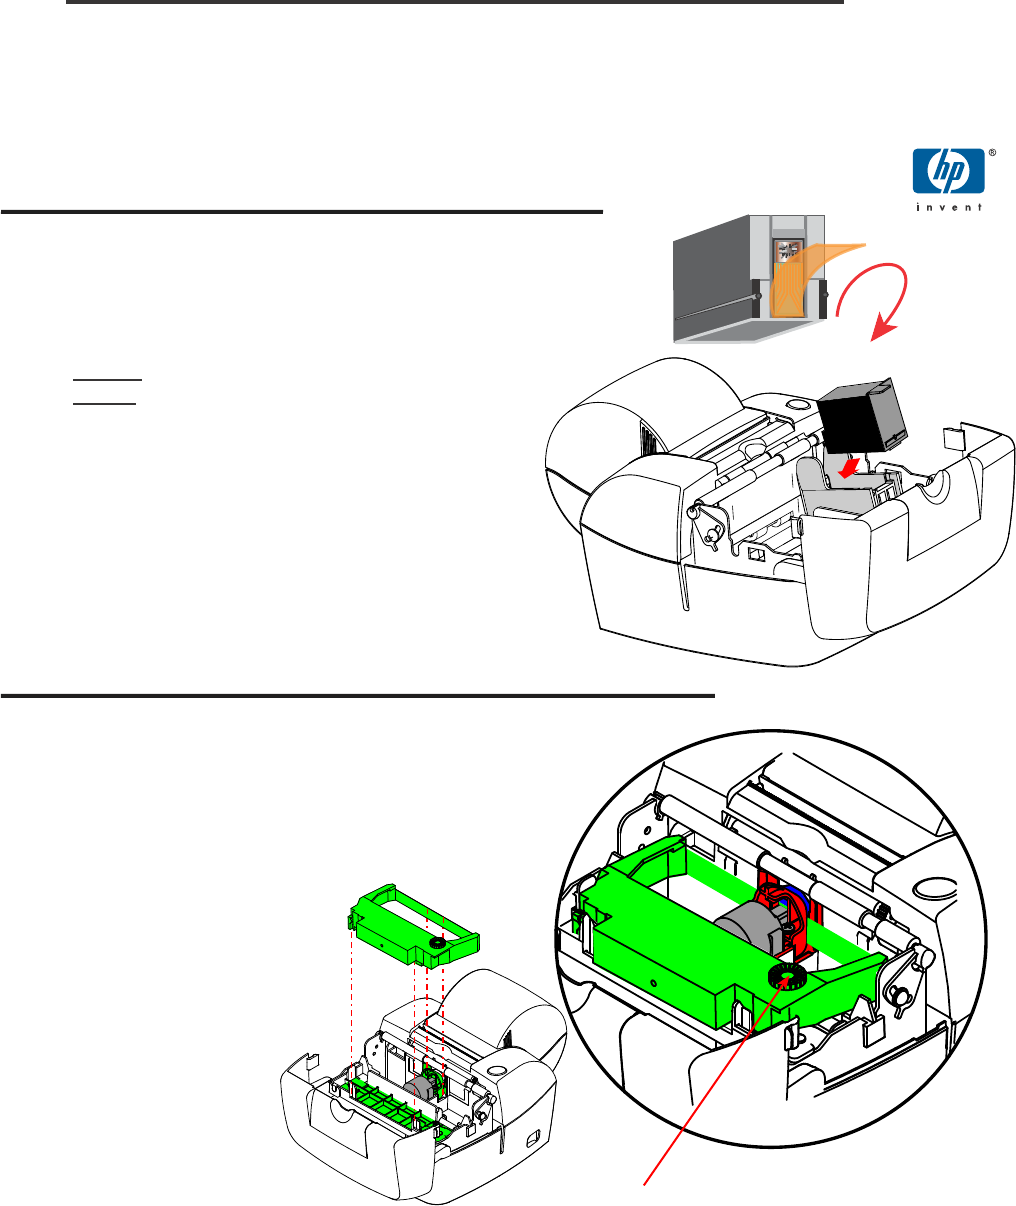
537X Impact Specic Directions
4. Remove the cartridge from its protective plastic bag.
5. Angle the exposed ribbon end over the print head carriage
In front of the two ribbon guides.
6. Lightly push the ribbon case down until it is engaged into
the ribbon advance gear on the right side and the ribbon
cartridge is ush in the ribbon carrier.
NOTE: It may be necessary to turn
the ribbon advance knob clock
wise during Installation to engage
the ribbon advance gear.