


8. OPERATION Picture control
Data display adjustments
For data signal input, the following adjustments can be made:
– shift - adjusts the computer image in horizontal and vertical
direction to centre it on the screen;
– horizontal size - adjusts the computer image in a horizontal
direction to make the image completely fill the screen;
– phase - when connecting the projector to your PC for the first
time, be sure to adjust the phase control for optimal readability
of the projected text;
– brightness - adjusts the black level to the room brightness;
– contrast - adjusts the overall contrast intensity;
– white point - adjusts the overall picture impression from
warm white to cool white.
1.
Press DATA to select data input.
– DATA appears on the screen.
2.
Press MENU.
– The menu bar appears on the screen; DISPLAY is
highlighted and its sub menu is shown.
3.
Use Cursor Control to select the item to be adjusted.
4.
Press OK (–/––) to activate the selected item.
5.
Use Cursor Control to make the required adjustment in the
action window.
6.
Press OK (–/––) to confirm and store the adjustment.
7.
If required, select the next item to be adjusted or press
MENU to exit.
Notes:
– When you have selected the menu mode, you cannot use
the source selection buttons on the projector or on the
remote control to select another input. You can only change
to another input via the SOURCE menu.
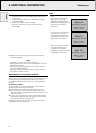
– A(audio)/V(video)-mute can
only be selected with the A/V
MUTE button on the projector
or on the remote control.
A/V mute then appears on the
screen.
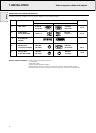
Data mode selection
When set to AUTO, the projector can automatically identify the
signal type of the connected computer. However, if the signal does
not match the known computer signal standards, automatic
identification can be overruled. The required data mode can then be
selected as described below:
1.
Select Data.
– Data appears on the screen.
2.
Press MENU.
– The menu bar appears on the screen.
3.
Use Cursor Control to select SOURCE in the menu bar.
– DATA is highlighted.
4.
Press
OK (–/––)
to activate the DATA item.
5.
Use Cursor Control to select
the required data mode in the
action window.
6.
Press
OK (–/––)
to confirm and
store the adjustment.
7.
If required, select another item
you wish to adjust or press
MENU to exit.
Video display adjustments
For video signal input, the following adjustments can be made:
– brightness - adjusts the black level to the room brightness;
– contrast - adjusts the overall contrast intensity;
– saturation - adjusts the colour saturation of the projected
image;
– hue
(only for NTSC)
- adjusts the tint of the projected image;
– white point - adjusts the overall picture impression from warm
white to cool white.
1.
Press VIDEO to select video signal or S-video signal as the
current projection source.
The button toggles between video and S-video signal.
– VIDEO or S-VIDEO appears on the screen.
2.
Press MENU.
– The menu bar appears on the screen; DISPLAY is highlighted
and its sub menu is shown.
3.
Use Cursor Control to select the item to be adjusted.
4.
Press
OK (–/––)
to activate the selected item.
5.
Use Cursor Control to make the required adjustment in the
action window.
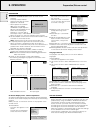
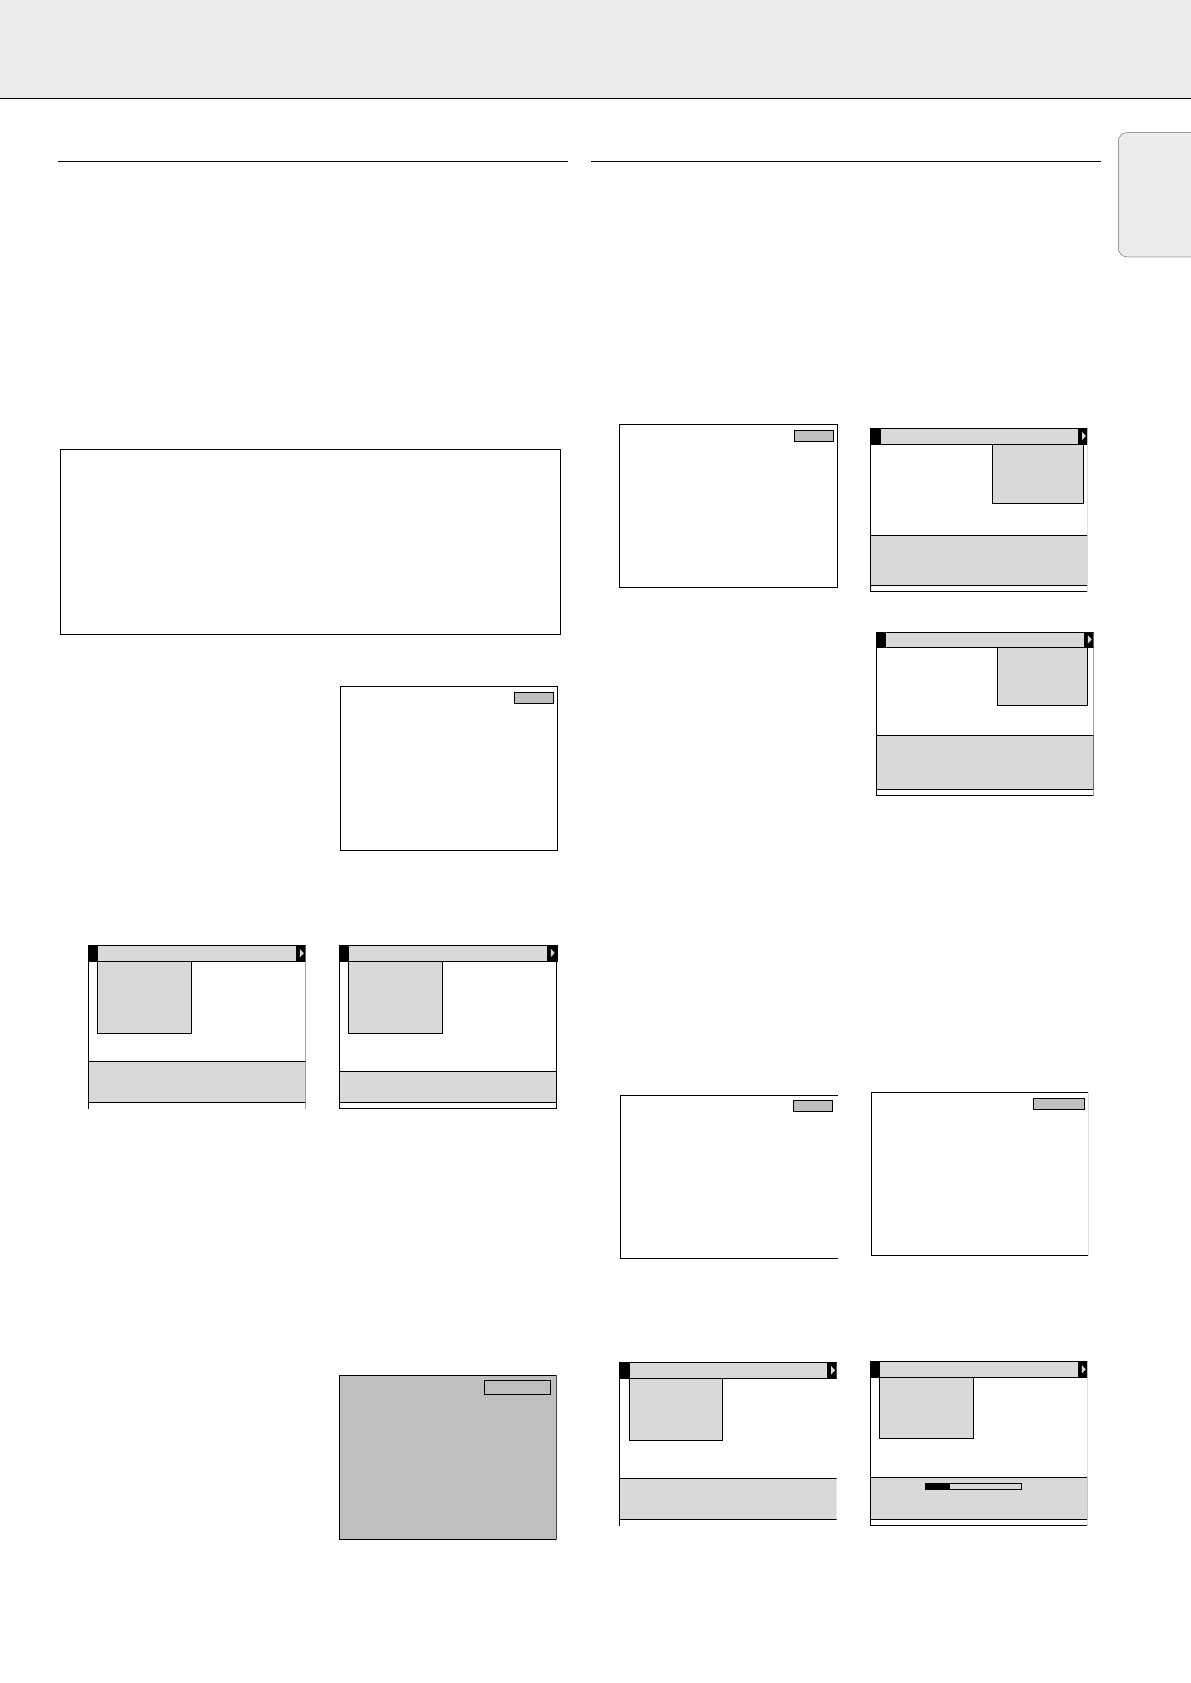
Display
Brightness
Contrast
Saturation
Hue
White point
Audio Source
Cool Warm
Use cursor control to adjust
Press OK or — to accept
Display
Brightness
Contrast
Saturation
Hue
White point
Audio Source
Use cursor control to select
Press OK or — to invoke item
Press MENU to exit menu
S-Video
Video
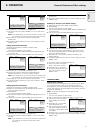
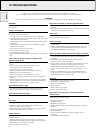
Display
Source
Data
Video
S-Video
Auto start
Monitor out
Audio
Use cursor control to select
Press OK or — to accept
AUTO VGA400 VGA
SVGA XGA
√
Display
Source
Data
Video
S-Video
Auto start
Monitor out
Audio
√
Use cursor control to select
Press OK or — to invoke item
Press MENU to exit menu
:Currently selected source
√
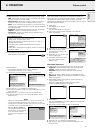
Data
A/V mute
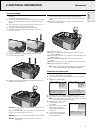
Display
Shift
Hor.size
Phase
Brightness
Contrast
White point
Audio Source
Use cursor control to adjust
Press OK or — to accept
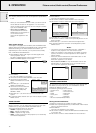
Display
Shift
Hor. size
Phase
Brightness
Contrast
White point
Audio Source
Use cursor control to select
Press OK or — to invoke item
Press MENU to exit menu
Data
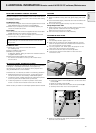
Tip for Windows users:
To adjust horizontal size and phase correctly:
1.
Select ‘Start’ and then ‘Shut down’.
2.
Adjust the projectors horizontal size control, so that no
vertical bars are visible.
3.
Now adjust the projectors phase control for optimal
readability.
4.
Press ‘No’ in the Windows shutdown screen to cancel the
shutdown action.
15
English