21
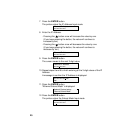
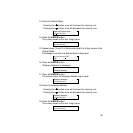
13.Enter the Subnet Mask.
- Pressing the button once will increase the value by one.
- Pressing the button once will decrease the value by one.
14.Press the ENTER button.
The cursor moves to the next 3-digit value.
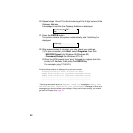
15.Repeat steps 13 and 14 to finish entering all the 3-digit values of the
Subnet Mask.
A message to confirm the Subnet Mask is displayed.
16.Press the ENTER button.
“Gateway Address” is displayed.
17.Press the ENTER button.
The printer enters the Gateway Address Input mode.
18.Enter the Gateway Address.
- Pressing the button once will increase the value by one.
- Pressing the button once will decrease the value by one.
19.Press the ENTER button.
The cursor moves to the next 3-digit value.
Ethernet Subnet Mask
xxx.xxx.xxx.xxx
Ethernet Subnet Mask
xxx.xxx.xxx.xxx
xxx.xxx.xxx.xxx OK?
Ye s
Network Protocol setup
Gateway Address
Gateway Address
xxx.xxx.xxx.xxx*
Gateway Address
xxx.xxx.xxx.xxx
Gateway Address
xxx.xxx.xxx.xxx


