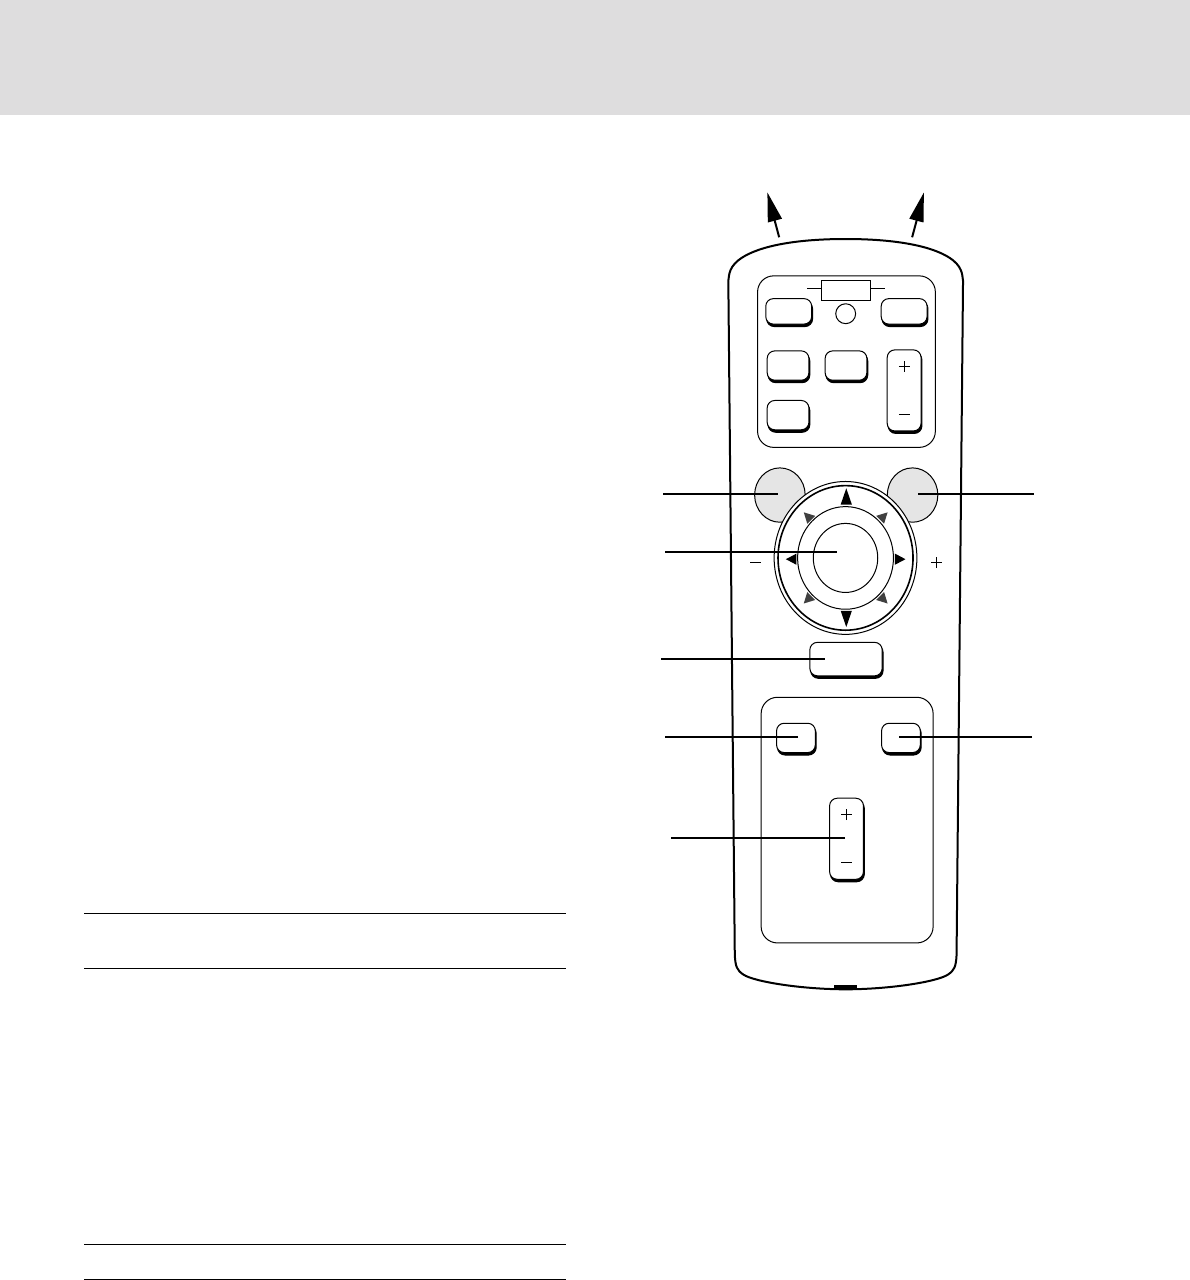
9Menu Button
Use this button to call up the On-Screen Menu so you can
adjust and set the image. After you press this button, it
will light up. During this time you can use the mouse
pointer and right / left click buttons to make menu selec-
tions. If no buttons are pressed within 10 seconds while it
illuminates, the light goes out. To return to the main menu
from a sub menu, press this button again.
0 Mouse Pointer Buttons
Works as a mouse for your projected computer image.
This button is also used to adjust position.
These buttons select the submenu you want to adjust.
(See page E-22.)
After you make your on-screen menu selection, use this
button to adjust the level up or down. (See page E-22.)
- Right Click Button
Press this button to exit "Menus" or "Position."
=Picture Mute Button
This button turns off the image for a short period of time.
Press again to restore the image.
~ Position Button
When the picture is magnified, press this button to acti-
vate the mouse buttons that you can use to reposition the
image in eight directions. When you're finished, the "Po-
sition" button will remain lit for 10 seconds.
NOTE: When you are adjusting Position, the Mouse Pointer button is
used to move the picture.
! Freeze Button
This button will freeze a picture. Press again to resume
motion.
@ Magnify/Reduce Button
Use the (+) or (–) button to adjust the image size up to
400%.
NOTE: You cannot use Menu and Position at the same time.
Remote Control Precautions
• Handle the remote control carefully.
• If the remote control gets wet, wipe it dry immediately.
• Avoid excessive heat and humidity.
•
If you will not be using the remote control for a long time,
remove the batteries.
• Do not mix new and old or different types of batteries.
• There are operations that can only be carried out by
remote control. Be careful during use.
0
9
=
-
@
!
~
OFF ON
VIDEO
PIC-MUTE
IR IR
FREEZE
R-CLICK
MENU
S-VIDEO
POWER
VOLUME
RGB
MAGNIFY
REDUCE
POSITION
PLUS
E – 12
