


Administrator’s Guide
3 - 4
To start this utility
>>
On the server’s desktop, double-click the RAS200ABackupRestore.exe
file.
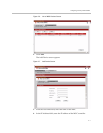
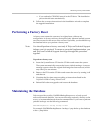
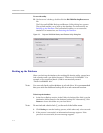
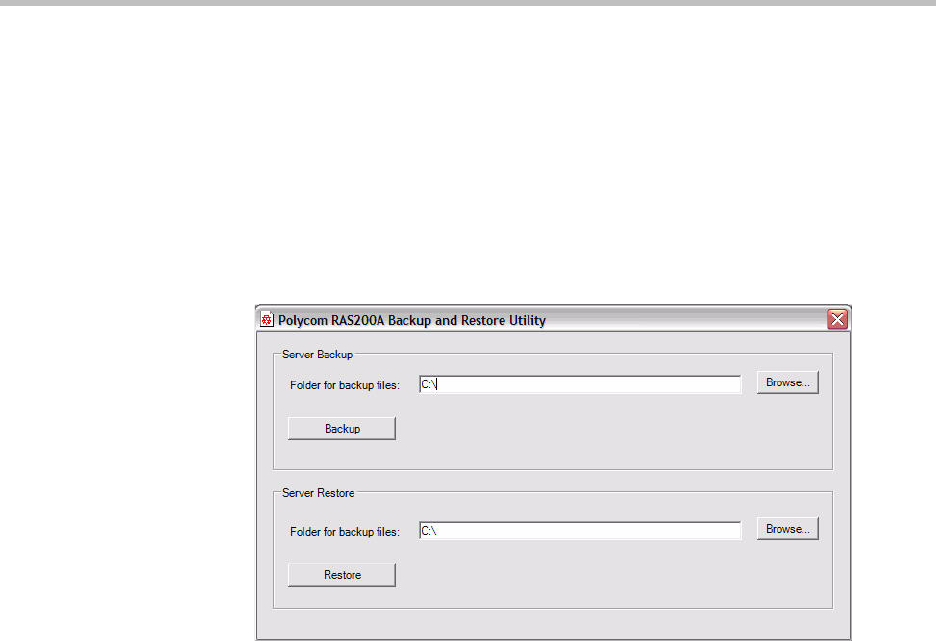
The Polycom RAS200A Backup and Restore Utility dialog box appears.
The top half enables you to back up the database. For instructions, see
Backing up the Database. The bottom half enables you to restore the
database. For instructions, see Restoring the Database.
Figure 3-3 Polycom RAS200A Backup and Restore Utility Dialog Box
Backing up the Database
When you back up the database, the resulting file that the utility creates has a
.bak extension and a pre-defined name of “DirServicesYYYYMMDD.” For
example, a file created on March 1, 2006 is automatically named
“DirService20060301.bak.”
Note: You can only back up the database to a local drive. It is recommended
that you store the database backup file in a safe network location.
To back up the database
1. In the Server Backup section, in the Folder for backup files: field, type the
destination folder name for the database backup file. Alternatively, click
Browse to locate this folder on your local drive.
Note: Do not include a back slash (\) at the end of the folder name.
2. Click Backup to start the backup process, which takes only a few seconds.
3. If the process is successful, an informational message appears. If the
process is not successful, an error message appears.