5. Along the Vertical axis of the printed disc, find the number
whose lines touch. For example, in the above illustration,
Enter the number 2 into the Vertical box of the Calibration
window and 0 for the Horizontal axis.
6. Select the OK button. Your images should now be centered
when printed on a disc.
After your selections have been made, close out of the
printer setup window. You are now ready to go to an
application program and print. All printer driver selections
will stay the same until you change them.
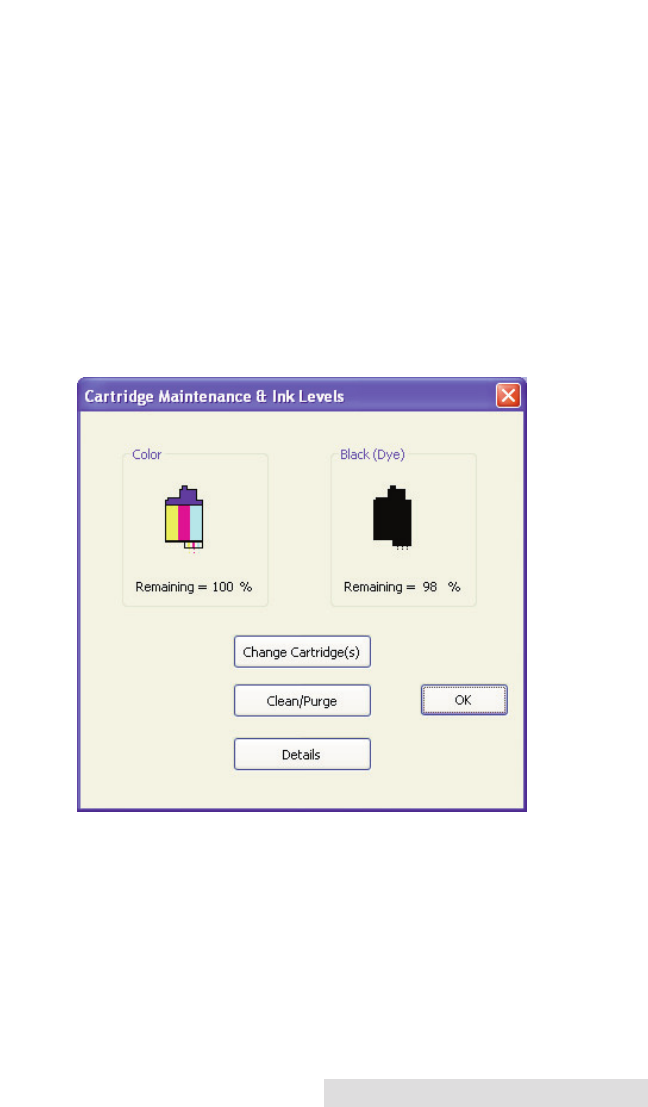
Clean/Change Cartridges & Check Ink Levels
Select this button to display the current ink levels as well as
options for cleaning and changing cartridges.
Change Cartridge(s)
Select the Change Cartridge(s) button to install a new ink
cartridge or to switch back and forth between previously used
cartridges. After the cartridge has been replaced according to
the instructions in Section 2C, Step 4: Installing Ink Cartridges,
select either the New Cartridge Installed button or the Old
Cartridge Installed button accordingly.
Creating Discs on a PC 29


