


10 Optical Disc Laminator Connectivity Guide
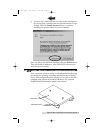
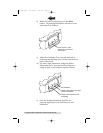
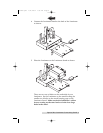
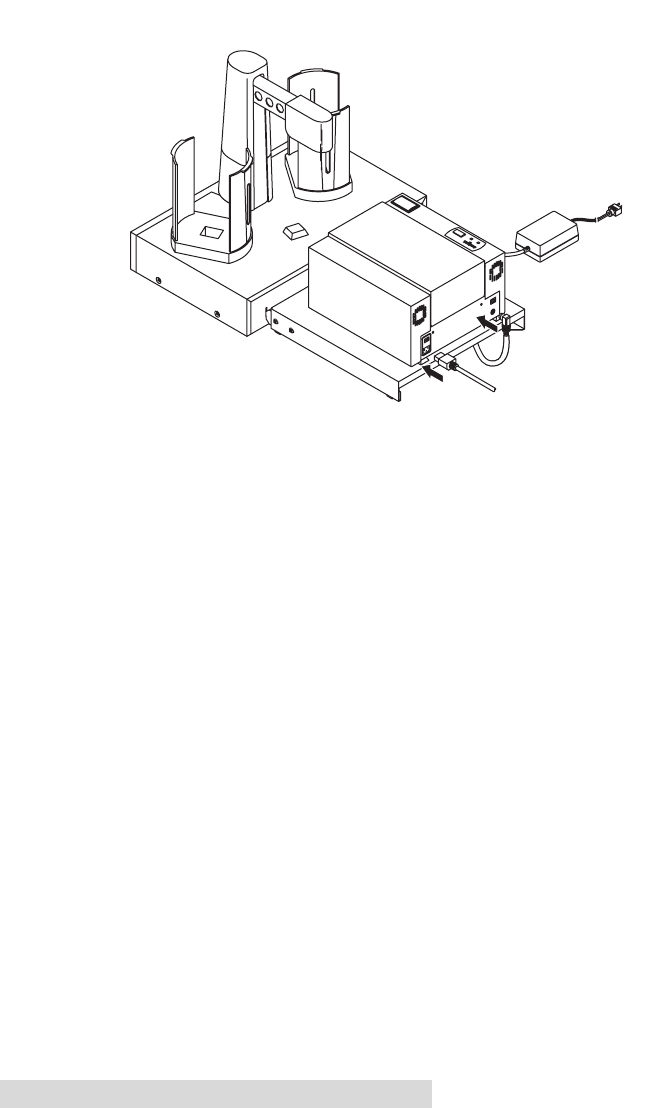
6. Connect the Auxiliary Control Cable and Power Cable the
Laminator as shown:
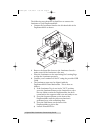
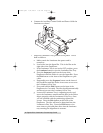
7. Align the Laminator's tray position to the picker. This is
done as follows:
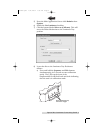
a. Make certain the Laminator has power and is
turned on.
b. Load a disc into the Input Bin. This is the Bin on the
right side of the Duplicator.
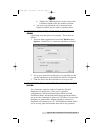
c. If the Laminator Tray is not in the OUT position, press
the Laminate button to eject the Laminator Disc Tray.
d. Press the Sequence button on the front of the
Duplicator until the Picker is over the Input Bin. Press
the Pick button on the front of the Duplicator to pick
a disc.
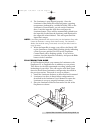
e. Repeatedly press the Sequence button on the front of
the Duplicator until the Picker Arm comes to rest over
the Laminator's Disc Tray.
f. Press and hold the Pick button on the front of the
Duplicator for 5 seconds. The disc should automatically
and hover just over the Laminator's Disc Tray.
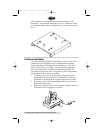
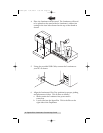
g. Loosen the Laminator Tray's 4 adjusting screws and
move the Laminator around until the disc in the Picker
aligns properly with the Laminator's Disc Tray. Once
you are satisfied with the positioning, tighten the
screws. Press the Pick button on the front of the
Duplicator. The disc will now be deposited into the
Laminator's Disc Tray. Press the Pick button a few
more times to pick and place discs into the laminator
tray ensuring the alignment is accurate.
510887.qxd 1/21/2004 7:35 PM Page 10
TOC