


Optical Disc Laminator Connectivity Guide 11
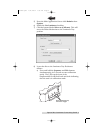
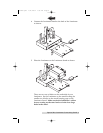
8. The Laminator is now aligned properly. Once the
Laminator's Heat Roller has achieved proper operating
temperature (indicated by a solidly lit Ready LED on the
Laminator's Control Panel), you are ready to laminate
discs. Load the input bin with discs and press the
Laminate button. Discs will be automatically picked from
the input bin, loaded into the laminator, and deposited in
the output bin when finished. This will repeat until the
Input Bin is empty.
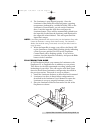
NOTE:
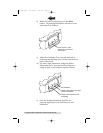
If the Picking Mechanism will not pick a disc from the Laminator Tray, make
certain the Laminator is sitting on the Stand correctly. The Laminator's
Rubber Feet should be resting on the stand, not in the four holes located on
top of the stand.
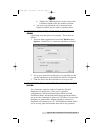
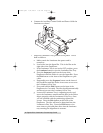
9. When the Input Bin is empty, you will see the Ready LED
on the Laminators Control Panel flashing slowly indicating
a Disc Out error and the Pick LED on the Duplicator
Control Panel will be flashing quickly. If you wish to
continue, load the Input Bin with discs, and press the Pick
button on the Laminator.
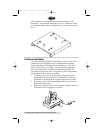
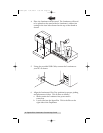
FULL PRODUCTION MODE
In Full Production Mode, you connect the Laminator to the
Duplicator XL or DuplicatorPro in addition to your printer.
This allows for the fully automated recording, printing and
laminating of your discs. This will require more desk space
than the Stand-Alone Lamination configuration described in
the previous section. This mode is set up as follows:
1. Install the Laminator Software as described in this manual.
2. Laminate a few discs in Stand-Alone configuration as
described in the Laminator User's Manual to ensure the
Laminator is set up to properly laminate your discs.
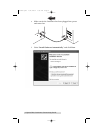
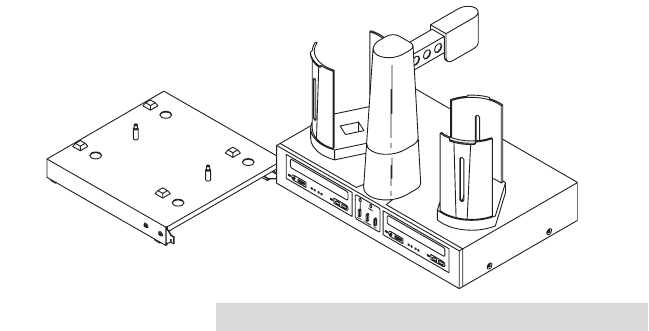
3. Place the Laminator Stand in front and to the left of the
Duplicator as shown:
510887.qxd 1/21/2004 7:35 PM Page 11
TOC