Optical Disc Laminator Connectivity Guide 13
c. If the Laminator Tray is not in the OUT position, press
the Laminate button to eject the Laminator Disc Tray.
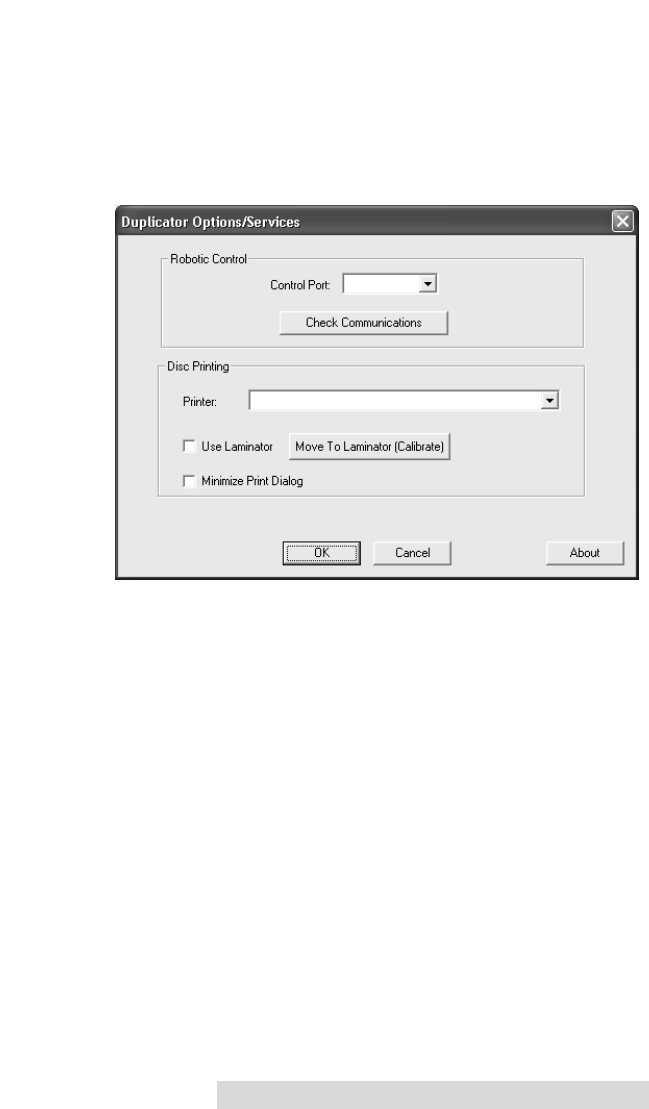
d. From the Main Application Screen click Robotics then
Options.
e. Enable the Use Laminator checkbox.
f. Click the button labeled Move to (Calibrate). This will
move the Picker Mechanism to the Laminator Tray
position.
g. Press and hold the Pick button on the front of the
Duplicator for 5 seconds. The disc should
automatically and hover just over the Laminator's
Disc Tray.
h. Manually move the Laminator on its stand until the
Laminator Disc Tray is aligned perfectly with the disc
in the Picker Mechanism.
i. Press the Pick button a few times to pick and place the
disc in the Laminator Tray to be sure it is aligned
properly.
NOTE:
If the Picking Mechanism will not pick a disc from the Laminator Tray, make
certain the Laminator is sitting on the Stand correctly. The Laminator's
Rubber Feet should not rest on the stand but in the four holes located on the
top of the stand. 7.The Laminator is now aligned properly. Once the
Laminator's Heat Roller has achieved proper operating temperature
(indicated by a solidly illuminated Ready LED on the Laminator's Control
Panel), you are ready to laminate discs. Load the input bin with discs.
510887.qxd 1/21/2004 7:35 PM Page 13
