32 Printing
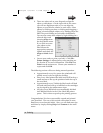
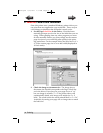
b. There are other tools at your disposal to align the
object or add shapes. On the right side of the screen
you will see alignment tools so you can align the
objects on your label in relation to each other. Select
objects by clicking on them or clicking and dragging a
"lasso" around multiple objects or by holding down the
SHIFT key and clicking on each object individually.
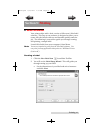
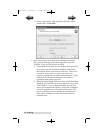
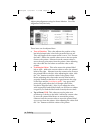
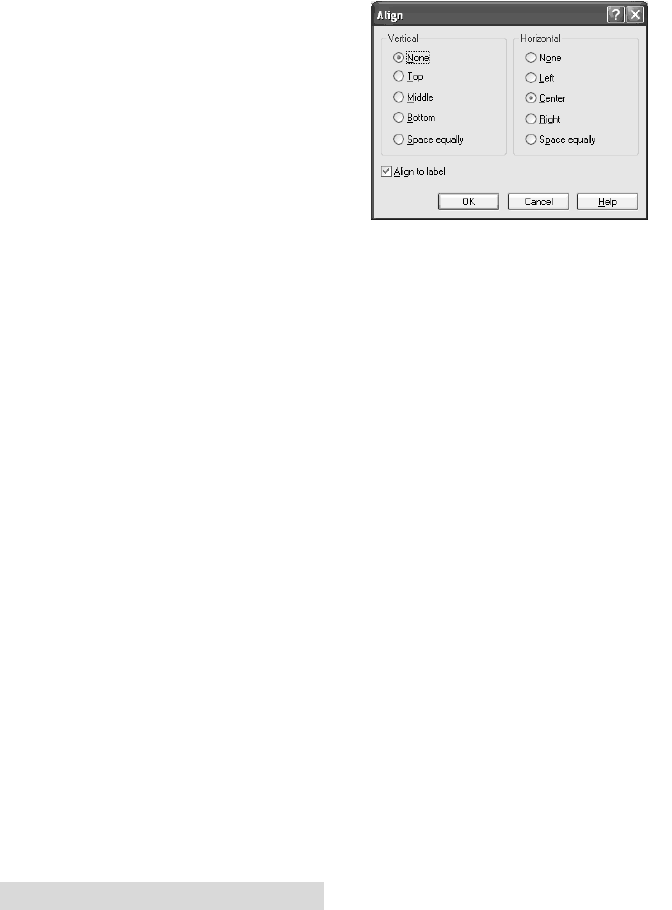
You can also center these objects by right clicking on a
selected object and
choosing Align from
the drop-down menu.
If you wish to center
your object on the
label choose the
appropriate centering
options and check the
Align to Label check-
box.
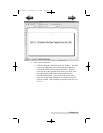
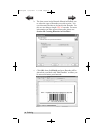
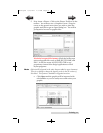
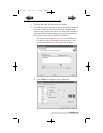
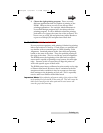
c. You are now ready to print your label. Click File -
Printer Settings to adjust quality, color matching etc.
See Section 3C for more information. Click File then
Print from the main menu. Choose your number of
copies and click OK.
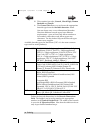
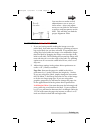
The following actions will occur during normal operation:
• Approximately every five passes the printhead will
quickly move to the far right for cleaning.
• After every label printed the label stock will back up a
small amount to line up the printhead with the top of
the next label.
• Approximately every 5 labels the label stock will feed
forward and then back up a full label so the cartridges
can be wiped by the maintenance wiper.
• All jobs of over 200 labels are automatically divided
into 200 label blocks in the Color Label 900 printer
queue. This is done to speed up the printing process.
Congratulations! You have successfully created and printed
your first label. The rest of this section will explain in more
detail how to use barcode labels. Also, you can find more tips
and hints by simply clicking Help then Contents in the main
menu.
RX900.qxd 2/17/2011 1:31 PM Page 32
TOC
INDEX


