Registering Addresses and Users for Facsimile/Scanner Functions
108
5
Reference
p.159 “Entering Text”
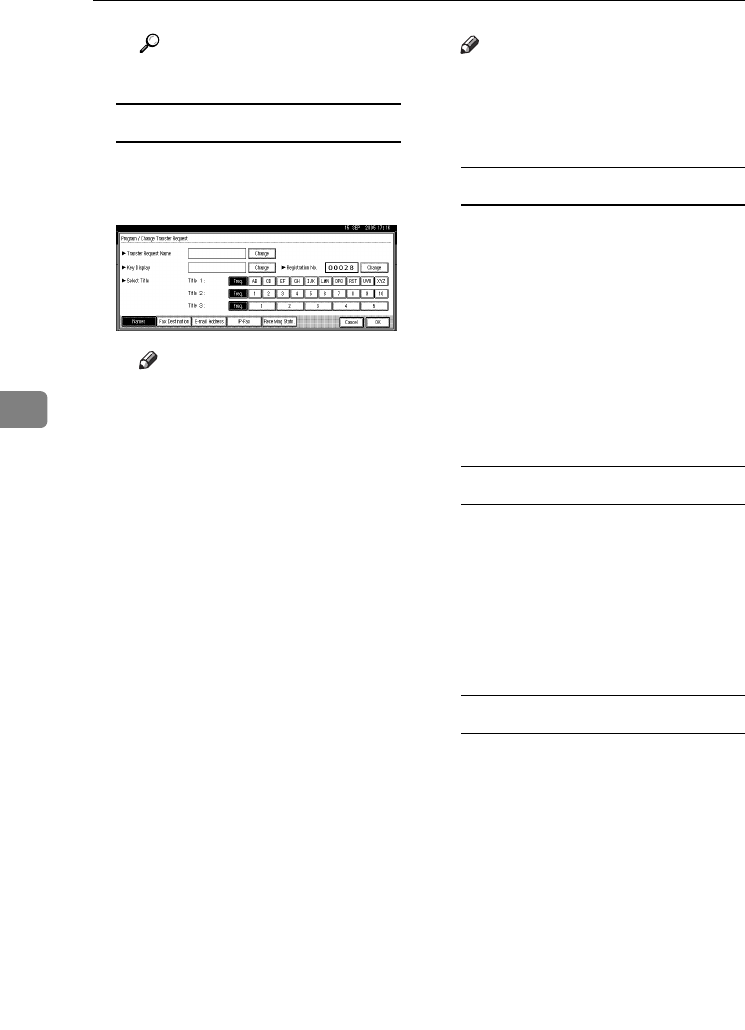
To select the title
A To associate a Transfer Re-
quest name with a title, press
the title key under Select Title.
Note
❒ The keys you can select are as
follows:
• [Freq.]… Added to the
page that is displayed
first.
• [AB], [CD], [EF], [GH], [IJK],
[LMN], [OPQ], [RST], [UVW],
[XYZ], [1] to [10]… Added
to the list of items in the
selected title.
❒ You can select [Freq.] and one
more page for each title.
G Press [Fax Dest.].
H Enter the items. See step
G
on p.79
“Registering a Fax Destination”.
I Press [E-mail].
J Enter the items. See p.86 “Regis-
tering an E-mail Destination”.
K Press [IP-Fax].
L Enter the items. See steps
H
-
J
on
p.83 “Registering an IP-Fax Desti-
nation”.
M Press [Receiving Statn.].
N Specify the Receiving Stations.
Note
❒ When specifying the Receiving
Stations, use the numbers
stored in Quick Dial keys, or
Groups in the Transfer Station.
Quick Dial
A Press [qQuick Dial].
B Enter the number stored in the
Quick Dial of the Transfer Sta-
tion using the number keys
For example, to select the desti-
nation stored in Quick Dial 01 of
the Transfer Station, enter
{0}{1}.
C To specify an additional Re-
ceiving Station, press [Add].
Speed Dial
A Press [qpSpeed Dial].
B Enter the Speed Dial number
using the number keys.
For example, to select the desti-
nation stored in Speed Dial 12 of
the Transfer Station, enter
{1}{2}.
Group Dial
A Press [qppGroup Dial].
B Enter the Group number using
the number keys.
For example, to select the desti-
nations stored in Group 04 of
the Transfer Station, enter
{0}{4}.
C To specify an additional Re-
ceiving Station, press [Add].
O When you have specified all the
Receiving Stations, press [OK].
P Press [Exit].
AdonisC4-AE_zen_F_FM_forPaper.book Page 108 Thursday, May 12, 2005 3:32 PM


