


6
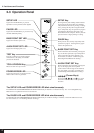
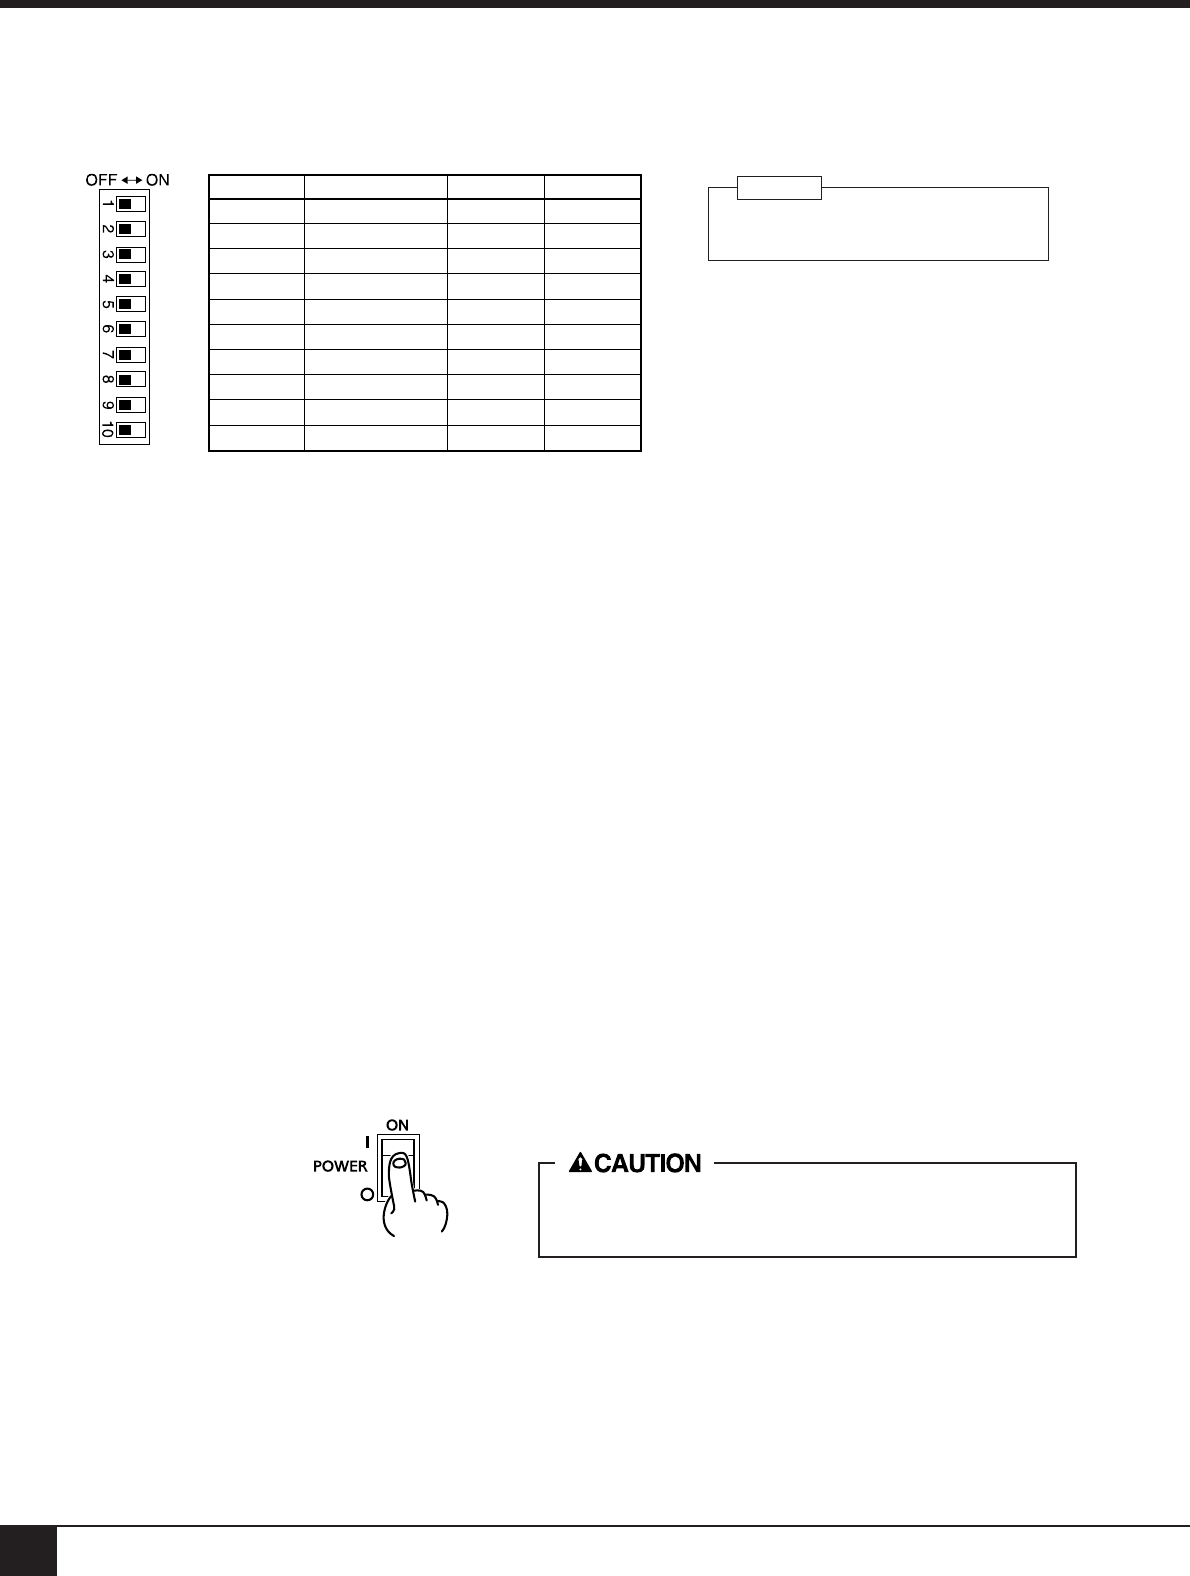
DIP switch Function OFF ON
SW-1 Baud rate 9600 19200
SW-2 Parity Disable Enable
SW-3 Parity ODD EVEN
SW-4 Handshake Hardwire XON/XOFF
SW-5 Front edge sense Disable Enable
SW-6 Cut sheet mode Disable Enable
SW-7 Blade offset 0.25 0.5*
SW-8 Long output mode Light Heavy
SW-9 Crop mark mode OFF ON
SW-10 (Not Used) ––
5 Basic Operation
5 Basic Operation
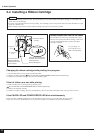
5-1 DIP Switch Settings
DIP switches settings must be made only
when the power is turned off.
NOTICE
* Option required; please consult your dealer.
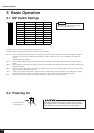
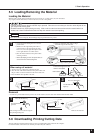
5-2 Powering On
When the power switch is pressed to power on the unit, the
tool carriage moves. Use caution to ensure that your hands or
other objects do not become caught in the moving parts.
Press the side of the
switch marked “ | ”.
All DIP switches are set to OFF when shipped from the factory.
The DIP switches are located on the right face of the unit, near the bottom.
SW-1–4 : Sets the communication parameters for a serial connection. When the PNC-5000 is connected to the computer through the
serial port, be sure that the communication parameters for SW-1 to SW-4 are set correctly, matching the computer port
settings.
(Data length is fixed to 8 bits.)
SW-5 : Detects automatically the front edge of loaded material. To detect the front edge of loaded material, set SW-5 to ON (en-
abled).
SW-6 : Detects length of cut material automatically. Switch to ON (enabled) when loading sheet material, and OFF (disabled) when
loading roll material.
SW-7 : Sets the amount of offset for the cutter blade. Set to OFF when using a tool with a blade offset of 0.25 mm, or to ON when
using a tool with a blade offset of 0.5 mm.
SW-8 : Sets the weight of the material. SW-8, which controls the material weight, should normally be set to OFF (light). Cutting
speed slows down when switch is turned ON, but the force used to move the material and the blade increases.
SW-9 : Switch on if wish for crop marks to be printed automatically. Switch off to avoid crop marks.