


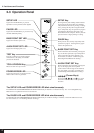
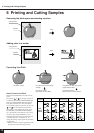
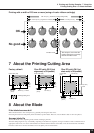

7
5 Basic Operation
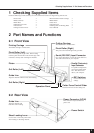
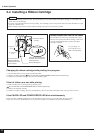
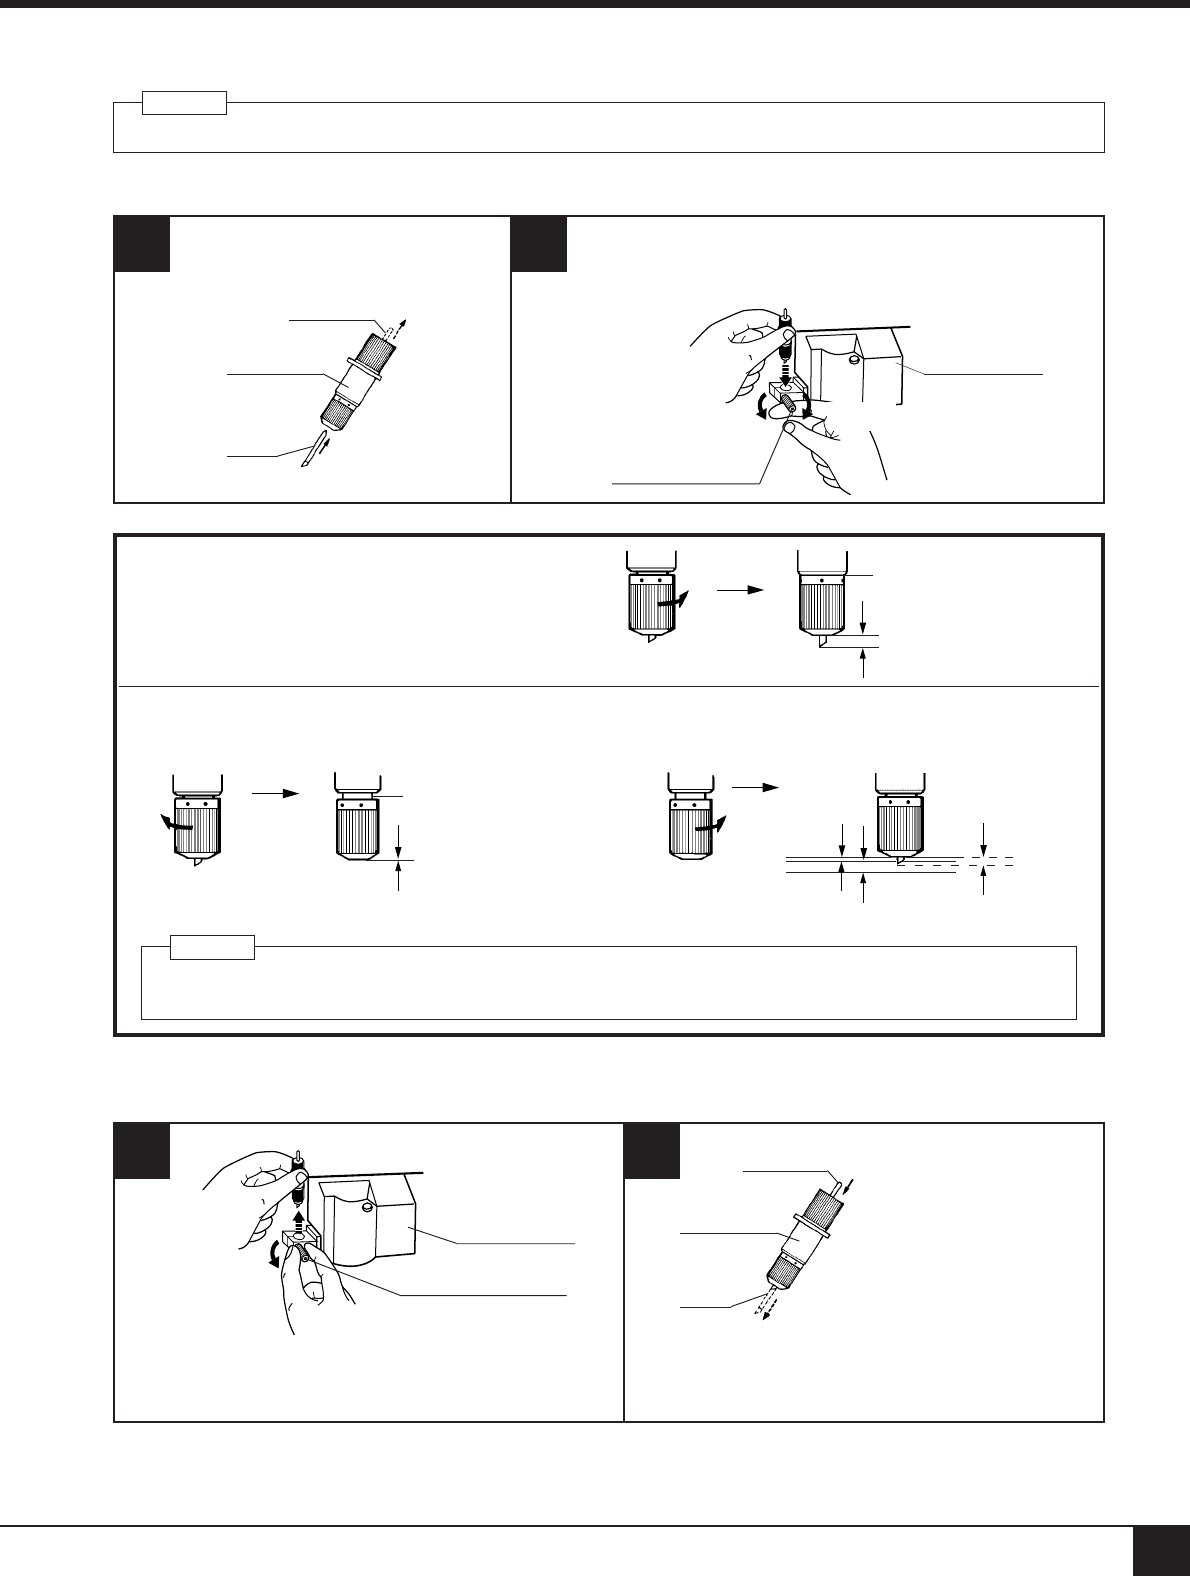
Tool-securing screw
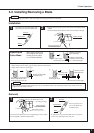
1
Press the push-pin and
remove the blade from
the blade holder.
2
If a blade was used, wipe the blade with a soft cloth to
remove any material that may cling to it.
Leave the tool-securing screw loose. Tightening the screw makes
it more difficult to install the blade holder.
1) Loosen
2)Remove the blade holder from
the cutting carriage.
Cutting carriage
Blade
Push-pin
Blade holder
Removal
5-3 Installing/Removing a Blade
Do not touch the tip of the blade. This could impair the cutting performance of the blade.
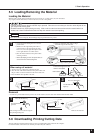
Installation
NOTICE
1
Insert blade into the blade holder until it
snaps into place with an audible click.
Blade
Push-pin
Blade holder
2
2)Support the tool-securing screw from below and install the blade
holder.
* Insert the blade holder until the collar is flush with the carriage.
Tool-securing screw
1) Loosen
3) Tighten
Cutting carriage
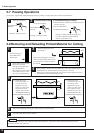
Adjusting the
Cutter Blade
Blade adjustment may be necessary when:
- cutting material whose carrier paper is thinner than the material itself
- cutting material with no carrier paper
When cutting is performed after printing, the cap tip of the blade holder may scratch the printed surface. If this is the case,
lengthen the cutter blade extension.
When stock vinyl film is to
be cut, tighten the cap all
the way (2.5 mm (about
0.1") of blade extension).
Tighten the cap until
gap is eliminated
Amount of cutter blade
extension: 2.5 mm (about
0.1") (maximum length)
1)
Gap
Amount of cutter blade
extension: 0 mm
Turn the cap as shown by the
arrow to align the tip of the
blade with the tip of the cap
2)
Amount of cutter
blade extension
Thickness of the carrier paper
Thickness of the
sheet portion
Turn the cap as
shown by the arrow
NOTICE
Turn the cap as
shown by the arrow