4-1
CONTROLLING
The DTV-947 can be controlled with
a. The RCU
b. The hardwired RCU (cable not included)
c. The local keyboard
The procedure and results of controlling the projector with either of these
RCU options is essentially the same.
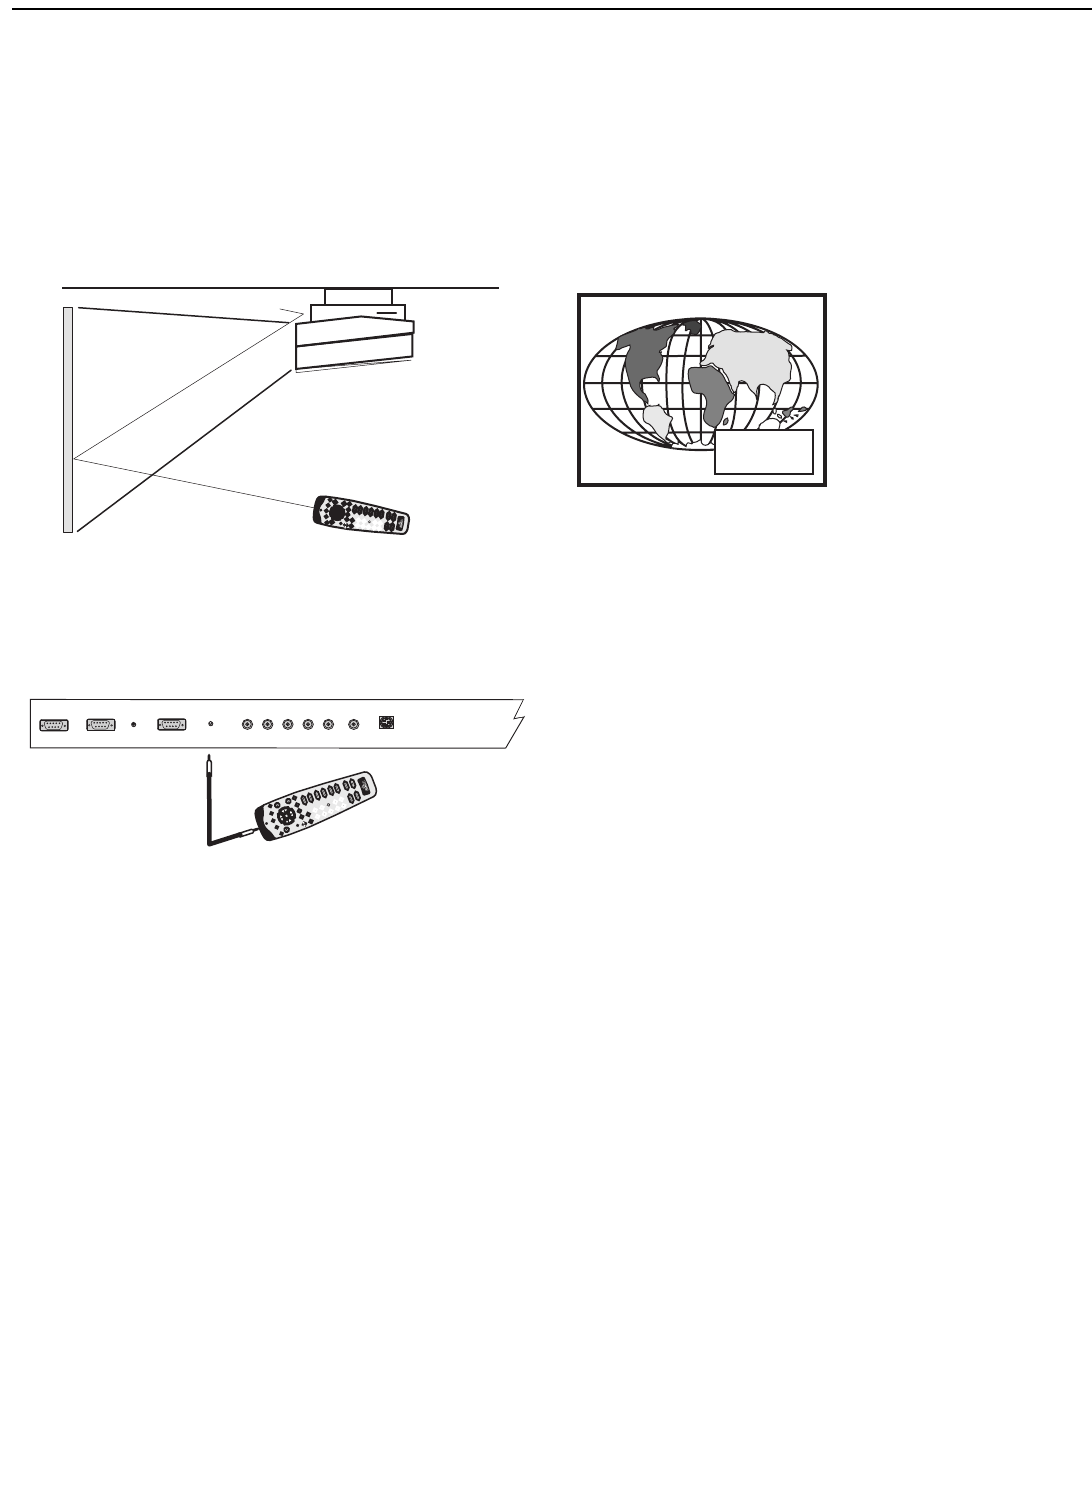
How to use your RCU
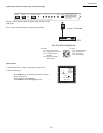
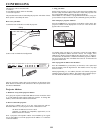
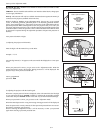
a) Point the front of the RCU towards the projector
b) RCU used in a hardwired configuration.
Plug one end of the remote cable in the connector on the bottom of the
RCU and the second side in the connector in the rear panel of the DTV-
947 labeled ‘REMOTE’.
Projector Address
a. Hardware set up of the projector address.
Every projector requires an individual address between 0 and 255 which
is set with hardware DIP switches inside the projector. To change that
address, contact a RUNCO authorized technician.
b. How to control the projector.
The projector’s address may be set to any value between 0 and 255.
When the address is set, the projector can be controlled now with :
-the RCU for addresses between 1 and 9.
-computer, e.g. IBM PC (or compatible), Apple MAC, etc. for
addresses between 0 and 255.
Note : A projector will respond to a RCU set to an address of ‘0’ regard-
less of what address is set in the projector itself. Address “0” is therefore
a universal address.
c. Using your RCU.
Before using your RCU, it is necessary to enter the projector address into
the RCU (only when that address is between 1 and 9). The projector with
the corresponding address will listen to that specific RCU.
When address 0, ‘zero address’ is programmed into the RCU, every pro-
jector, without exception will listen to the commands given by this RCU.
How to display a projector address?
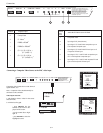
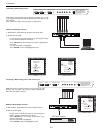
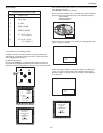
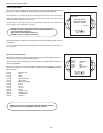
Press the ADDRESS key (recessed key on the RCU) with a pencil. The
projector’s address will be displayed in a ‘Text box’. This text box dis-
appears after a few seconds.
To continue using your RCU, it is necessary to enter the same address
with the digit buttons (address between 0 and 9). For example, if the
Address Key displays projector address 003, then press the “3” digit but-
ton on the RCU to set the RCU’s address to match the projector’s address.
Do not press digit 003. This will address the remote to ‘0’and control all
projectors in the room.
How to program an address into the RCU?
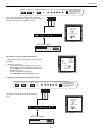
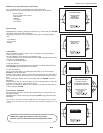
Press the ADDRESS key (recessed key on the RCU) with a pencil and
enter the address with the digit buttons. That address can be any digit
between 0 and 9.
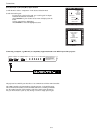
When programming ‘0’, zero address, the RCU will control a projector
regardless of the projector’s address. This feature allows multiple projec-
tors with different addresses to be controlled by a single RCU.
Screen
RCU
Ceiling
IR sensor
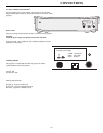
RS232 IN RS232 OUT IR COMM PORT REMOTE R G(s) B H V VIDEO S - VIDEO
This device complies with part 15 of
the FCC rules. Operation is subject to
following two conditions (1), This
device may not cause harmful inter-
ferance, and (2) this device must
accept any interferance received
including interferance that may cause
undesired operation.
PROJECTOR ADDRESS
001


