


Maintaining Your Printer
5.
5
5
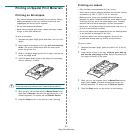
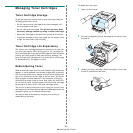
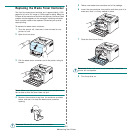
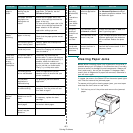
Extend the top handle on the imaging unit and then use it
to pull the imaging unit out of the printer completely.
6
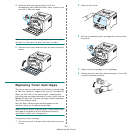
Take a new imaging unit out of its package. Remove the
protective devices on both sides of the imaging unit and
the paper protecting the surface of the imaging unit.
CAUTION
:
• Don’t use sharp objects, such as a knife or scissors, to open
the imaging unit package. You could damage the surface of
the imaging unit.
• Be careful not to scratch the surface of the imaging unit.
• To prevent damage, do not expose the imaging unit to light
for more than a few minutes. Cover it with a piece of paper
to protect it if necessary.
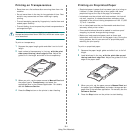
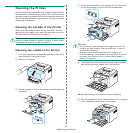
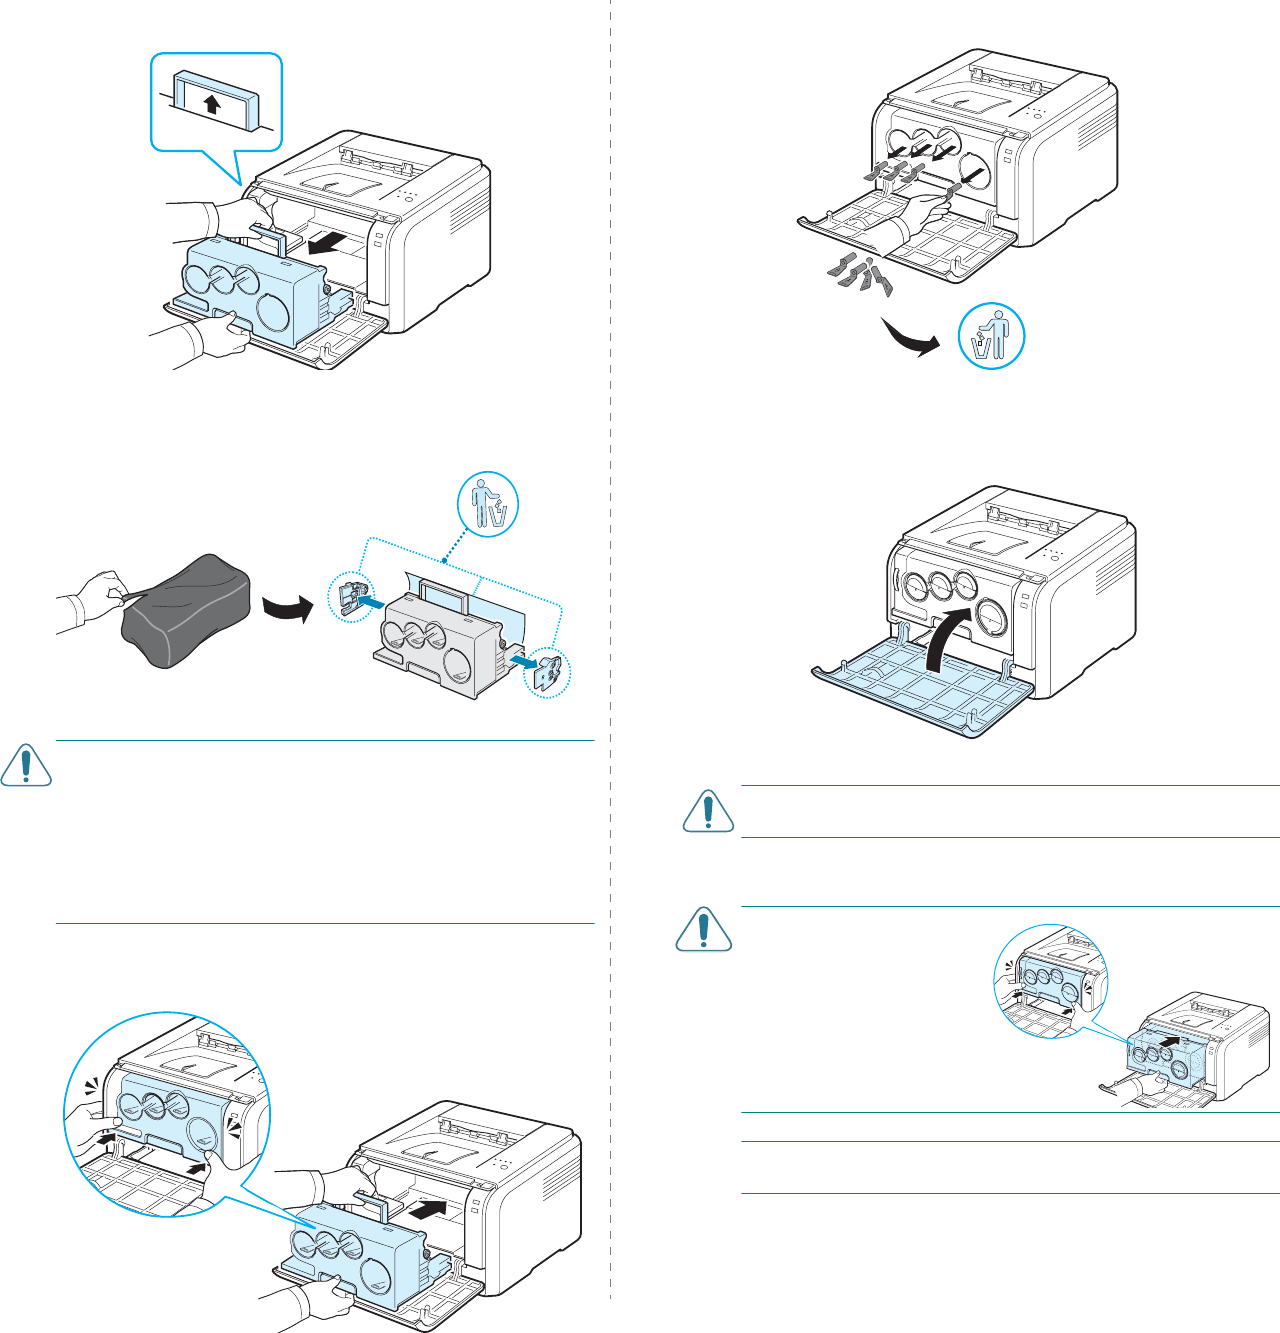
7
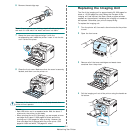
Holding the handles on the new imaging unit, push the
imaging unit until it sounds 'click' in to the printer.
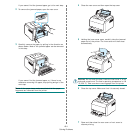
8
Remove four dummy caps which are on the toner cartridge
entrances of the imaging unit.
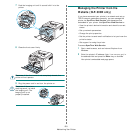
9
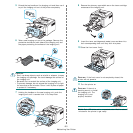
Insert the toner cartridges and waste toner container into
their corresponding slots until they click into place.
10
Close the front cover firmly.
CAUTION
:
If the front cover is not completely closed, the
printer will not operate.
11
Turn the printer on.
CAUTION:
If there is a
cracking sound, re-install
the imaging unit. The
imaging unit is not
properly installed.
NOTE
: Each LED blinks red in a repeated order. Wait for about 3
minutes for the printer to get ready.