Maintaining Your Printer
5.
7
Cleaning the Printer
During the printing process, particles of paper, toner, and dust
can accumulate inside the printer. Over time, this build-up can
cause print quality problems such as toner specks or smearing.
Your printer has a cleaning mode that can correct and prevent
these types of problems.
Cleaning the Outside of the Printer
Clean the printer cabinet with a soft lint-free cloth. You can
dampen the cloth slightly with water, but be careful not to let
any water drip onto the printer or inside of it.
CAUTION
: Cleaning the printer cabinet with cleaners
containing large amounts of alcohol, solvents, or other strong
substances can discolor or crack the cabinet.
Cleaning the Inside of the Printer
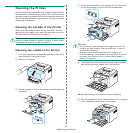
1
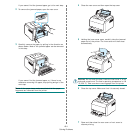
Turn the printer off and unplug the power cord, then wait a
few minutes for the printer to cool.
2
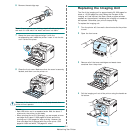
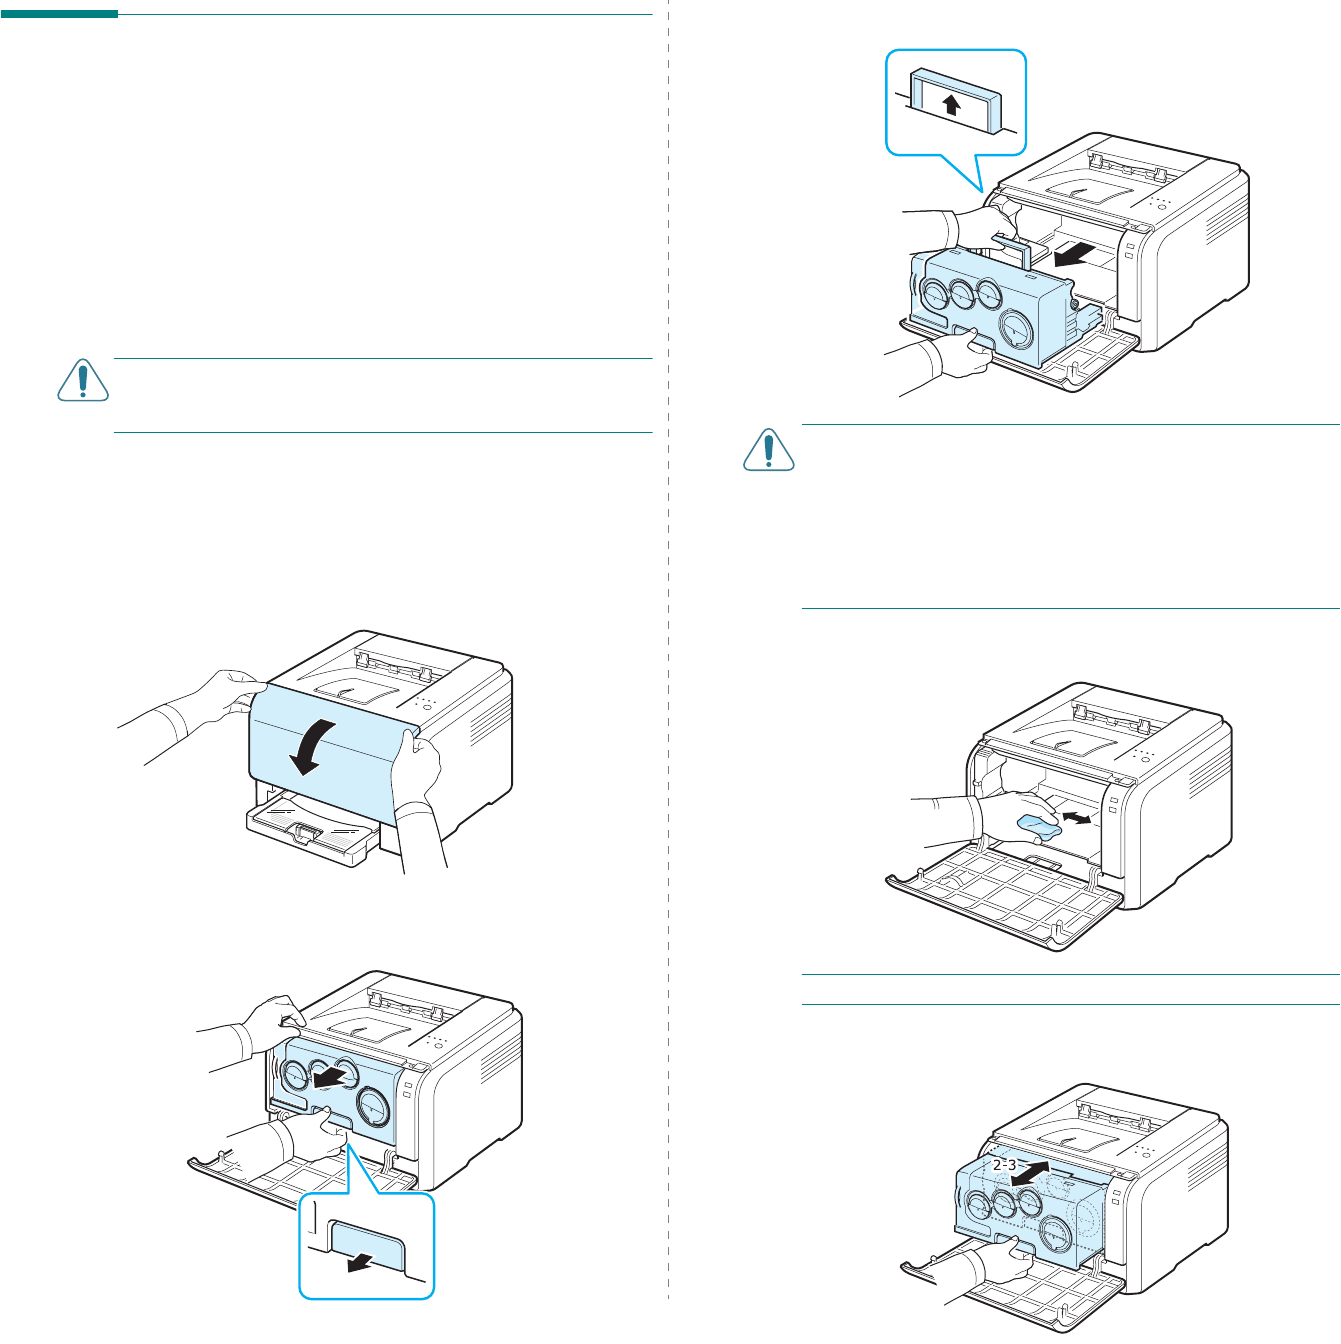
Open the front cover.
3
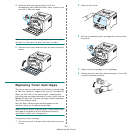
Pull the imaging unit out of the printer using the handle on
its bottom.
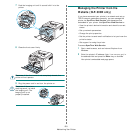
4
Extend the top handle on the imaging unit and then use it
to pull the imaging unit out of the printer completely.
C
AUTION
:
• Do not touch the green surface on the imaging unit with your
hands or any other material. Use the handle on it in order to
avoid touching this area.
• Be careful not to scratch the surface of the imaging unit.
• To prevent damage, do not expose the imaging unit to light for
more than a few minutes. Cover it with a piece of paper to
protect it if necessary.
5
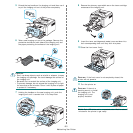
Look inside the printer. Remove any dust, paper particles,
and spilled toner with a damp, soft lint-free cloth.
N
OTE
: After cleaning, let the printer to dry completely.
6
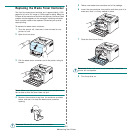
Pull the imaging unit about half and push it until it sounds
'click'. Repeat this action two or three times.


