8.3 <
Maintenance>
Saving Toner
To save toner, press Toner Save on the control panel. The button
backlight turns on.
Using this feature extends the life of the toner cartridge and reduce
your cost per page, but it also reduces print quality.
Checking the remaining toner
You can check the level of toner left in the cartridge.
If you are having print quality problems, this can help you determine if
the problem is caused by low toner.
1 Press Menu until System Setup appears on the bottom line of the
display press OK.
2 Press the scroll buttons until
Maintenance
appears and press OK.
3
Press the
scroll
buttons until
Supplies Life
appears and press
OK
.
4 Press the scroll buttons to access Toner Remains and press OK.
The display shows the percentage of the remaining toner.
Note
While the following messages are appearing on the display, the
sub-menu(s) under Supplies Life can be changed:
- Invalid Toner, NonGenuine Toner, Replace Toner,
Toner Exhausted
Redistributing toner cartridge
When the toner cartridge is near the end of its life:
• White streaks or light printing occurs.
• Toner Low appears on the display.
• The Smart Panel program window appears on the computer telling
you that the toner level is low.
• The Status LED blinks red.
If this happens, you can temporarily reestablish print quality by
redistributing the remaining toner in the cartridge. In some cases, white
streaks or light printing will still occur even after you have redistributed
the toner.
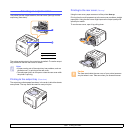
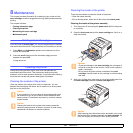
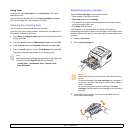
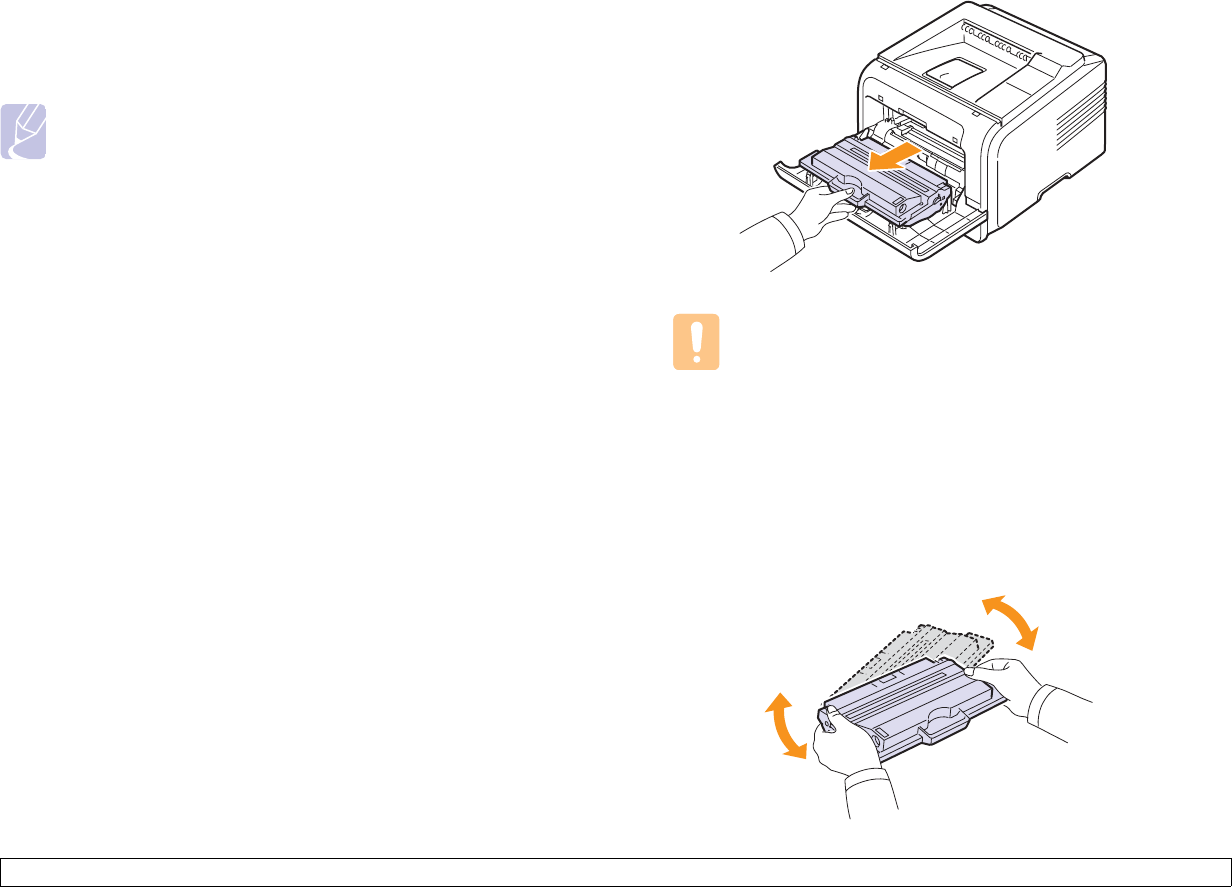
1 Open the front cover.
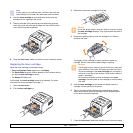
2 Pull the toner cartridge out.
Cautions
• Avoid reaching too far into the printer. The fusing area may
be hot.
• To prevent damage to the toner cartridge, do not expose it
to light for more than a few minutes. Cover it with a piece of
paper, if necessary.
• Do not touch the green surface underside of the toner
cartridge. Use the handle on the cartridge to avoid touching
this area.
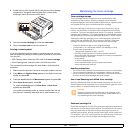
3 Thoroughly roll the cartridge 5 or 6 times to distribute the toner
evenly inside the cartridge.


