


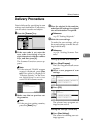

Delivery Procedure
47
5
Note
❒ To deselect a destination,
press the destination once
more, or press [U
UU
UPrev.] or
[T
TT
TNext] to bring up the desti-
nation in the destination
field, and then press [Clear].
D To select more destinations, re-
peat step C.
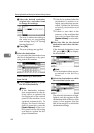
Using the short ID number to
select a destination
A Press [Number Keys].
B Use the number keys to enter
the 3-digit ID number that has
been assigned to each destina-
tion.
If the entered number is less
than 3 digits, press [#] at the
end.
The destination corresponding
to the short ID number appears
in the destination field at the top
of the screen.
Note
❒ To deselect a destination,
press [U
UU
UPrev.] or [T
TT
TNext] to
display the destination in the
destination field, and then
press [Clear].
C To select more destinations, re-
peat step B.
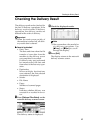
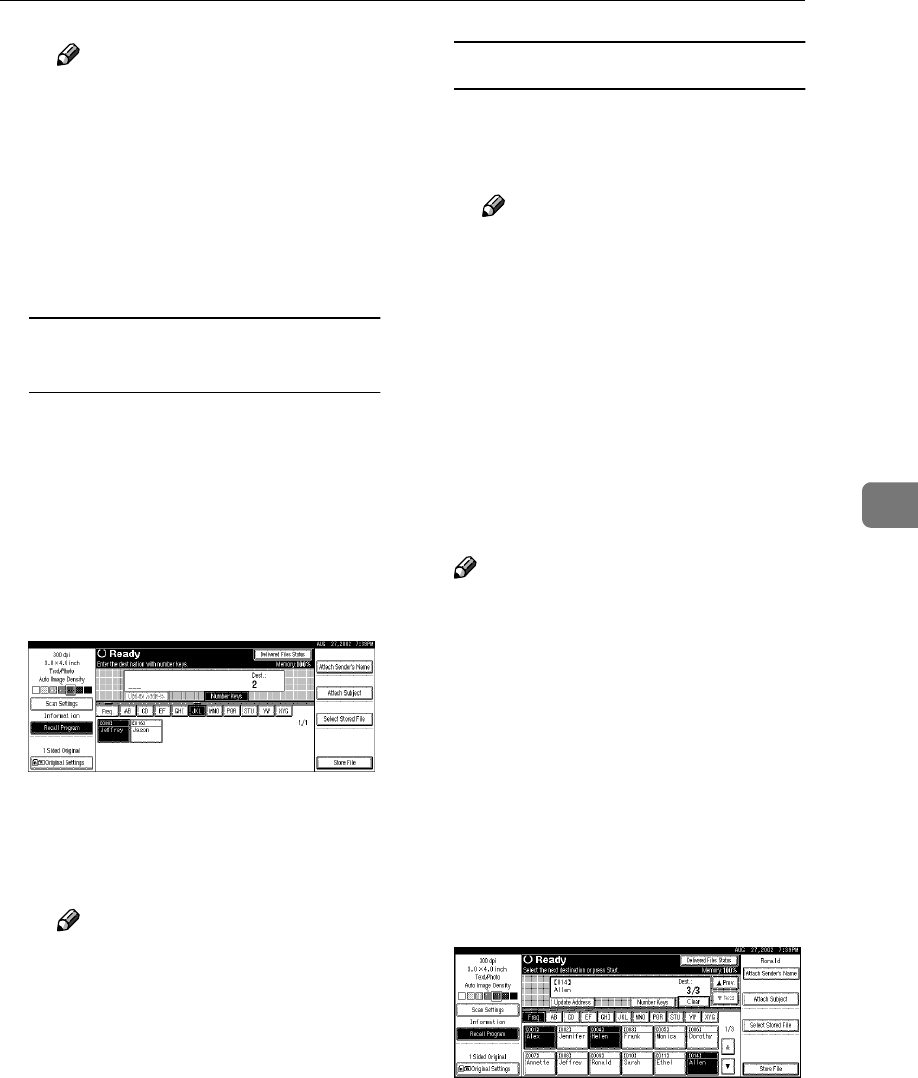
Checking selected destinations
A Use the destination field at the
top of the screen to check which
destinations are selected.
Note
❒ When multiple destinations
are selected, the selected des-
tinations are displayed in or-
der by pressing [U
UU
UPrev.] or
[T
TT
TNext].
❒ Pressing the {Check Settings}
key on the control panel lets
you verify the list of selected
destination(s).
G
Specify the sender (scan data de-
livery source).
Note
❒ When a sender has been speci-
fied, this information is added
to the scan data file. When the
optional ScanRouter V2 Profes-
sional is used to send scan data
files as e-mail, the sender infor-
mation is automatically entered
in the message sender field.
This allows the recipient to see
where the mail is from. Select a
sender from the senders pro-
grammed in the delivery server.
A Press [Attach Sender’s Name].
A list of the senders pro-
grammed in the delivery server
is displayed.