BlackArmor® NAS User Guide 23
Setup Steps for Administrators
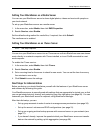
Setting Your BlackArmor as a Media Server
You can use your BlackArmor server to share digital photos, videos and music with people on
your local network.
To set up your BlackArmor server as a media server:
1. In the menu bar, select Media, then click DMS Properties.
2. Beside Service, select Enable.
Set the default sorting method for media files, if required, then click Submit.
The media server is enabled.
Setting Your BlackArmor as an iTunes Server
Note: This step is optional.
You can turn your BlackArmor server into an iTunes server so that a BlackArmor user can stream
music directly to a network computer with iTunes installed, or to an iPod® connected to a net-
work computer.
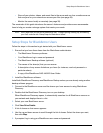
To enable the iTunes service:
1. In the menu bar, select Media, then click iTunes.
2. Beside Service, select Enable.
3. Set a recurring time for the server to check for new music. You can set the time from every
five minutes to once a day.
4. Click Submit to save the settings.
Next Steps for Administrators
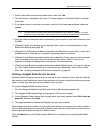
Before continuing, you should familiarize yourself with the features of your BlackArmor server
and software by reviewing this guide.
Your BlackArmor server is preconfigured with settings that are appropriate for typical use, so that
you can get started storing, sharing, and protecting your files right away (see page 29). You can
customize your BlackArmor server as required, using BlackArmor Manager.
After the initial setup, you can:
• Set up group accounts to make it easier to manage access permissions (see page 36).
• Set up the server’s volumes and RAID configurations (see page 31).
• Set up an on-going archive backup process with a second server on your network (see
page 37).
• If you haven’t already, improve the speed at which your BlackArmor server can transfer
data on the network by setting up link aggregation (see page 38).


