


87
8
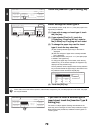
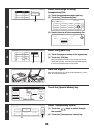
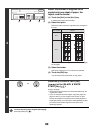
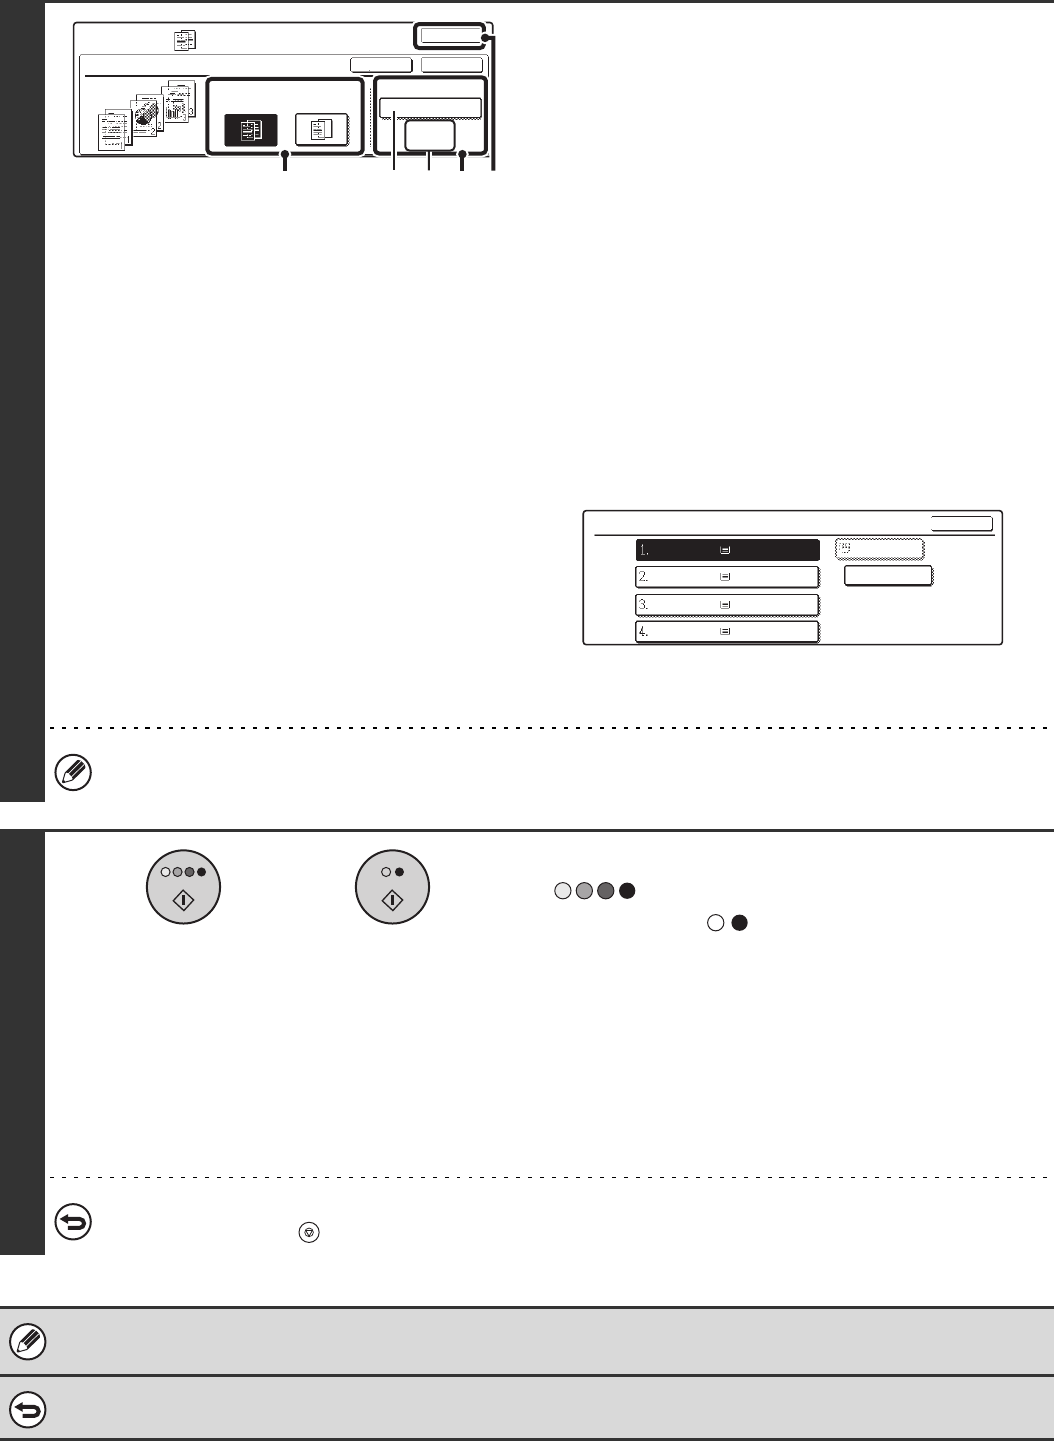
Set the insertion conditions for the inserts.
(1) Select whether or not the insert paper will
be copied on ([Yes] or [No]).
(2) Specify the tray name (tray position)
selected for the inserts, the paper size, and
the paper type.
(A) The currently selected paper tray for the insert is
displayed.
(B) The size and type of paper in the currently selected
tray is displayed.
In the example screen, A4 (8-1/2" x 11") size plain paper
is loaded in tray 1.
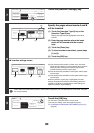
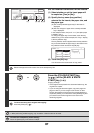
To change the paper tray for the inserts, touch the tray
selection key. (In the screen example, the "Tray 1" display
is the tray selection key.)
The tray selection screen appears when the tray selection
key is touched. Select the paper tray for the inserts in the
tray selection screen and touch the [OK] key.
(3) Touch the [OK] key.
You will return to the base screen of copy mode.
Select insert paper that is the same size as the transparency film.
9
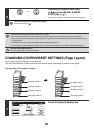
Press the [COLOUR START] key
( ) or the [BLACK & WHITE
START] key ( ).
Copying will begin.
• If the originals were placed in the document feeder tray, the
originals are copied.
• If you are using the document glass, copy each page one
page at a time. If you are using the sort function or other
function that requires all originals to be scanned before the
copies are printed, you must use the same [START] key that
you used to scan the first original to scan each of the
remaining originals.
To cancel scanning of the original and copying...
Press the [STOP] key ( ).
• The number of copies cannot be selected in this mode.
• When performing 2-sided copying, only "2-sided to 1-sided" mode can be used.
To cancel the transparency inserts setting...
Touch the [Cancel] key in the screen of step 8.
Special Modes
OK
OKCancel
Print on Insert Sheets
Transparency Inserts
Insertion Sheet
Tray 1
Yes No
A4
Plain
(1) (2) (3)(A) (B)
Insertion Sheet
OK
Plain
Plain
Plain
Plain
Transparency
A4
A4R
B4
A3
A4
or