-80
Using the “Options (1)” Menu
Note
• If you input a wrong keycode, the cursor returns
to the first point of the “Old Code”.
• The preset keycode is 4 " buttons on the projec-
tor. If this keycode is set, the keycode input screen
does not appear when turning the power on.
3 Press the 4 buttons on the remote
control or on the projector to enter
the new keycode in “New Code”.
Note
• You cannot use the following buttons for
keycode:
• ON button
• STANDBY button
• ENTER button
• L-click button
• R-click/UNDO button
• MENU button
• ZOOM buttons
• FOCUS buttons
• H & V LENS SHIFT button
• System Lock function recognizes each but-
ton on the remote control or on the projec-
tor as an individual button, even if they share
the same button name. If you set the keycode
with the buttons on the projector, use only
those buttons on the projector. If you set the
keycode with the buttons on the remote con-
trol, use only those buttons on the remote
control.
4 Enter the same keycode in “Recon-
firm”.
Note
Not displaying the keycode input screen
when turning the projector on
• Press " on the projector for four times in steps
2 and 3 above.
When the System Lock is set
• When System Lock is set, the keycode input
screen appears after the power is turned on.
When it appears, enter the right keycode to start
projection. Failure to enter the keycode will
cause images not to be projected even when
signals are entered to the projector.
Changing the keycode
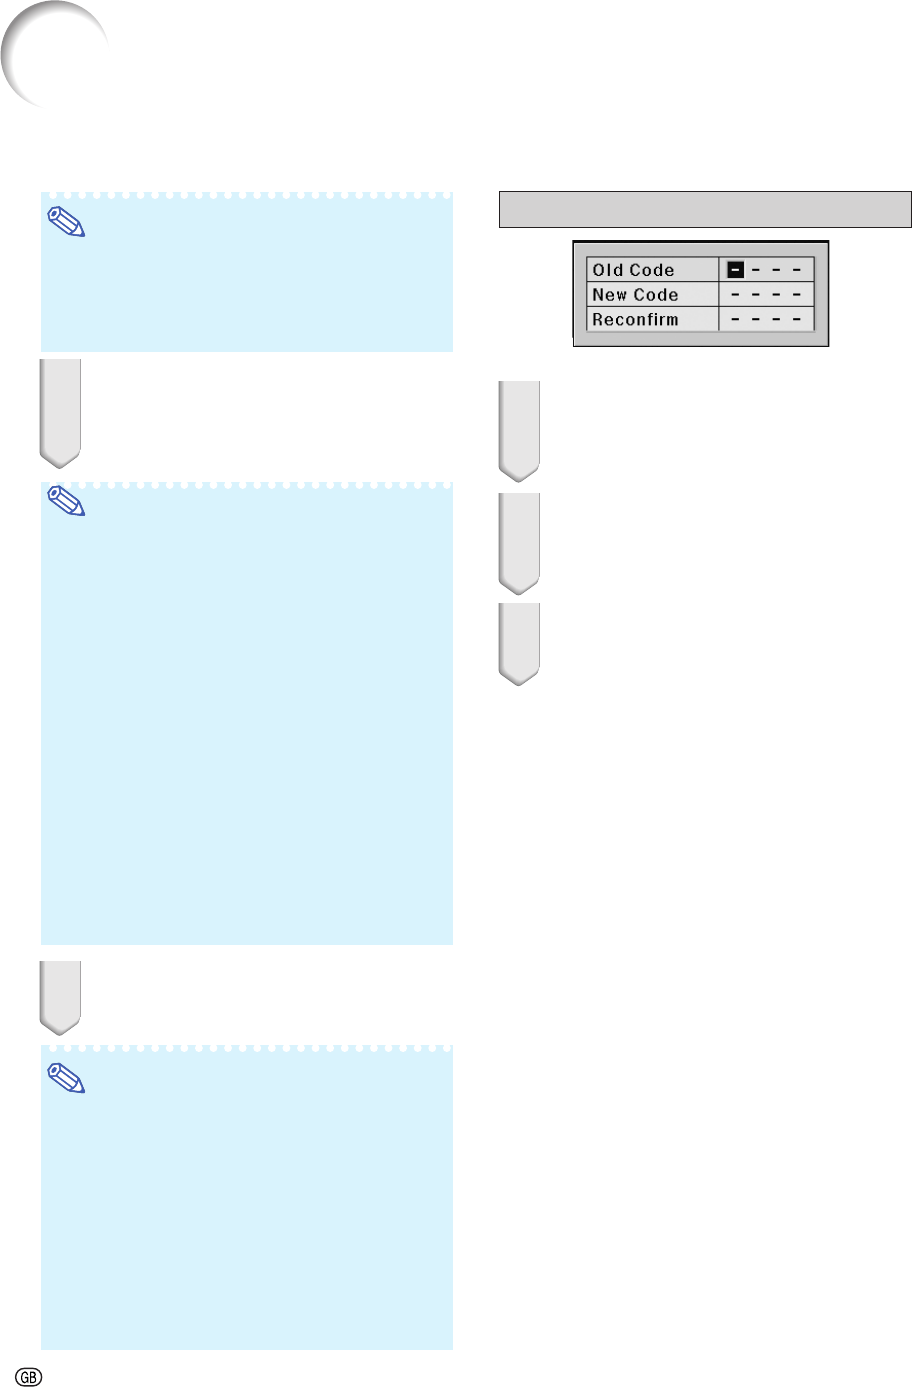
1 Press the 4 buttons on the remote
control or on the projector to enter
the preset keycode in “Old Code”.
2
Press the 4 buttons on the remote
control or on the projector to enter
the new keycode in “New Code”.
3 Enter the same keycode in “Recon-
firm”.


