


16 | CHAPTER 2 – INSTALLING AND SECURING YOUR SMART BOARD
INTERACTIVE WHITEBOARD
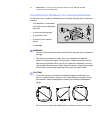
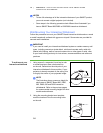
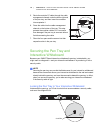
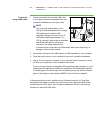
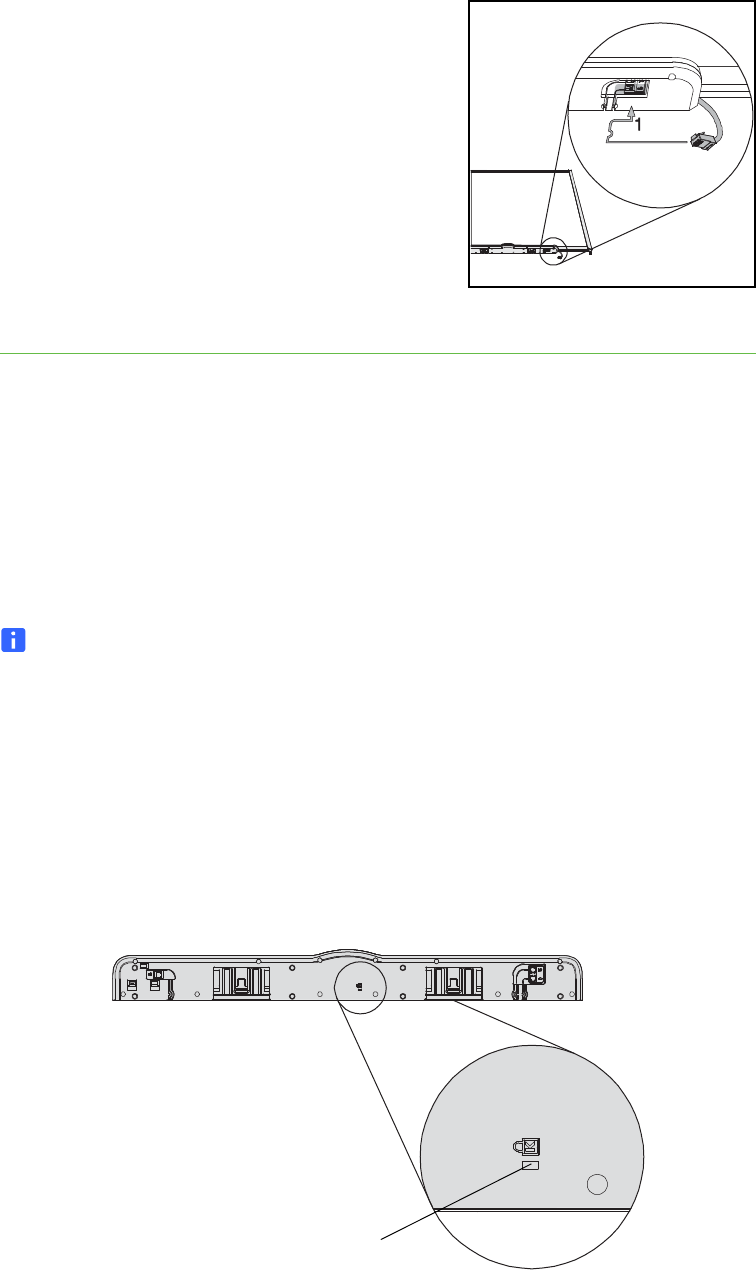
5. Route the modular I²C cable through the cable
management channel under the lower-right end
of the pen tray, and then insert its connector
into receptacle 1.
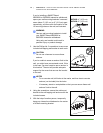
6. Press the cable into the cable management
channel on the bottom of the tray. This step
protects the modular cable’s RJ11 connector
from damage if the pen tray is removed without
first disconnecting the cable.
7. Place the four pens and the eraser into their
respective slots in the pen tray.
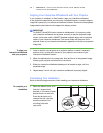
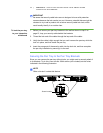
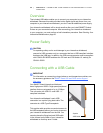
Securing the Pen Tray and
Interactive Whiteboard
Because your SMART Board interactive whiteboard’s pen tray is detachable, you
might want to safeguard it—and your interactive whiteboard—by anchoring it with a
security cable.
NOTE
Securing the pen tray can provide theft deterrence for your interactive whiteboard
because the screws that secure your interactive whiteboard to the wall are located
directly behind the pen tray, and must be removed to detach the pen tray. In effect,
when you secure the pen tray, you’re also securing your interactive whiteboard
if the security cable is tight.
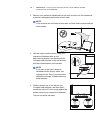
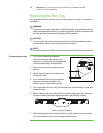
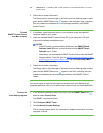
Locking the Pen Tray to Your Interactive Whiteboard
Underneath the pen tray, you’ll find a lock slot that accommodates a security cable,
such as a Kensington® lock.
Lock Slot