Operation
System Administrator Setup
19
Normally, it is recommended to select “Position
Adjustment” first, and position the top left corner of
the screen, then proceed to size adjustment.
3
Adjust the screen position or size.
• If you have selected “Position,” using the v, V, b
and B buttons, adjust the position of the screen
horizontally and vertically. The coordinates are
shown in parenthesis.
• If you have selected “Size,” use the v and V
buttons to adjust the screen height, and the b and
B buttons to adjust the screen width. The
dimensions in pixels are shown in parenthesis.
To cancel the adjustment and exit the menu
screen
Press the MENU button.
4
Press the ENTER button.
The adjusted values are set and the screen to select
the item to be adjusted reappears.
5
As required to adjust the other item, repeat steps 2
to 4.
6
When the adjustments are complete, press the v
button to select “Set,” then press the ENTER
button.
The adjustments are reflected in the screen display.
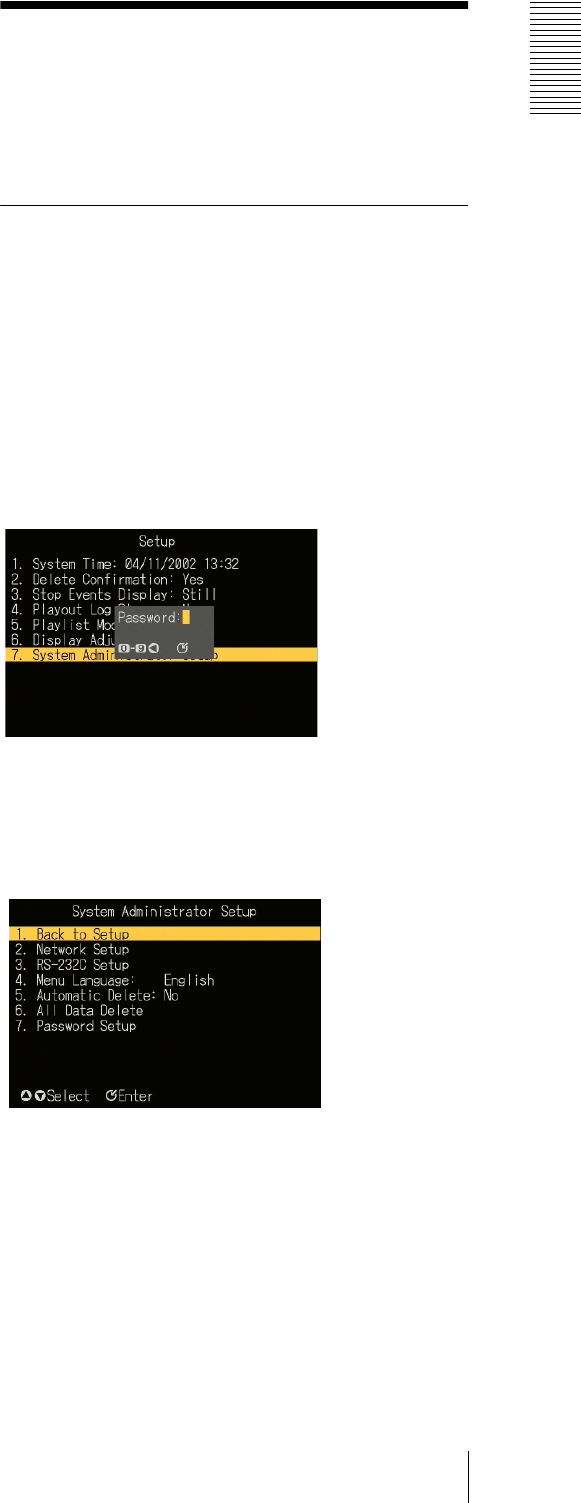
System Administrator
Setup
To carry out system administrator setup, display the
“System Administrator Setup” screen.
Displaying the “System
Administrator Setup” Screen
To display the “System Administrator Setup” screen, in
the “Setup” screen, carry out any of the following
operations.
• Press numeric button 7, then press the ENTER button.
•Using the v and V buttons, select “7. System
Administrator Setup,” and press the ENTER button.
When a password has been set
A password entry window appears.
In this case, enter the password with the numeric
buttons, and press the ENTER button.
The “System Administrator Setup” screen appears.
To return to the “Setup” screen
Carry out any of the following operations.
• Press numeric button 1.
• Using the v and V buttons, select “1. Back to Setup,”
and press the ENTER button.


