Operation
System Administrator Setup
20
Settings selected in the “System Administrator
Setup” screen
The settings selected in the “System Administrator
Setup” screen are as follows. For details, see the
respective pages.
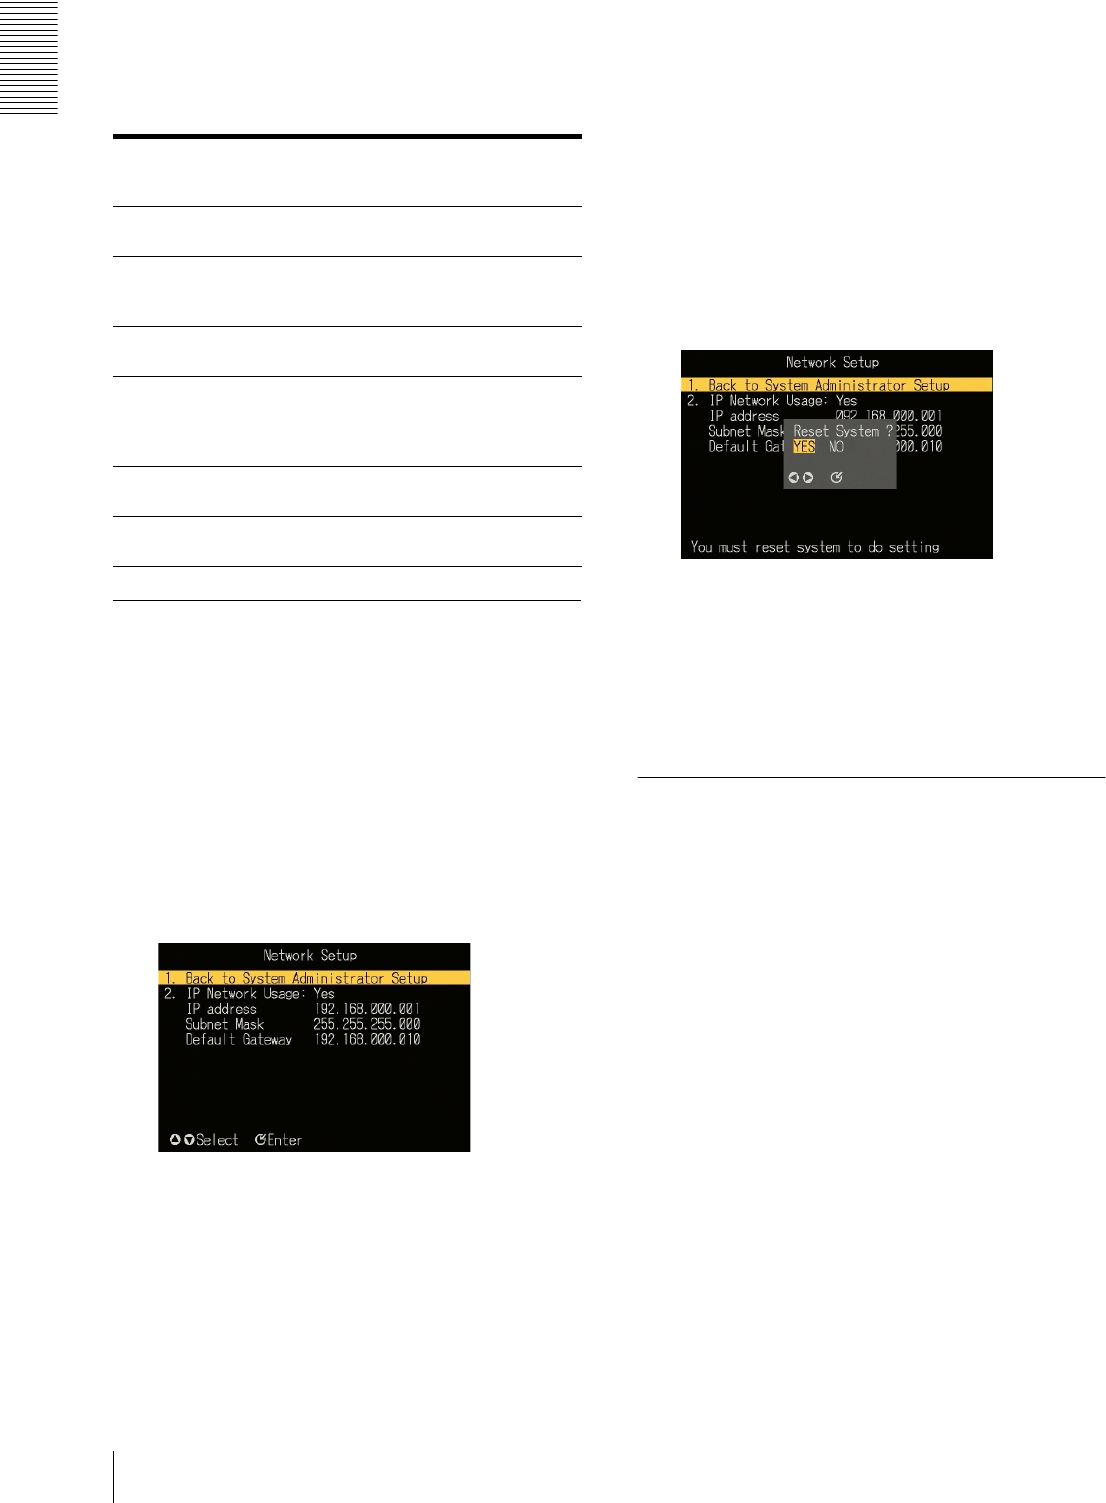
Carrying Out “Network Setup”
To make the settings relating to the network, use the
following procedure.
1
In the “System Administrator Setup” screen, carry
out any of the following.
• Press numeric button 2, then press the ENTER
button.
•Using the v and V buttons, select “2. Network
Setup,” and press the ENTER button.
The “Network Setup” screen appears.
To return to the “System Administrator Setup”
screen
Carry out any of the following.
• Press numeric button 1, then press the ENTER
button.
•Using the v and V buttons, select “1. Back to
System Administrator Setup,” and press the
ENTER button.
2
Carry out steps 4 to 8 of the procedure in “Starting
Up and Initial Settings” (page 10).
3
Carry out any of the following.
• To exit the menu display, press the MENU button.
• To return to the “System Administrator Setup”
screen, press numeric button 1, or using the v and
V buttons, select “1. Back to System
Administrator Setup,” and press the ENTER
button.
To enable the new network settings, a message
prompt appears, asking if you want to reset the unit.
4
To reset immediately, select “Yes”; to reset later,
select “No.”
The initial screen or “System Administrator Setup”
screen appears after a reset (for “Yes”) or
immediately (for “No”).
Carrying Out “RS-232C Setup”
In the “RS-232C Setup” screen, you can select the
following settings relating to control.
• Protocol control
Select this when using the dedicated control protocol.
• Maintenance
Select this when the RS-232C/GPI connector is to be
used for maintenance.
• External device control
Select this when the RS-232C/GPI connector is to be
used for control of an external device.
•Plasma control
Select this when using a plasma display.
Use the following procedure.
1
In the “System Administrator Setup” screen, carry
out any of the following.
• Press numeric button 3, then press the ENTER
button.
• Using the v and V buttons, select “3. RS-232C
Setup,” and press the ENTER button.
Settings that
can be
selected
Function of setting See page
“2. Network
Setup”
This makes settings related to
the network.
20
“3. RS-232C
Setup”
This makes settings related to
the RS-232C/GPI connector
and plasma display.
20
“4. Menu
Language”
Select Japanese or English as
the menu language.
21
“5. Automatic
Delete”
Select whether or not to
enable the deletion of files for
which an automatic deletion
date is set.
22
“6. All Data
Delete”
This deletes all data from the
unit.
22
“7. Password
Setup”
This sets a password. 22


