14
Displaying a low-resolution signal
at the actual resolution (ZOOM)
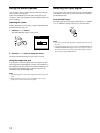
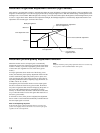
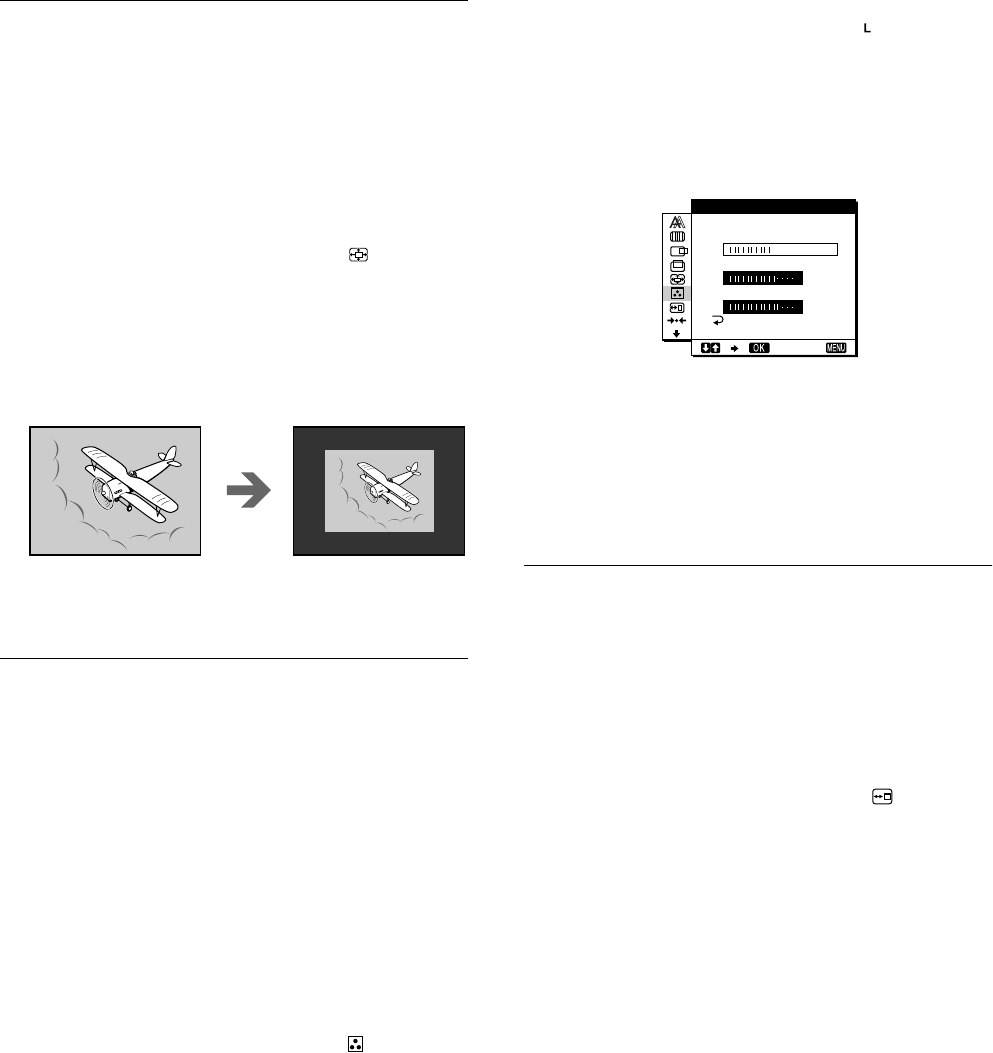
This monitor is preset at the factory to display pictures on the
screen in full, irrespective of the picture’s mode or resolution.
You can also view the picture at its actual resolution.
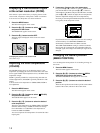
1
Press the MENU button.
The main menu appears on the screen.
2
Press the
M
(+)/
m
(–) buttons to select (ZOOM)
and press the OK button.
The ZOOM menu appears on the screen.
3
Press the
m
(–) button to select OFF.
The input signal is displayed on the screen at its actual
resolution.
To display the picture on the screen in full
Select ON in step 3.
Adjusting the color temperature
(COLOR)
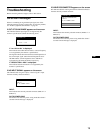
The COLOR settings allow you to adjust the picture’s color
temperature by changing the color level of the white color field.
Colors appear reddish if the temperature is low, and bluish if the
temperature is high.
9300K is generally suitable for word processing and other text
oriented applications, and 6500K is generally suitable for video
images.
You can set the color temperature to 5000K, 6500K, 9300K or
user adjustment.
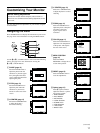
1
Press the MENU button.
The main menu appears on the screen.
2
Press the
M
(+)/
m
(–) buttons to select (COLOR)
and press the OK button.
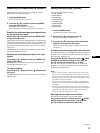
The COLOR menu appears on the screen.
3
Press the
M
(+)/
m
(–) buttons to select the desired
color temperature.
The preset color temperatures are 5000K, 6500K, and 9300K.
Since the default setting is 9300K, the whites will change
from a bluish hue to a reddish hue as the temperature is
lowered to 6500K and 5000K.
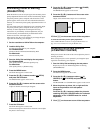
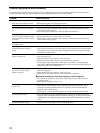
You can set separate color temperatures for each of the video
input signals.
4
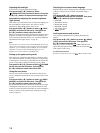
If necessary, fine tune the color temperature.
First press the
M
(+)/
m
(–) buttons to select ADJUST and
press the OK button. Then press the
M
(+)/
m
(–) buttons to
select R (Red) or B (Blue) and press the OK button, and then
press the
M
(+)/
m
(–) buttons to adjust the color temperature.
Since this adjustment changes the color temperature by
increasing or decreasing the R and B components with respect
to G (green), the G component is fixed.
If you fine tune the color temperature, the new color setting is
stored in memory for USER ADJUSTMENT and
automatically recalled whenever USER is selected.
The USER ADJUSTMENT setting is common to both the
input signals. If you change the user adjustment setting for
one input signal, the setting for the other input signal is also
changed.
Changing the menu’s position
(MENU POSITION)
You can change the menu position if it is blocking an image on
the screen.
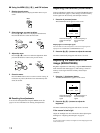
1
Press the MENU button.
The main menu appears on the screen.
2
Press the
M
(+)/
m
(–) buttons to select (MENU
POSITION) and press the OK button.
The MENU POSITION menu appears on the screen.
3
Press the
M
(+)/
m
(–) buttons to select the desired
position.
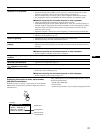
There are three positions each for the top of the screen and the
bottom of the screen, and one for the screen center.
R168
G170
B175
EXIT
USER ADJUST TMEN


