


16
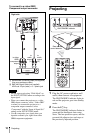
Projecting
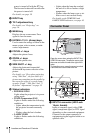
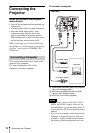
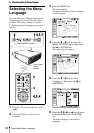
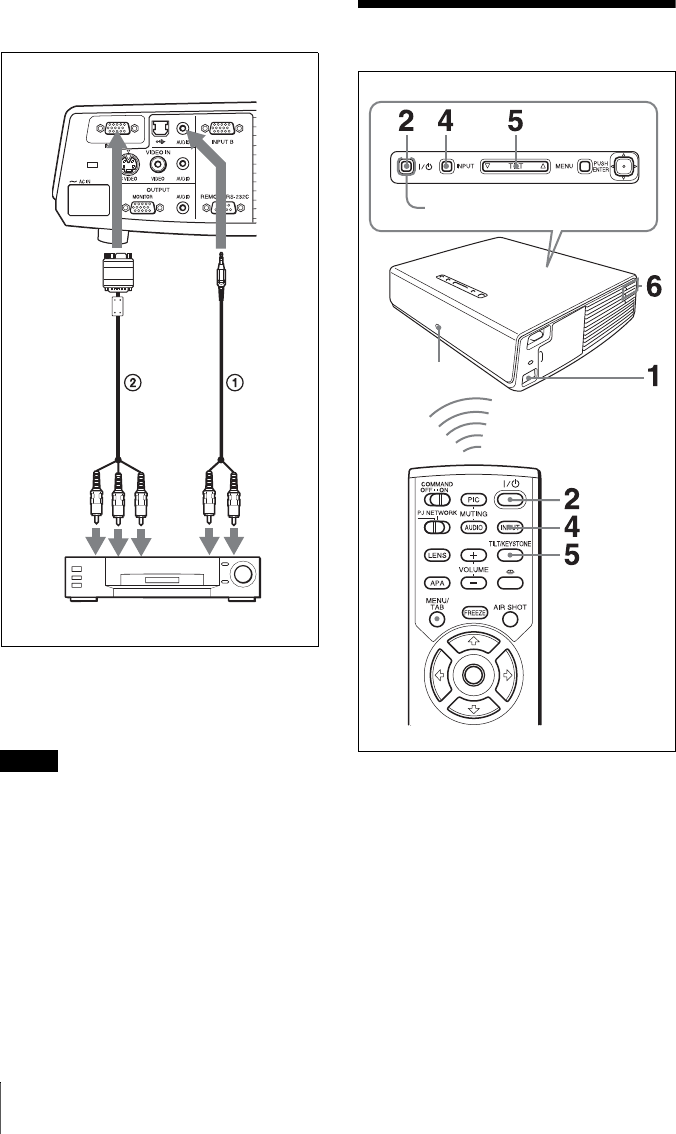
To connect to a video GBR/
Component output connector
A Stereo audio connecting cable (not supplied)
(Use a no-resistance cable.)
B SMF-402 Signal Cable (not supplied)
HD D-sub 15-pin (male) ↔ 3 × phono jack
• Set the aspect ratio using “Wide Mode” on
the INPUT SETTING menu according to the
input signal.
• When you connect the projector to a video
GBR output connector, select “Video GBR”
or when you connect the projector to a
component output connector, select
“Component” with the “Input-A Signal Sel.”
setting on the SET SETTING menu.
• Use the composite sync signal when you
input the external sync signal from video
GBR/component equipment.
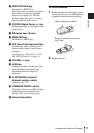
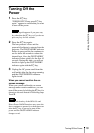
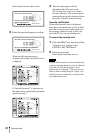
Projecting
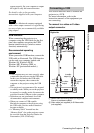
1 Plug the AC power cord into a wall
outlet, then connect all equipment.
The ON/STANDBY indicator lights in
red and the projector goes into standby
mode.
2 Press the ?/1 key.
The ON/STANDBY indicator flashes in
green and the Intelligent Auto-setup
starts. The lens protector opens, and the
powered tilt adjustor rises and stops at
the previously adjusted position.
Notes
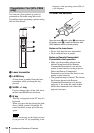
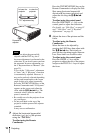
Right side
to
audio
output
(R)
VCR
to video
GBR/
component
output
to
audio
output
(L)
ON/STANDBY indicator
Rear remote
control detector