10
Changes: Ver. 2.06 to Ver. 2.07
The following specifications have been added:
• Print Finishing Settings for the UP-DR100 and UP-D70A
You can now select the surface finish of prints output with a UP-DR100 or
UP-D70A through a SCSI connection.
• Two Taxes
When calculating output service charges, you can now apply two tax rates.
• Printing File Names when Printing an Index
When printing an index you can select whether the selected images appear on
the index with consecutive numbers or arranged by file names.
• Detailed Settings for Prescanning Film
When prescanning film, you can now make lookup table and frame detection
interval settings. When the film manufacturer is not detected automatically,
you can specify it from a list of manufacturers.
• Detailed Settings for Scanning Film
When scanning film, you can now make detailed color balance and density
correction settings.
Setting Print Finishing for the UP-DR100
and UP-D70A
When the UPA-PC100 is connected to a UP-DR100 or UP-D70A, you can
change how the prints are finished.
In the Configuration Utility, open the [Setting – H/W – Printer – UP-DR100] or
[Setting – H/W – Printer – UP-D70A] screen. For details about how to start and
close the Configuration Utility, refer to the User's Guide.
When printing with the UP-DR100 or UP-D70A, touch the [Surface] button,
and select [Glossy], or [Texture].
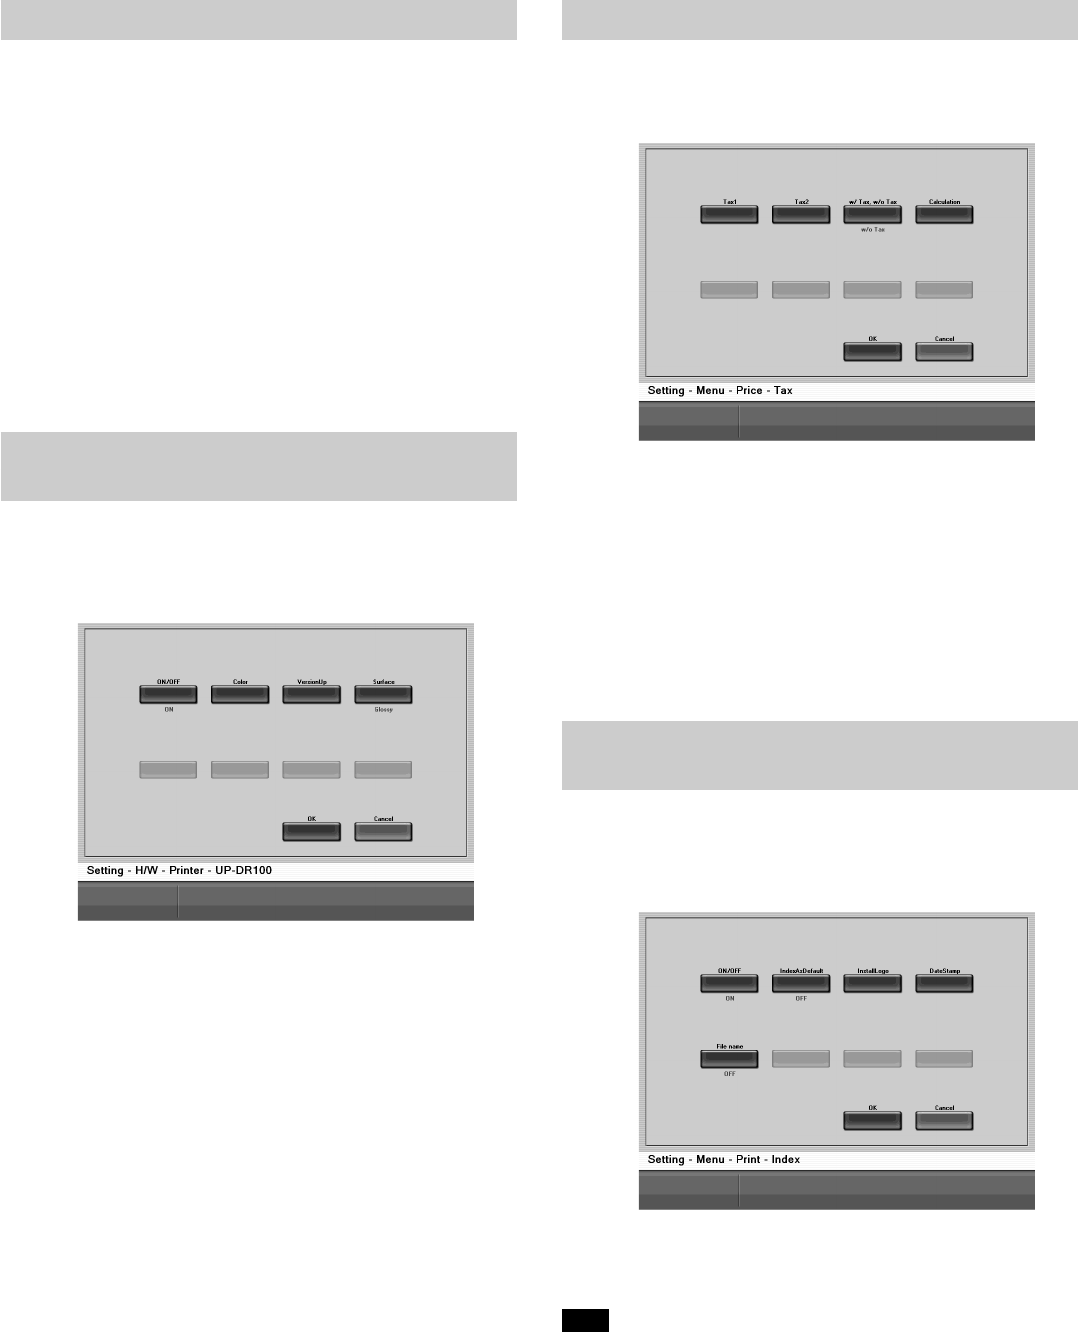
Applying Two Taxes
You can apply two taxes when calculating output service charges.
To set and modify the tax rates, open the [Setting – Menu – Price – Tax] screen
of the Configuration Utility. For details about how to start and close the
Configuration Utility, refer to the User's Guide.
• [Tax1], [Tax2] buttons
Touch these buttons to set the taxes applied when calculating output service
charges.
- [Tax Rate] button
Touch this button to set the tax rate of the selected tax. You can enter a tax
rate between 0 and 100%.
- [Text strings] button
Touch this button to enter the name of the selected tax. The name that you
enter here is displayed on the screen where you confirm charges. For
details, refer to “Confirming Charges, Entering Passwords” Step 1 on
pages 10 and 16, or “Confirm and output charges” Step 1, on page 23 of
the User's Guide.
Printing File Names when Printing an
Index
When printing an index you can select whether the selected images appear on
the index with consecutive numbers or arranged by file names.
In the Configuration Utility, open the [Setting – Menu – Print – Index] screen.
For details about how to start and close the Configuration Utility, refer to the
User's Guide.
When printing indexes, select the type of image title that you want to use.
Touch the [File name] button, to switch between [ON] (images are arranged by
file name) or [OFF] (images appear with consecutive numbers).
Note
If [File name] is [ON] when you scan film and then write to CD-R, the frame
numbers displayed on the screen after prescanning appear on the index print.
However, the images are arranged by consecutive numbers on the CD-R.


