


11
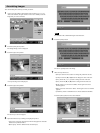
Detailed Settings for Prescanning Film
When prescanning film, you can make lookup table and frame detection interval
settings.
Touch the [OK] button on the screen where you select the type of film to scan
(User's Guide, “Setting the Film and Prescanning” Step 2, page 21) to open the
screen where you make prescanning settings.
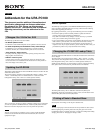
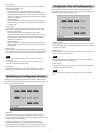
You can make the following settings on this screen.
• You can select the lookup table used by the Film Scanner UY-S90/100. Touch
the [LUT] button to change to [Photo1], [Photo2], or [Publishing].
Note
Because setting the lookup table for prescanning with Ver. 2.07 is now
possible, this item was removed from the Configuration Utility settings of
Ver. 2.06.
• You can select the frame interval scanned. Press [Frame detection] to switch
between [Auto] and [Fixed]. For details about how changing this setting
affects scanning results, refer to the following file
\Document\English\Driver.pdf on the UY-S90/100 driver installation CD-
ROM.
• You can select whether to correct the density and grayscale of each scanned
frame. Press [Density correction] to switch between [Auto] and [Fixed].
Touch the [OK] button. A message prompting you to set the film appears.
Continue from Step 3 of “Setting the Film and Prescanning”, on page 21 of the
User's Guide.
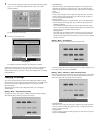
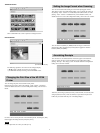
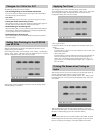
Setting the Film Manufacturer
When you set the film (User's Guide, “Setting the Film and Prescanning” Step
3, page 21) and the film manufacturer is not correctly detected, a screen
allowing you to select the manufacturer opens.
Touch the button of the film manufacturer that you want to select, then touch
the [OK] button. If the name of the manufacturer that you want to select does
not appear on the screen, touch the [Others] button, then touch the [OK] button.
Prescanning starts and a screen opens to select images and make scan settings.
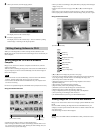
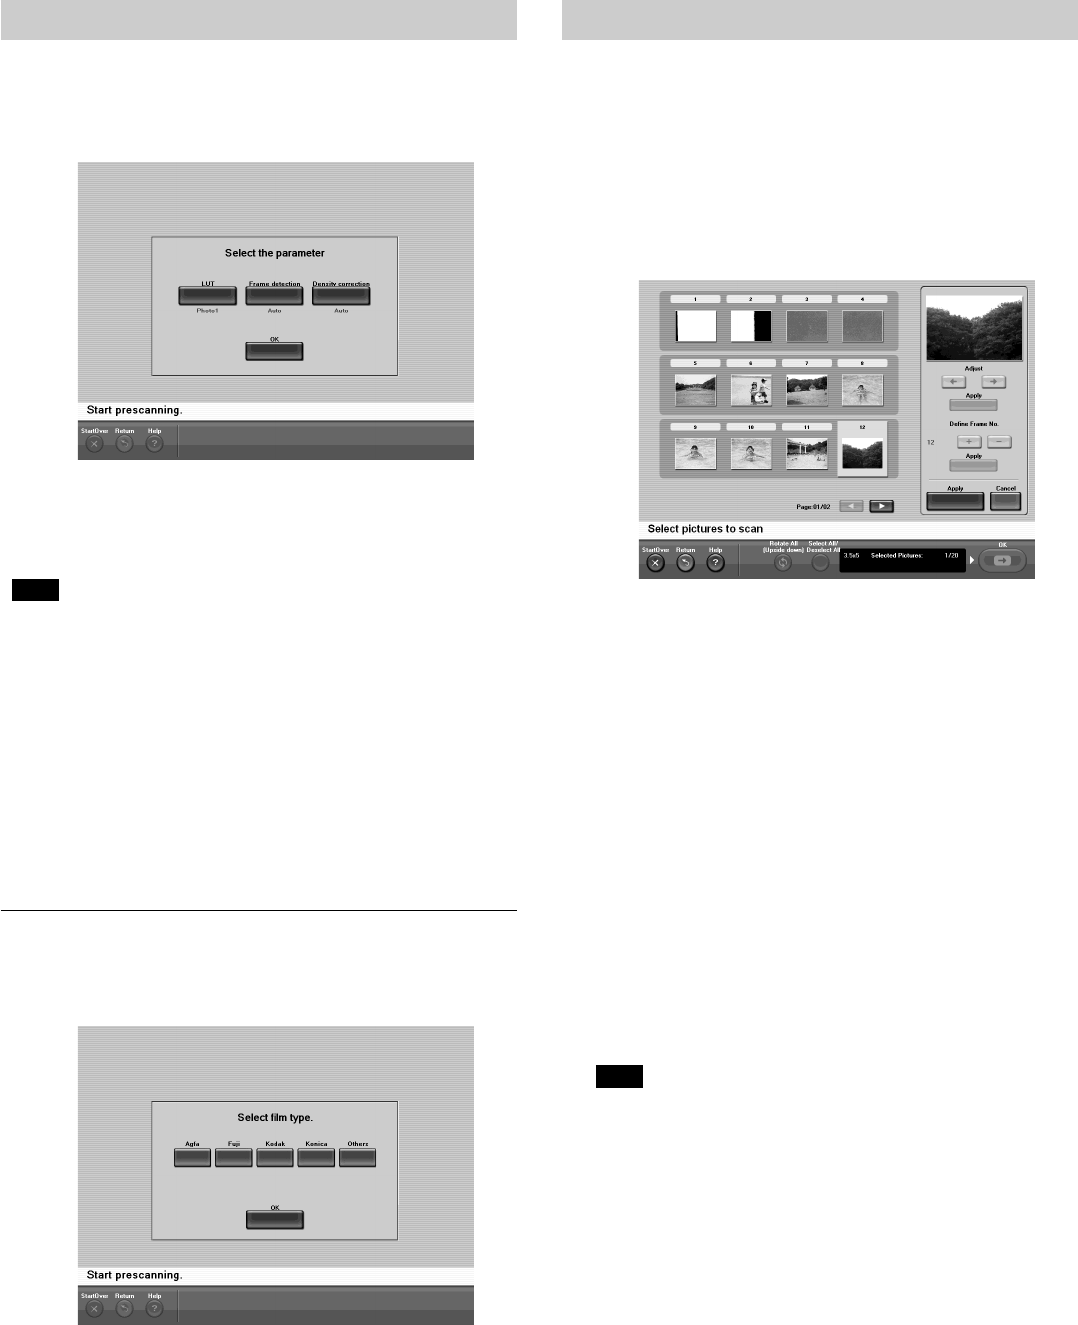
Detailed Settings for Scanning Film
When scanning film, the color balance and density of images can be corrected.
For details, refer to “Selecting the image for output and making the scanner
settings” and replace Step 2, on page 21 of the User's Guide with the following.
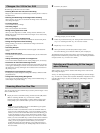
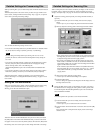
2 Adjust the scanning position precisely and change the frame number, as
necessary.
1 Touch the frame that you want to modify, then touch the [Adjust]
button.
A screen opens so you can adjust the position and the frame number.
2 Precisely adjust the scanning position and change the frame number.
• If the position of the image is shifted left or right, touch the frame of
the image that you want to correct, touch the [Adjust] arrow buttons
to adjust the image, then touch the [Apply] button.
• If a portion of the leading edge of the film contains no photo or the
frame number on the film is not read, the actual frame numbers and
output frame numbers may not match when the images from the film
appear with file names on an index.
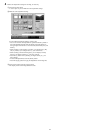
In this situation, adjust the frame numbers with [Define Frame No.].
Touch the frame that you want to modify, press the [+] or [–] button
under [Define Frame No.] to change the number, then touch the
[Apply] button.
3 When you are done, touch the [Apply] button.
A screen opens to confirm that the images were updated.
4 Touch the [OK] button.
The new settings are applied on the image list and the display returns to
the image selection screen.
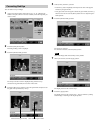
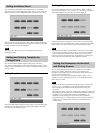
3 Change the film scanner's level of color balance correction, as necessary.
For details about how changing this setting affects scanning results, refer
to the following file \Document\English\Driver.pdf on the UY-S90/100
driver installation CD-ROM.
Note
You cannot perform this procedure to scan monochrome film.
1 Touch the frame that you want to modify, then touch the [Scene
correction] button.
A screen opens so you can select the level of correction.
2 Touch the button of the desired level of correction, then touch the [OK]
button.
The correction level is changed and the display returns to the image
selection screen.