


– 10 –
ENGLISH
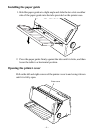
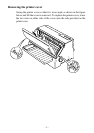
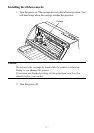
Removing the ribbon cassette
When replacing the ribbon cassette, use the following procedure to
remove the old ribbon cassette from the printer.
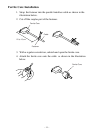
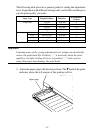
1. Open the printer cover.
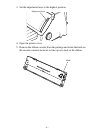
2. Turn the power on. The carriage moves to the left most position. You
will hear beeps when the carriage reaches this position.
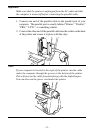
Caution!
Do not move the carriage by hand while the printer is turned on.
Doing so can damage the printer.
If you have just finished printing, let the print head cool for a few
minutes before you touch it.
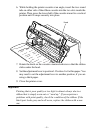
3. Turn the power off.
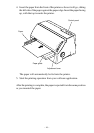
4. Pull the lower half of the cassette outward so that the ribbon slides out
from under the printer head. Then, lift up the cassette to remove it
from the printer.
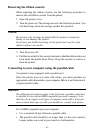
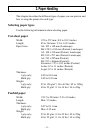
Connecting to your computer using the parallel cable
You printer comes equipped with a parallel port.
Since the printer does not come with cables, you must purchase an
appropriate cable that matches your computer. Below is an illustration of
a typical parallel cable.
Important!
The following instructions apply to the Centronics parallel cable that
is suitable for use with an IBM-compatible personal computer. Note
that they do not apply to all types of computers and cables. If you are
unsure about what type of cable you should use, consult your dealer.
For an IBM-compatible personal computer:
• Use a standard 36-pin Centronics parallel cable.
• The parallel cable should be no longer than six feet (two meters).
Longer cables can result in poor transfer of information.