7 - Advanced operations
TASCAM DA-78HR
40
7
Press and hold the
SHIFT
key for more than
three seconds to exit the delay setting mode.
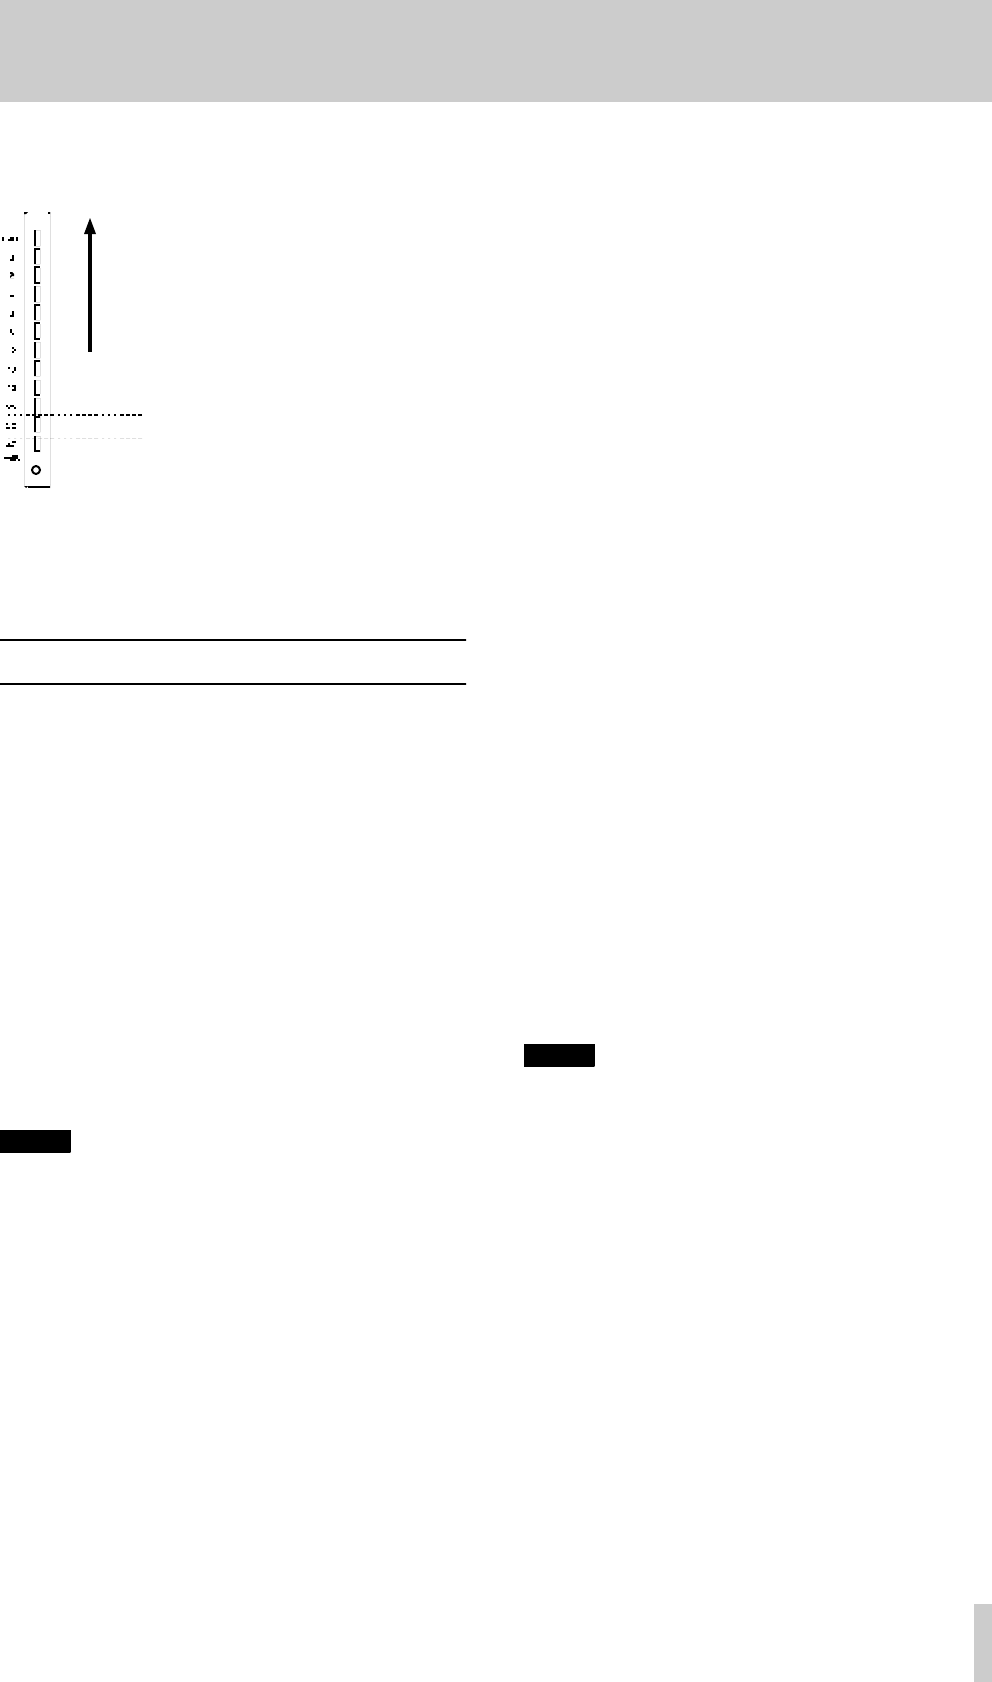
The meters can also be used to
give a visual indication of the
track delay.
Press
SHIFT
and one of the
REC FUNCTION
keys (as
described in 4.1.1, “Peak
meters”) to toggle this meter
mode off and on. The default
at power-on is for this mode to
be on.
The track delay, expressed in
seconds, is between –4 to +150 milliseconds. At a
typi cal sound propagati on rate, the maximum value
corresponds to about 50 meters (about 160 feet) of
distance.
7.4 Sub-mixer
One important feature of the DA-78HR is the ability
to mix input sources and off-tape signals into a stereo
signal which is routed to tracks 7 and 8 and can be
output at the rear panel SPDIF (
COAXIAL
) output (as
well as through channels 7 and 8 of the
TDIF-1
digi-
tal and analog outputs). As well as the track delay
available on the DA-78HR for the tape tracks, this
internal mixer also features level and pan controls, so
that a simple mix can be obtained.
This mixed signal is output only when the
MIXDOWN
indicator is lit. Pressing the (unshifted)
MIXDOWN
key will toggle the indicator between on and off.
A temporary “patch” can also be set up for this sub-
mix, overriding the current input patch settings while
the mixdown mode is active.
NOTE
When
MIXDOWN
is on, the signals from channels 1
through 6 (analog and digital) are not output.
7.4.1 Entering mixdown mode
1
Make sure the
SHIFT
indicator is off.
2
Press the
MIXDOWN
key. The
MIXDOWN
indi-
cator will light.
Pressing the
MIXDOWN
key again (with shift mode
off) will exit mixdown mode.
7.4.2 Setting the master level
This is the master level of all signals output through
channels 7 and 8.
1
With mixdown mode enabled, press the
SHIFT
key so that the indicator is flashing.
2
Press the
MIXDOWN
(
LEVEL/PAN
) key. This
enters the level/pan setting mode.
3
If the display does not show
MST. L ;;; (
MST
L xxx
— master level), continue to press the
LEVEL/PAN
key until this is shown.
Repeated presses of the
LEVEL/PAN
key or the
currently-selected channel (as explained
below) will cycle through the following:
master level →
→ →
→ channel level →
→ →
→ channel pan →
→→
→
channel input selection
4
Use the data knob and/or the ▲ and ▼ keys to
change the level between
0 (–∞
∞ ∞
∞ dB)
and 127
(0 dB).
The 7 and 8 meters may be used to show the
level (toggle with
SHIFT
+
REC FUNCTION
). The
0dB
segment represents a value of 127, and
th e
–12 dB
segment represents a value of 64.
7.4.3 Leaving edit/pan setting mode
When the unit is in edit/pan setting mode as above, it
can be returned to normal operations (as shown by a
change in the display) by either of the following
methods:
Entering another shift mode function (e.g.
delay)
or
Pressing the
SHIFT
key so that the
SHIFT
indi-
cator stop s flashing (exiting shift mode).
NOTE
Remember that turning off the edit/pan setting mode
will not automatically turn off the mixdown mode. To
turn off the mixdown mode, you must turn off the shift
mode and then press the
MIXDOWN
ke y.
7.4.4 Setting levels and pan positions
To set the individual channel levels and pan
positions:
1
Make sure that the unit is in level/pan setting
mode, as described above (7.4.2, “Setting the
master level”).
2
Press the
REC FUNCTION
key whose number
corresponds to the channel you want to set.
The
REC FUNCTION
indicator at the bottom of
the meter will start to flash, showing that this is
the active channel being edited.
positive values
0 (zero)
negative values


