


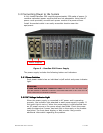

RamSan-500 User’s Manual 19 of 48
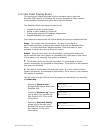
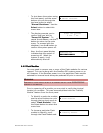
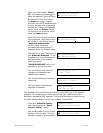
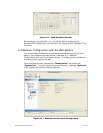
Ethernet IP address:
192
.000.000.000
After you have chosen “Static
IP”, the display prompts you to
enter an address. Use the ↑
↑↑
↑ and
↓
↓↓
↓ buttons to move the cursor.
Hit Select to pick a number.
And then use the ↑
↑↑
↑ and ↓
↓↓
↓ buttons
to cycle through the numbers 0
through 9. To save the changed
value, press the Select button.
To revert to the previous value,
press the Menu button.
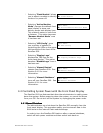
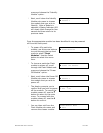
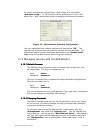
Network Subnet Mask:
255.255.255.000
After you have finished entering
the IP address, scroll the cursor
off the end – this brings up the
“Network Subnet Mask”
screen. Using the same
procedure as entering the IP
address, enter the subnet mask.
Ethernet gateway:
192.168.111.001
The final value you must enter is
the “Ethernet Gateway”. If the
RamSan is on a private network
and this value is not needed,
enter the value
“000.000.000.000” to tell the
RamSan to ignore this entry.
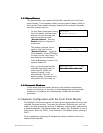
Assign Static IP?
↓ Yes ↑ No
The next screen commits the
changes and automatically
restarts the network.
Restarting
Network... Done
You should witness the network
restarting.
New IP Address:
192.168.111.101
The final screen displays the
assigned IP address
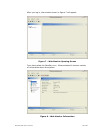
The RamSan-500 comes from the factory using DHCP as its IP address
method. To configure your DHCP server you may need to know the
RamSan’s hardware MAC address. Follow the instructions below to get
the MAC address and to set up your system to use DHCP:
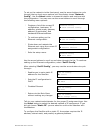
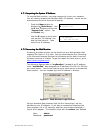
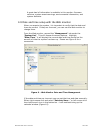
Network Config:
Show Current Config
From the “Network Config”
sub-menu select the “Show
Current Config” option.
↑ Hardware Address:
a2:78:90:f7:01:88
Use the ↓
↓↓
↓ button to scroll to the
bottom of the screen. This will
display 6 octets of the hardware