163
7
4
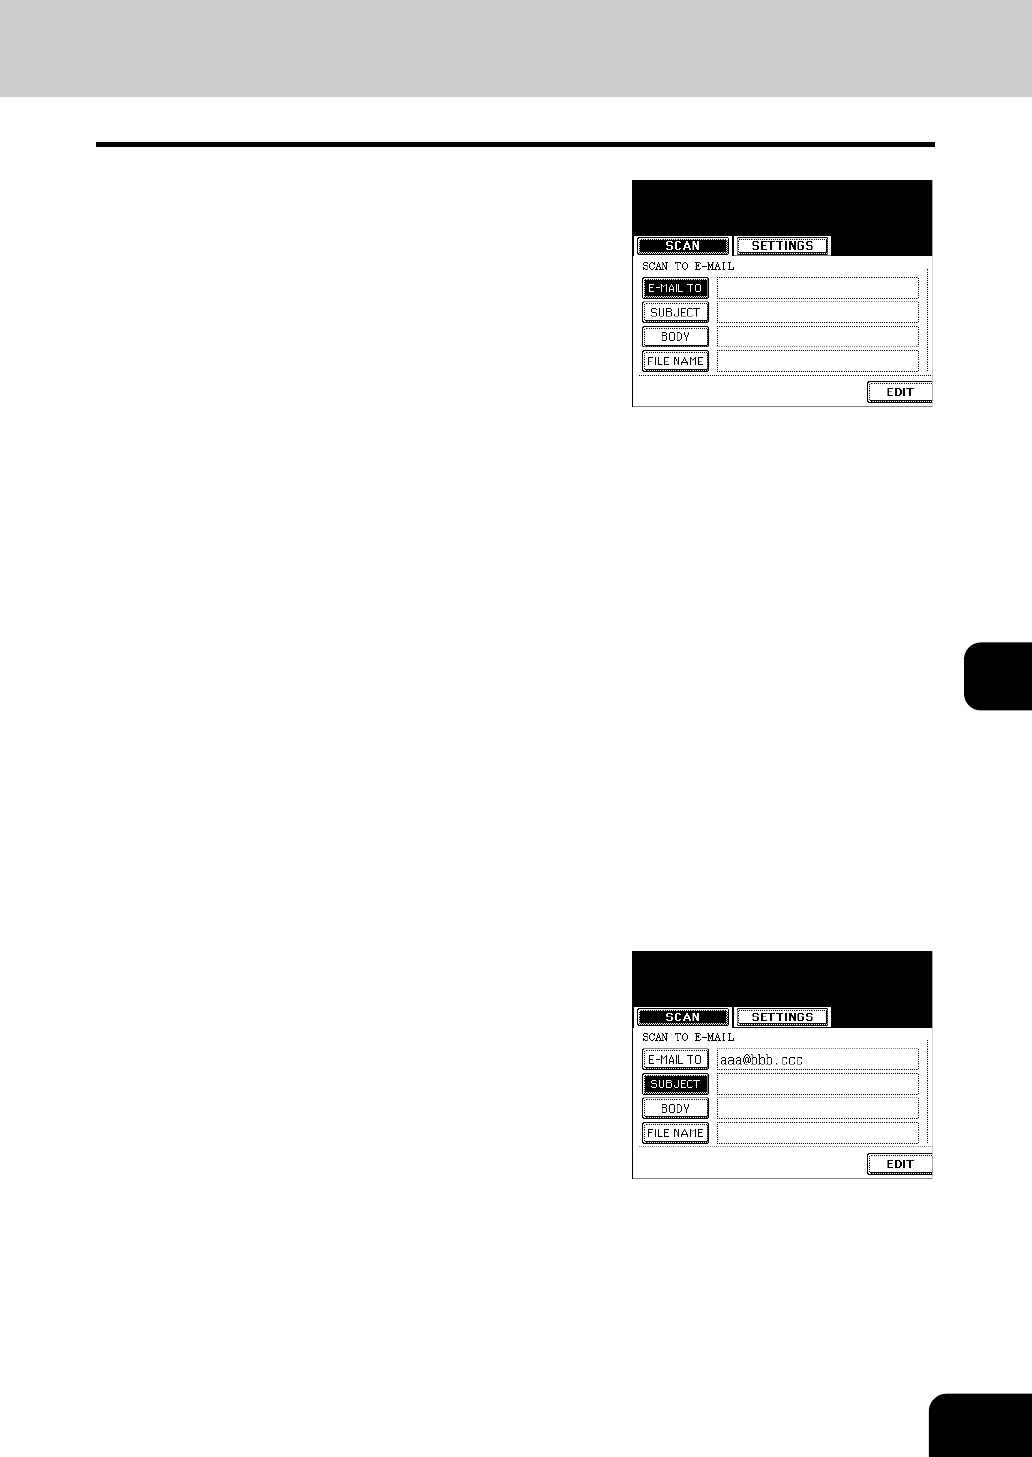
Press the [E-MAIL TO] button and select
the address.
- Press the [E-MAIL ADDRESS] button when you want to enter the
address directly with the soft keyboard.
See steps 5 and 6 in "Direct Entry" Page 173 for details.
- In the address book, select the address you want to send to.
- Select the address you want to send to after pressing the
[GROUP] button.
See steps 5 and 6 in "Group Entry" Page 175 for details.
- Select the address you want to send to after pressing the
[KNOWN ID] button.
See steps 5 to 7 in "Searching by ID Number" Page 177 for
details.
- Select the address you want to send to after pressing the
[SEARCH ADDRESS] button.
See steps 5 to 9 in "Searching by Address" Page 178 for
details.
- Select the address registered in the LDAP (Lightweight Directory
Access Protocol) server without using the address book in this
equipment, after pressing the [SEARCH ADDRESS] button. (To
enable this function, it is required to register the directory search
name using TopAccess via network beforehand. See “Network
Administrator's Guide” for details.)
See steps 3 to 5 in "Searching Address Using LDAP Server"
Page 180 for details.
- In the address book, you can select 2 or more addresses. Also,
you can combine the address book and group entry to select the
address you want to send to.
- See the [User Functions Guide] for entering and setting the
address.
- To return the SCAN TO E-MAIL menu from the address book,
press the [RETURN] button.
5
Press the [SUBJECT] button and enter the
subject of the E-mail.
- A subject can contain up to 128 letters.
"Setting Letters" Page 30
