2 PRINTING FROM WINDOWS
12 Before Using the Printer Driver
6
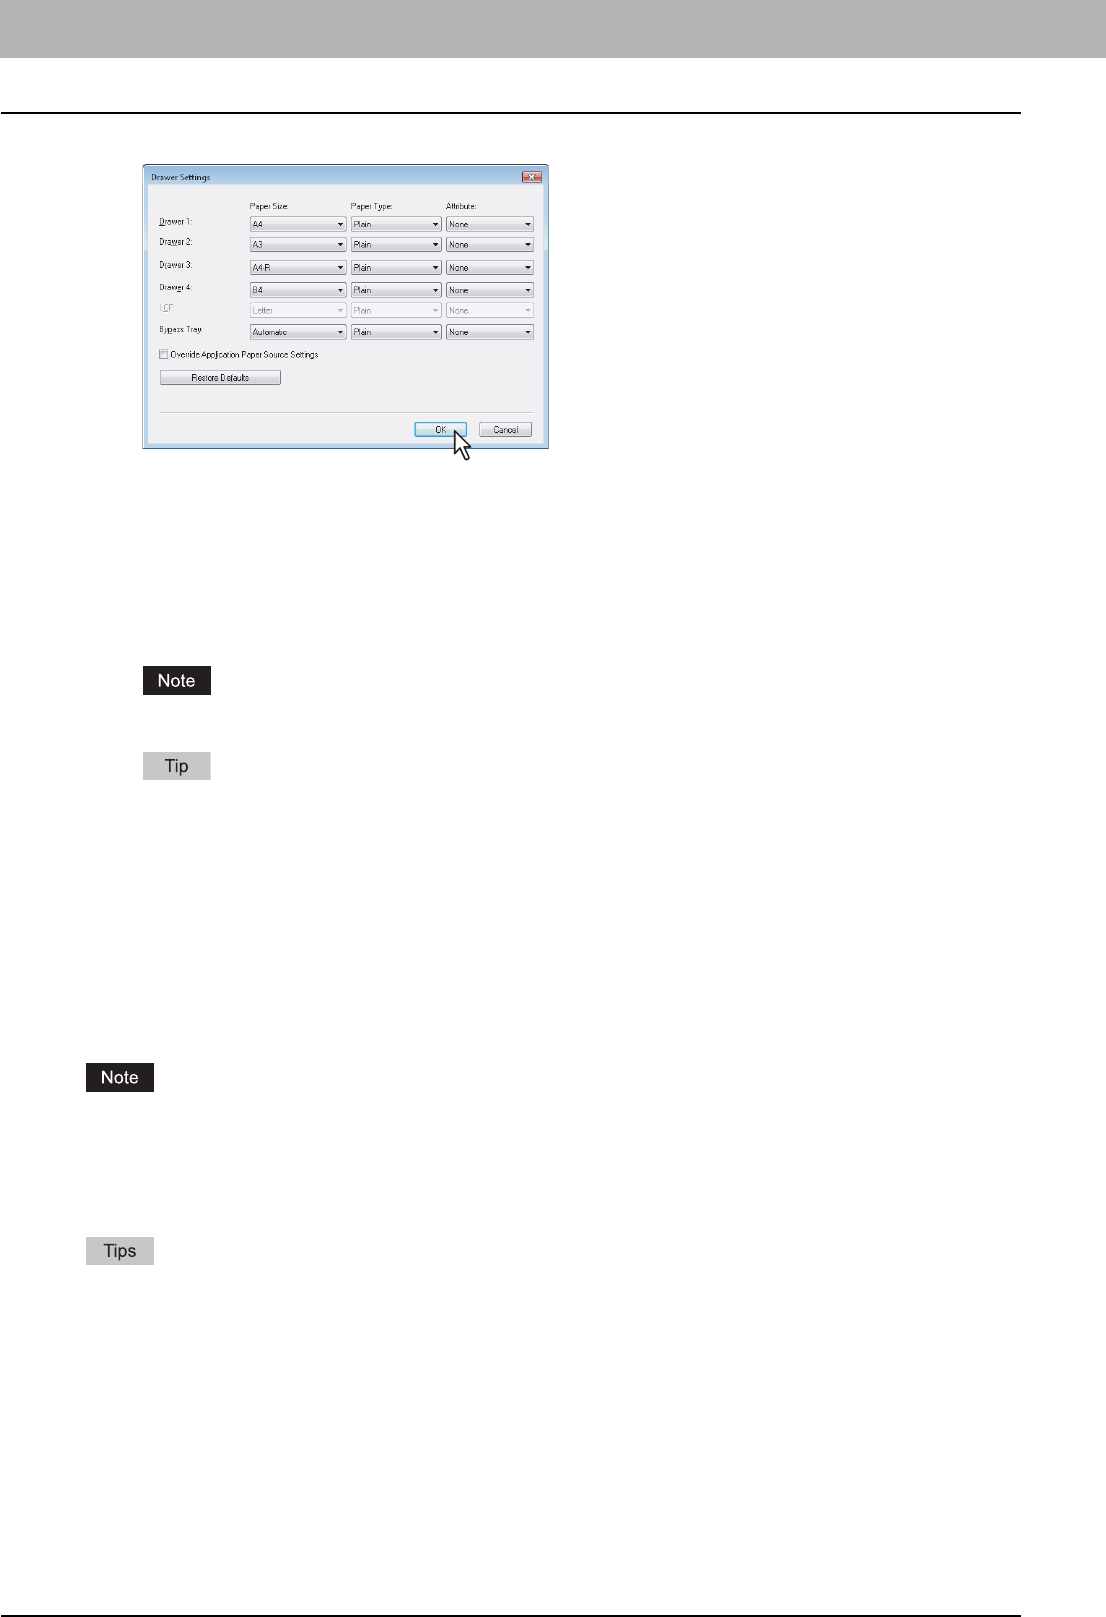
Set the following options and click [OK].
Drawer 1 — Select the size and type of paper that is loaded in the 1st Drawer.
Drawer 2 — Select the size and type of paper that is loaded in the 2nd Drawer.
Drawer 3 — Select the size and type of paper that is loaded in the 3rd Drawer (optional) when it is installed.
Drawer 4 — Select the size and type of paper that is loaded in the 4th Drawer (optional) when it is installed.
LCF — Select the size and type of paper that is loaded in the Large Capacity Feeder (optional) when it is installed.
Bypass Tray — Select the type of paper that is loaded in the Bypass Tray.
Override Application Paper Source Settings — Select this check box to use the paper source setting in the
printer driver rather than the application setting.
The Large Capacity Feeder (optional) is not available for some countries or regions.
For more information about each item, see the descriptions of Drawer Settings.
P.53 “Drawer Settings”
7
Click [Apply] and [OK] to save settings.
Setting the department code
When this equipment is managed with department codes, you have to enter your department code on the printer driver.
This feature allows a network administrator to check the number of copies printed by a specific department. Also users
can check who submitted the print jobs, by touch panel display and monitoring tools.
Ask your administrator whether you should enter the Department Code.
When the User Management Setting is enabled on the equipment, the User Management Setting is used to manage
the print jobs instead of the department code. In that case, the user name that is entered to log in to your computer is
used for the authentication of the print job. Therefore, you do not need to enter the department code in the printer
driver but your user name must be registered in the equipment. If the user name is not registered, your print job is
processed as an invalid job according to the Department Code Enforcement settings.
y How the equipment performs printing for an invalid department code print job, for which an invalid department code
is specified, varies depending on the Department Code Enforcement setting that can be set in the TopAccess
Administrator mode and whether SNMP communication is enabled or not. When SNMP communication is enabled
and Department Code Enforcement is set to [ON], an error message will be displayed when entering an invalid
department code. When SNMP communication is disabled and Department Code Enforcement is set to [ON], the
invalid department code print job will be stored in the invalid department code print job list without printing. When
the Department Code Enforcement is set to [Print], the invalid department code print job will be printed. When the
Department Code Enforcement is set to [Delete], the invalid department code print job will be deleted without
printing.
y A department code needs to be entered every time you begin printing. If you have to use a different department
code for each print job, enter it when you begin printing.
