


User's Manual
8-12
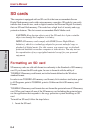
OPTIONAL DEVICES
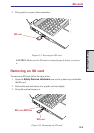
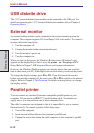
USB diskette drive
The 3 1/2" external diskette drive module can be connected to the USB port. For
details on connecting the 3 1/2" external diskette drive module, refer to Chapter 4,
Operating Basics.
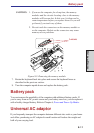
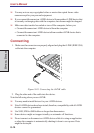
External monitor
An external analog monitor can be connected to the external monitor port on the
computer. The computer supports VGA and Super VGA video modes. To connect a
monitor, follow the steps below.
1. Turn the computer off.
2. Connect the monitor to the external monitor port.
3. Turn the monitor’s power on.
4. Turn the computer on.
When you turn on the power, the Windows Bootup screen (Windows Logo)
appears on the display device that is set as the power on Display in HW
Setup (Refer to Chapter 7, HW Setup and Passwords for more information).
However, the Windows Desktop appears on a display device that you used last
time to shut down your PC, if the display device exists when you turn on the power.
To change the display settings, press Fn + F5. If you disconnect the monitor
before you turn the computer off, be sure to press Fn + F5 to switch to the internal
display. Refer to Chapter 5, The Keyboard, for details on using hot keys to change
the display setting.
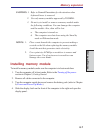
Parallel printer
You can connect any standard Centronics-compatible parallel printer to your
computer. All you need is an IBM PC™ parallel printer cable. Your dealer can
supply one or you can purchase one at most computer stores.
The cable’s connectors are designed so that it is impossible for you to connect
them incorrectly. To connect a printer, follow these steps:
1. Turn off the computer.
2. Insert one end of the cable into the computer’s parallel port.
3. Tighten the screws that fasten the cable connector to the computer’s parallel
port.