


2. MAJOR UNIT REPLACEMENT
EO18-33018
2.9 REPLACING THE PRINT HEAD
2-19
2.9 REPLACING THE PRINT HEAD
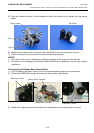
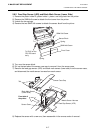
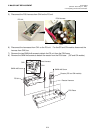
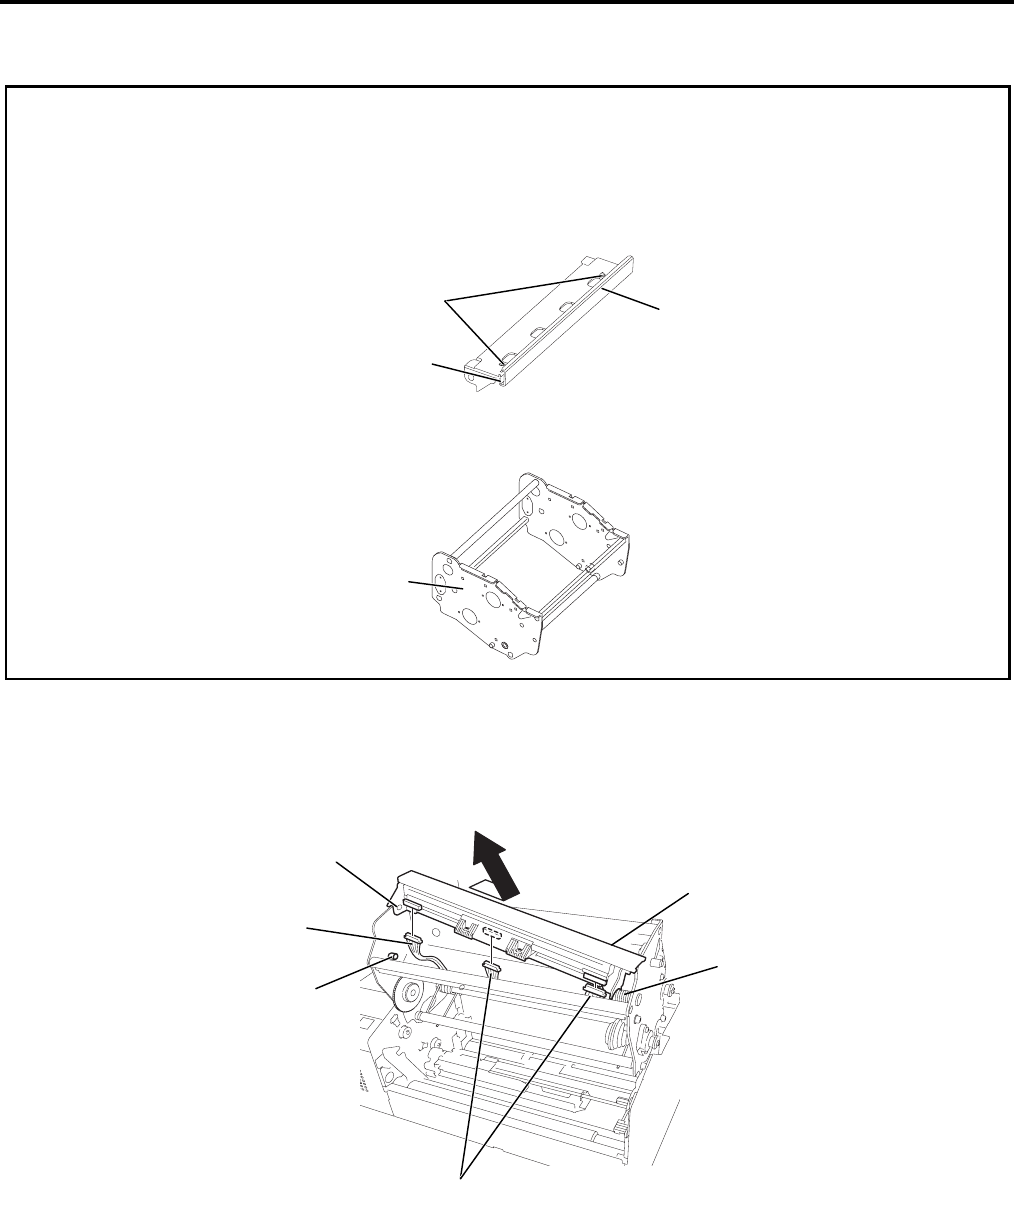
1) Open the top cover and raise the print head block.
2) Push the print head ass’y to the right side, lift it in the direction of the arrow, and release it from the
print head fixing pin.
3) Disconnect the print head harnesses from the three connectors of the print head.
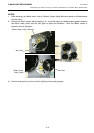
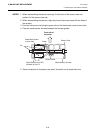
5) Replace the print head with a new one, then reassemble in the reverse order of removal.
NOTES: 1. Install the print head in position by fitting its holes into the spring and print head fixing
pin.
2. After replacing the print head, refer to Section 6.8 to perform a Maintenance Counter
Clear.
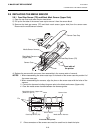
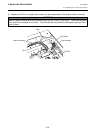
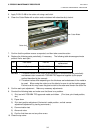
CAUTION:
1. Never touch the print head element when handling the print head.
2. Never touch the connector pins to avoid a breakdown of the print head by static electricity.
3. Never remove the screws which secure the print head to the bracket. Doing so may cause
improper print quality.
4. Never disassemble the head block frame. Doing so may cause a print failure, such as ribbon
wrinkle, blurred print, etc.
NEVER remove these screws.
Bracket
Print Head
Head Block Frame
Print Head Ass’y
Print Head Fixing Pin
Spring
Hole
Print Head Harness
Print Head Harness