


Setting up Network Settings (Scanning Function) 75
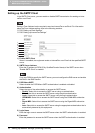
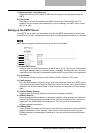
See the Setup Guide for Printing Functions for the following settings.
Setting up the TCP/IP
Setting up the IPX/SPX
Setting up the AppleTalk
Setting up the Bonjour
Setting up the DNS
Setting up the DDNS
Setting up the NetWare
Setting up the HTTP
Setting up the SNMP
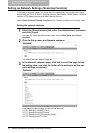
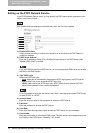
4
Click [Set] to save the settings and close the sub window.
If you want to restore the current settings without saving the changes, click [Cancel].
Clicking [Cancel] cannot restore the defaults. This can only clear the changes and
restore the current settings before saving the changes.
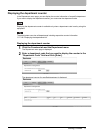
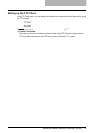
5
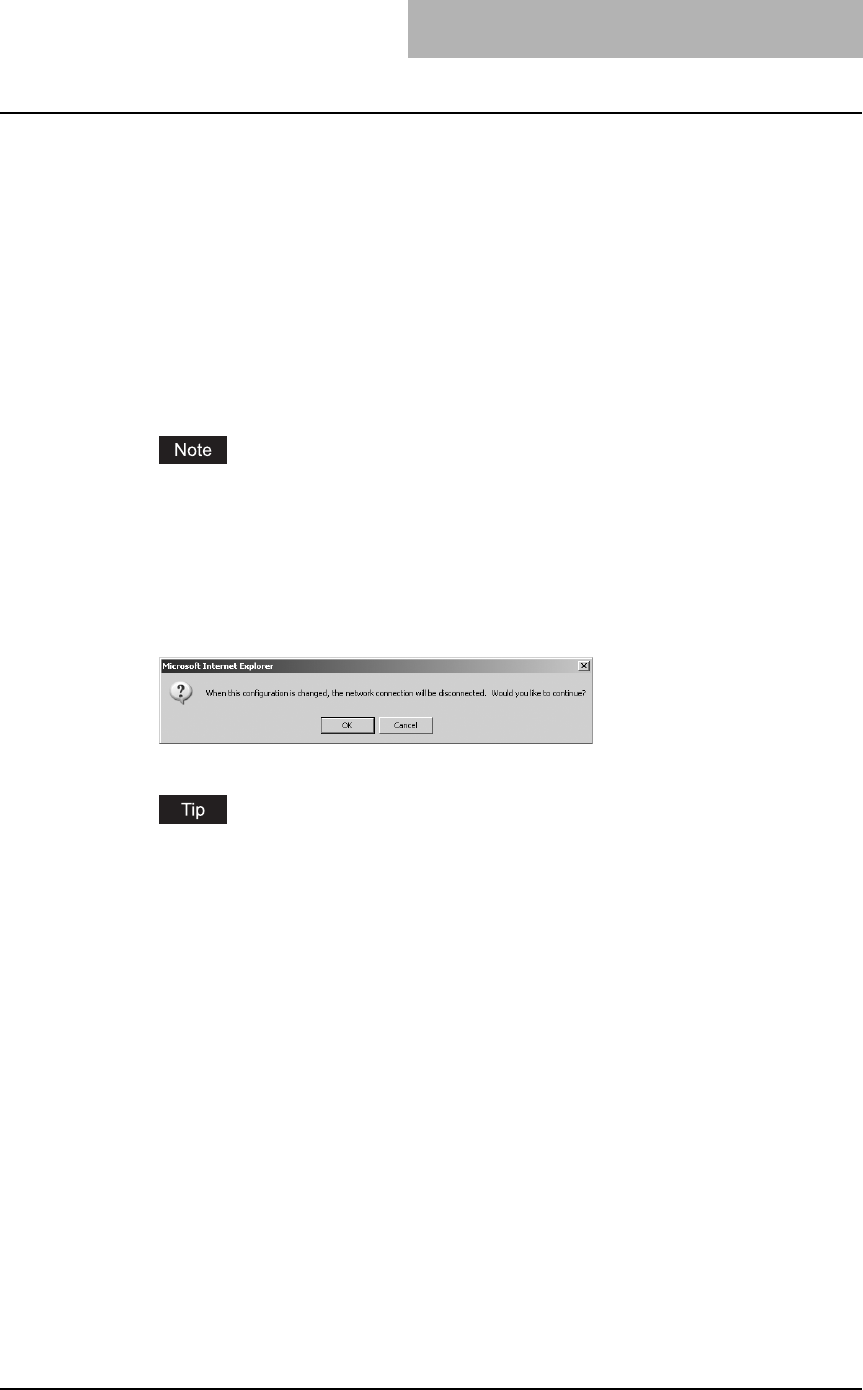
Click [OK] to apply the changes.
The confirmation dialog box appears.
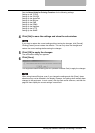
6
Click [Save].
This equipment starts initializing the NIC (Network Interface Card) to apply the changes.
When using Internet Explorer, even if you change the settings and click [Save], these
alterations may not be reflected in the display. However, the settings have actually been
changed in the equipment. In such a case, click the Save as file submenu, and then the
page will then display the current settings in each field.