


12
QUICK START
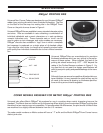
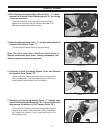
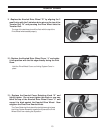
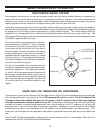
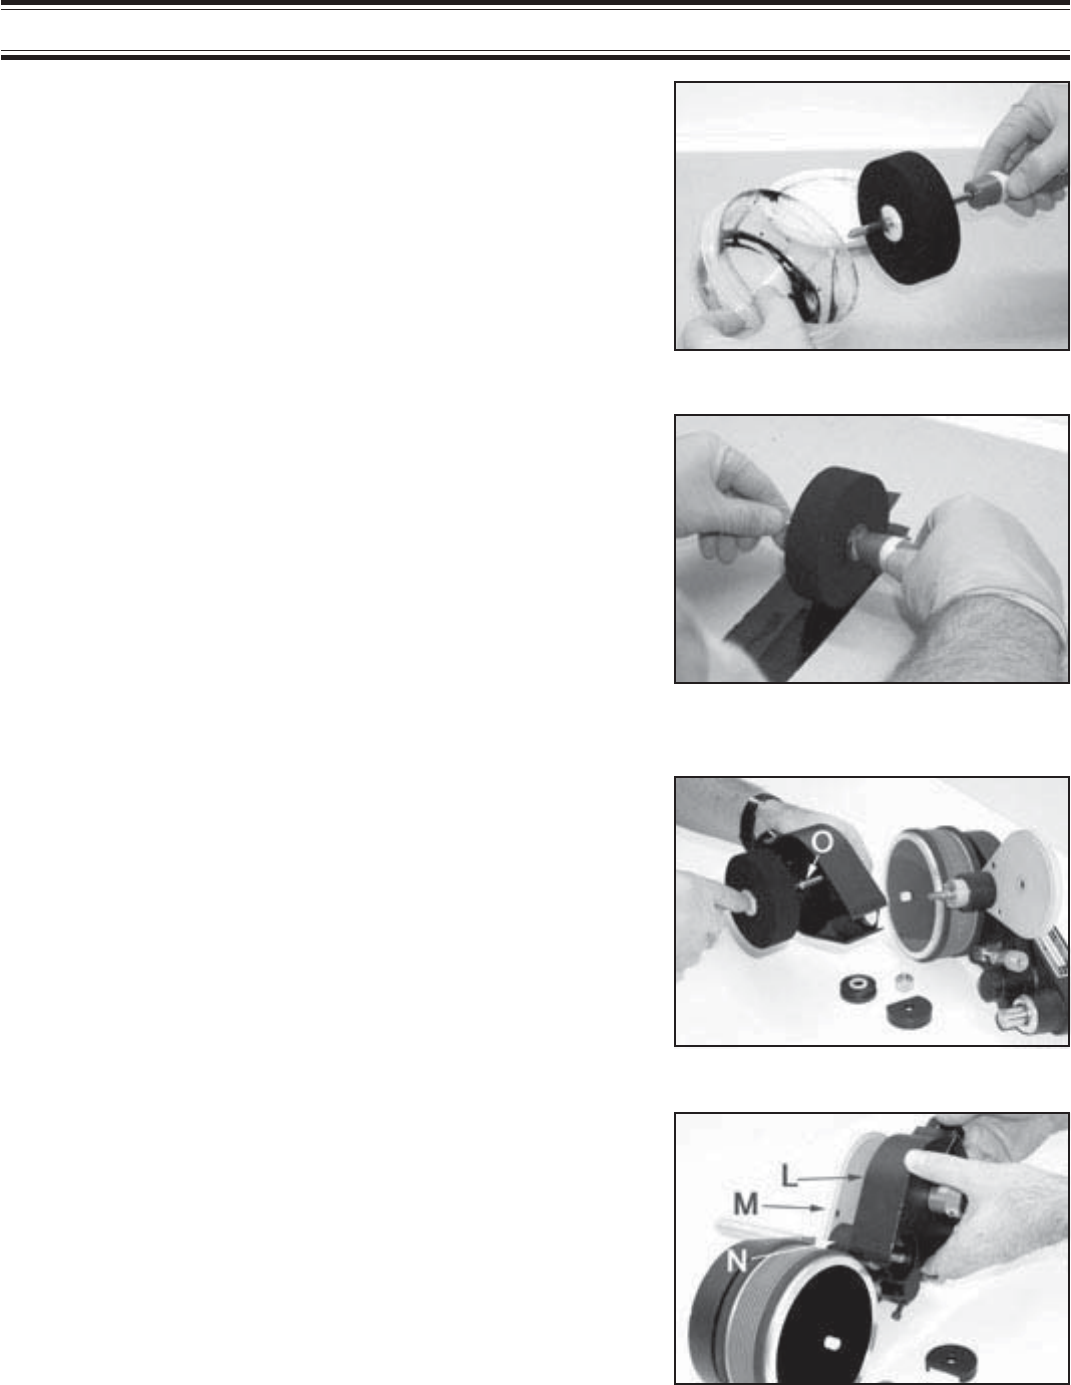
10 - Immediately replace the Inking System Cover “L” by
carefully guiding the cover over the Transfer Roll “N”.
Try not to let the cover contact the surface of the Trans-
fer Roll to prevent scratching. Make sure the Cover is
seated properly against Baseplate “M”.
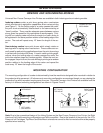
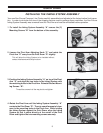
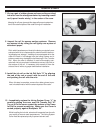
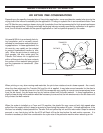
7 -Put on a pair of rubber gloves and remove the pre-inked
ink roller from the storage container by inserting a small
rod (a pencil works nicely) in the center of the core.
8 -Inspect the roll for excess surface wetness. Remove
any excess ink by rolling the roll lightly over a piece of
absorbent paper.
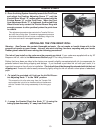
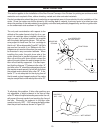
9 -Install the ink roll on the Ink Roll Axle “O” by aligning
the end of the rod or pencil with the end of the axle
and pushing the roll onto the axle.
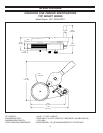
FIGURE 19
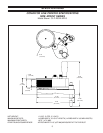
FIGURE 20
FIGURE 21
FIGURE 22
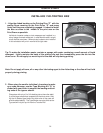
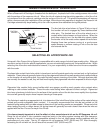
Keeping ink off your gloves at this stage will prevent contamina-
tion of the external parts of the coder during roll installation.
Rolls which have been pre-inked at the factory are typically over
saturated with ink to compensate for potential solvent loss dur-
ing shipping and storage. Installing an over saturated roll on the
coder will result in ink leakage from the Inking System and in
extreme cases may damage the ball bearings in the Transfer
Roll. When the roller is installed, it must be thoroughly satu-
rated with ink but you should not be able to see any liquid ink on
the surface of the roll. If necessary, blot excess ink from the
sides of the roll with a dry paper towel before installation.
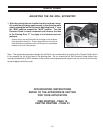
When this step is complete, remove the rubber gloves to pre-
vent ink contamination with the external parts of the coder.
While handling the ink rolls, solvents will evaporate from the rolls
very rapidly at normal room temperatures. The Inking System
Cover must be replaced quickly to prevent solvent loss.