44 Displaying and Adjusting the Image
Resizing Video Images
You can resize your images by changing the aspect (width to height)
ratio (depending on your input signal).
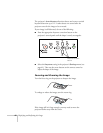
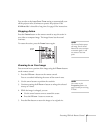
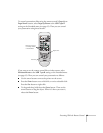
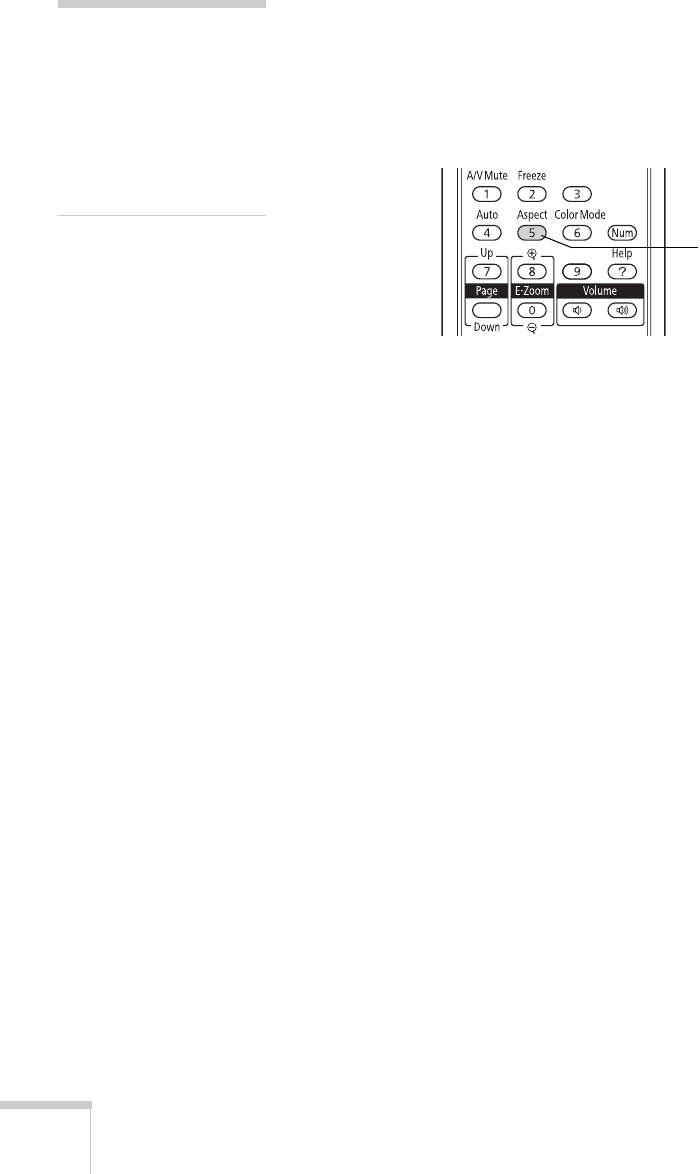
Press the
Aspect button on the remote control repeatedly to cycle
through the available options.
You can also select the
Aspect setting from the projector’s Signal
menu. See page 59 for instructions.
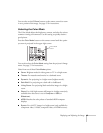
Select from one of these
Aspect options:
■ Auto (HDMI images only): Automatically sets the best aspect
ratio according to the input signal.
■ Normal (for images sent through the Computer (Component
Video)
port only): Displays images using the full projection area
and maintains the aspect ratio of the image. Choose this setting to
automatically resize the image and make the best use of the
display area.
■ 16:9: Converts the aspect ratio of the image to 16:9. 4:3 ratio
images are elongated horizontally to fit.
■ Zoom: Displays images using the full width of the projection area
and maintains the aspect ratio of the image. The image may be
cut off on the top and bottom depending on its aspect ratio.
■ Full: Displays images using the full width of the projection area,
but does not retain the aspect ratio. 4:3 ratio images are elongated
horizontally.
■ Through: Displays images as is (aspect ratio and resolution are
maintained). Black bands may appear or images may be cut off,
depending on the resolution.
note
You cannot change the
aspect ratio when displaying
from a computer using the
USB
TypeB port or from a
USB device or SD card
using the
Slideshow
source.
Aspect
button


