


Installation
30 Vidikron Vision 30 Series Owner’s Operating Manual
PRE
L
IMINAR
Y
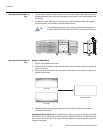
Installing the Anamorphic
Lens
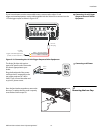
1. Use the Pitch/Y-Adjustment Screws (item #7) and Fender Washers (item #6) to attach the
Mounting Brackets (item #2) to the Anamorphic Lens (item #3). (Do not fully tighten the
screws yet.)
2. Use the two Yaw/Z-Adjustment Knobs (item #4) and Fiber Washers (item #5) to attach
the Anamorphic Lens assembly to the Base Plate (item #1).
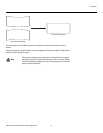
Adjusting the Anamorphic
Lens
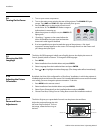
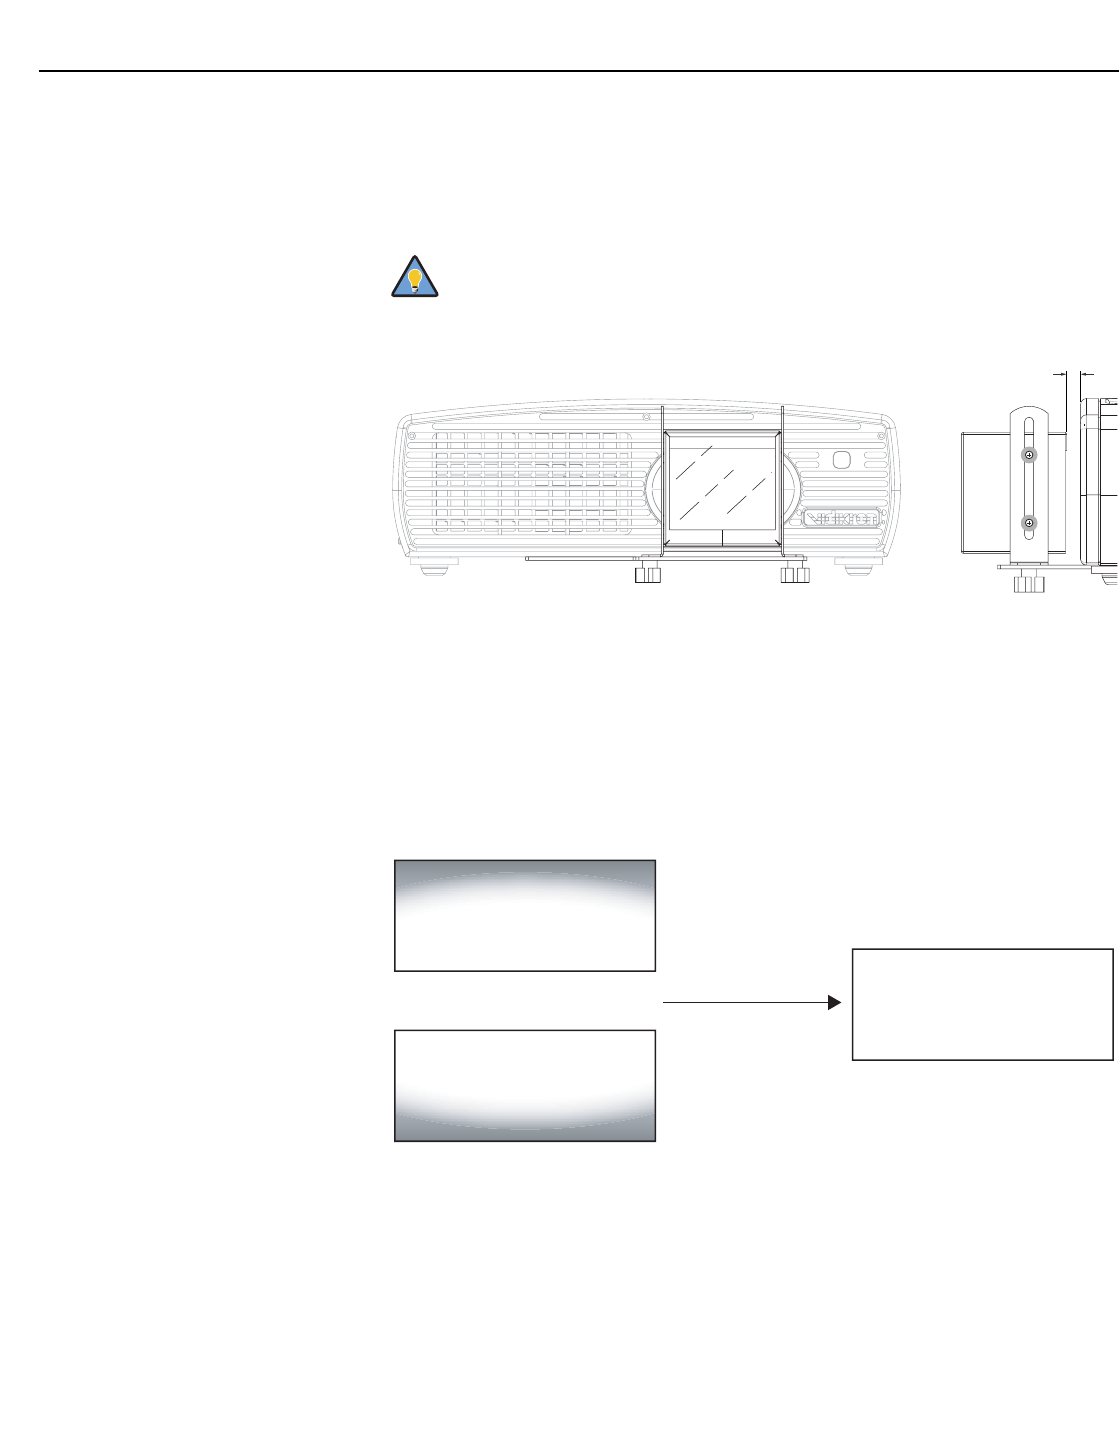
Height (Y) Adjustment:
1. Project a white field on the screen.
2. Ensure that the four Pitch/Y-Adjustment Screws are loose enough to allow movement of
the lens assembly.
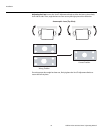
3. Slowly move the anamorphic lens into place so that there are no shadows on the top or
bottom of the screen:
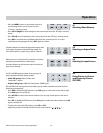
4. When the height is properly set, tighten the top two Pitch/Y-Adjustment Screws to
secure the lens in place.
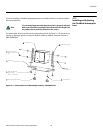
Adjusting the Pitch (Angle): Next, angle the lens to even out any top-to-bottom pincushion
distortion. To do this, loosen the bottom two Pitch/Y-Adjustment Screws on either side of the
lens to allow it to pivot freely. Then, adjust the anamorphic lens angle so that the projected
image is rectangular:
➤
To avoid clipping the corners of the image, position the anamorphic lens
as close as possible (ALWAYS within 0.25 inch or closer) to the primary lens.
Tip
0.25¨ max.
➤
Too High
Too Low
Correct position