


PRINTING 45
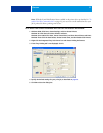
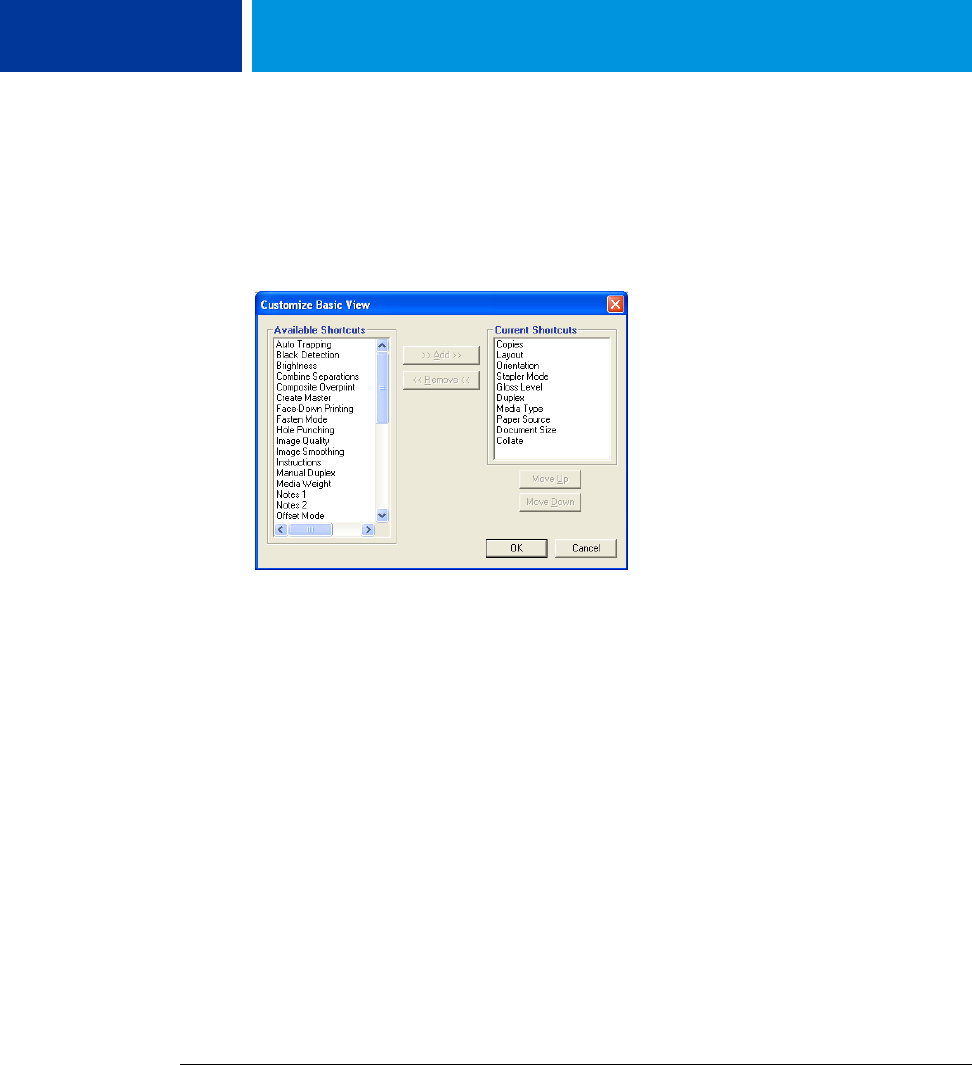
4 Click the Basic icon and then click Customize.
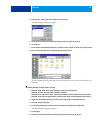
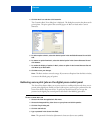
The Customize Basic View dialog box is displayed. The dialog box contains the shortcuts for
print options. The print options that currently appear in Basic are listed under Current
Shortcuts.
5 To add an option to Basic, select the desired option in the Available Shortcuts list and click
Add.
6 To remove an option from Basic, select the desired option in the Current Shortcuts list and
click Remove.
7 To reorder the display of options in Basic, select an option in the Current Shortcuts list and
click Move Up or Move Down.
8 Click OK to save your changes.
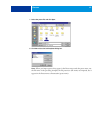
NOTE: The Basic window cannot be empty. If you remove all options from the Basic window,
it reverts to the default group of options.
Retrieving secure print jobs on the digital press control panel
The Secure Print feature allows you to print sensitive or confidential jobs only when you are
present at the digital press. Before you send a job to print, you first type a password into the
Secure Print field in the printer driver. To print your Secure Print job, you re-type the
password at the digital press control panel as described in the following procedures.
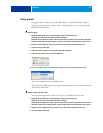
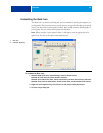
TO SEND A SECURE PRINT JOB
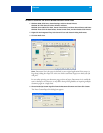
1 Choose Print from the application’s File menu.
2 Choose the Integrated Fiery Color Server as your printer and click Properties.
3 Click the Fiery Printing tab.
4 Click the Job Info tab.
5 Type a password in the Secure Print field.
NOTE: The password is limited to alphanumeric characters (do not use symbols).