Locked Print
19
3
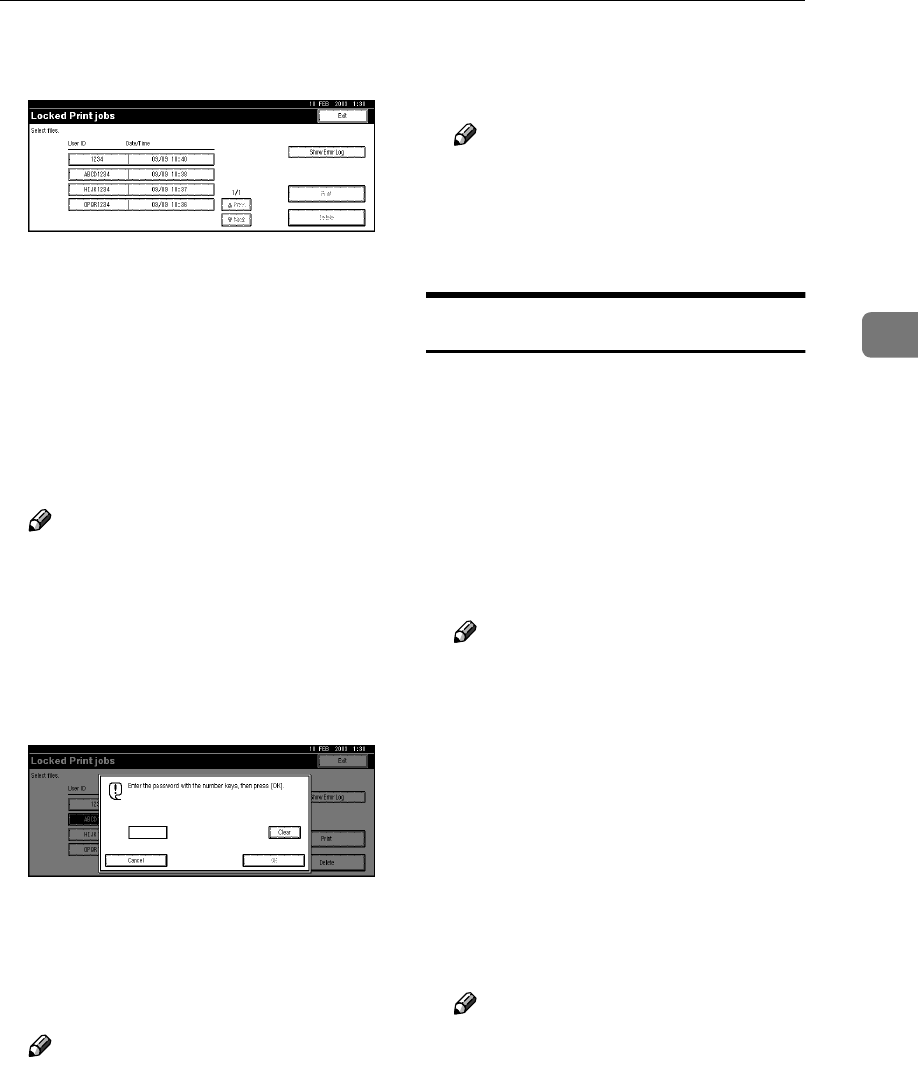
A list of stored locked print files
appears.
The following items also appear:
• User ID: The user ID set up by
the printer driver.
• Date/Time: The date and time
when the job was sent from the
computer.
E
EE
E
Select the file you want to print
by pressing it.
Note
❒ Press [U
UU
UPrev.] or [T
TT
TNext.] to
scroll through the list.
❒ Only one file can be selected at a
time.
F
FF
F
Press [Print].
The password screen appears.
G
GG
G
Enter the password using the
number keys, and then press [OK].
The print confirmation screen ap-
pears.
Note
❒ A confirmation screen will ap-
pear if the password is not en-
tered correctly. Press [OK] to
enter the password again.
H
HH
H
Press [Yes].
The locked file is printed.
Note
❒ Press [No] to cancel printing.
❒ If printing is stopped by press-
ing [Job Reset] after it has start-
ed, the file will be deleted.
Deleting Locked Print Files
A
AA
A
Press the {
{{
{Printer}
}}
} key to display
the Printer screen.
B
BB
B
Press [View Locked Print jobs].
A list of stored locked print files
stored appears.
C
CC
C
Select the file you want to delete
by pressing it.
Note
❒ Press [U
UU
UPrev.] or [T
TT
TNext.] to
scroll through the list.
❒ Only one file can be selected at a
time.
D
DD
D
Press [Delete].
The password screen is displayed.
E
EE
E
Enter the password using the
number keys, and then press [OK].
The delete confirmation screen ap-
pears.
Note
❒ A confirmation screen will ap-
pear if the password is not en-
tered correctly. Press [OK] to
enter the password again.


