


XEROX DOCUPRINT 96/4635/180 IPS GUIDE TO PERFORMING ROUTINE MAINTENANCE 2-1
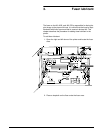
2. 2Output trays and bins
Your print jobs are sent to output trays or bins which you must
unload. You can unload each of the output trays or bins while the
system is printing. How you do so, however, depends on the type of
tray. This chapter discusses how to check and unload the output
trays and bins.
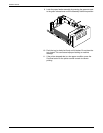
If the printer has stopped due to a full output tray and does not
resume automatically when the bin is emptied, press the Continue
button on the printer control console.
Note: The number of output trays on your system depends on the
number of feeder/stacker modules installed.
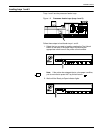
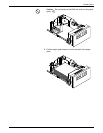
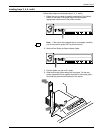
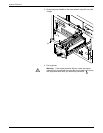
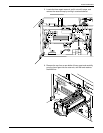
Checking and unloading sample trays
The sample tray holds up to 100 sheets of paper from 7 by 10 inches
/ 178 by 254 mm to 14.33 by 17 inches / 364 by 432 mm. No message
appears when the sample tray is full. Since a paper jam can occur if
the tray is allowed to overfill, empty the sample tray regularly, if it is
in use.
To empty the sample tray, simply remove the printed pages.
Note: Since the sample tray can receive waste sheets purged after
a paper jam, always clear the sample tray after clearing a jam. This
prevents waste sheets from being confused with good sheets.
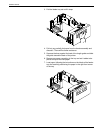
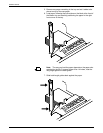
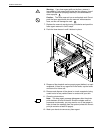
Checking and unloading purge trays
Aborted sheets (that is, sheets damaged during printing or cleared
before or after a paper jam) are sent to the purge tray. Sheets may
be purged before, during, or after print jobs. Sheets are also sent to
the purge tray following a fuser area jam. The sheets purged at that
time clean the fuser area, ensuring good print quality for your
subsequent jobs.
The purge tray holds up to 100 sheets of paper 7 by 10 inches / 178
by 254 mm to 14.33 by 17 inches / 364 by 432 mm. No message
appears when the purge tray is full. Since a paper jam can occur if
the tray is allowed to overfill, empty the purge tray at least once a day.
To empty the purge tray, simply remove the printed pages.