


6
6-9 Understanding calibration
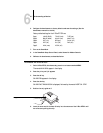
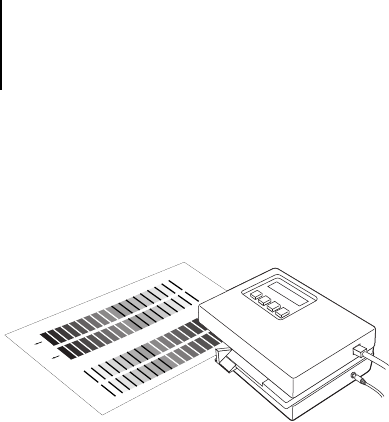
2. With the arrow below the cyan column pointing towards the densitometer, align the
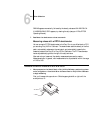
right side of the patches page with the strip guide.
3. Insert the patches page into the densitometer until it rests against the drive rollers
and the motor is activated.
There may be a slight hesitation before the rollers start.
4. Hold the page against the guide to prevent any skewing while the strip is being
measured.
After the strip is measured, Pass #1 of 4 OK! appears in the densitometer display.
Transmitting Data appears briefly after each pass.
5. When prompted, move the strip guide to 30 and measure the magenta column.
After the magenta strip is measured, Pass #2 of 4 OK! appears in the densitometer
display.
6. Turn the patches page around so that the arrow above the yellow column is pointing
toward the densitometer.
Leave the strip guide set to 30.
7. When prompted, align the right side of the patches page with the strip guide and
measure the yellow column.
After the yellow strip is measured, Pass #3 of 4 OK! appears in the densitometer
display.
8. When prompted, move the page guide to 15 and measure the black column.
After the black strip is measured, Pass #4 of 4 OK! appears in the densitometer display.
NOTE: If there is a problem measuring a color, follow the instructions on the
densitometer to remeasure it.