


43
Menu
9
English
Menu operations
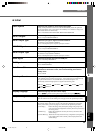
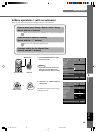
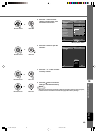
1. Select [Color Adjustment] in the [Image] group from the main menu.
2. Press the + button to enter submenus.
3. Select [WRGB] from the [Standard], [WRGB], [WRGBYCM] using the h or g button, and press
the + button.
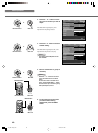
4. Press the h, g, +, or - button to select W (Color temperature and h UV) from the color scale,
and press the
button.
The color temperature adjustment area on the right side of the menu screen will be highlighted in white.
5. Press the h, g, +, or - button to adjust the color temerature.
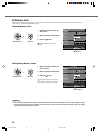
6. Press the
button to enter the color temperature fixed mode.
The “ ” icon appears on the W (Color temperature and h UV ) box.
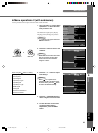
• In this mode, you cannot use the h, g, +, or - button to change the color temperature. If you try to change,
“The color temperature is fixed.” appears at the bottom of the menu screen.
7. Press the ESCAPE button to return to the color scale. Follow steps 4 to 5 in the “Example:
Adjusting R (Red)” on page 42 to adjust the color coordinates.
• When using the color temperature fixed mode, the gain adjustment area will not be displayed.
•To cancel the color temperature fixed mode, select the W (Color temperature and h UV) box and press the
button until the “ ” icon disappeares.
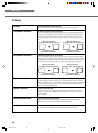
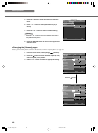
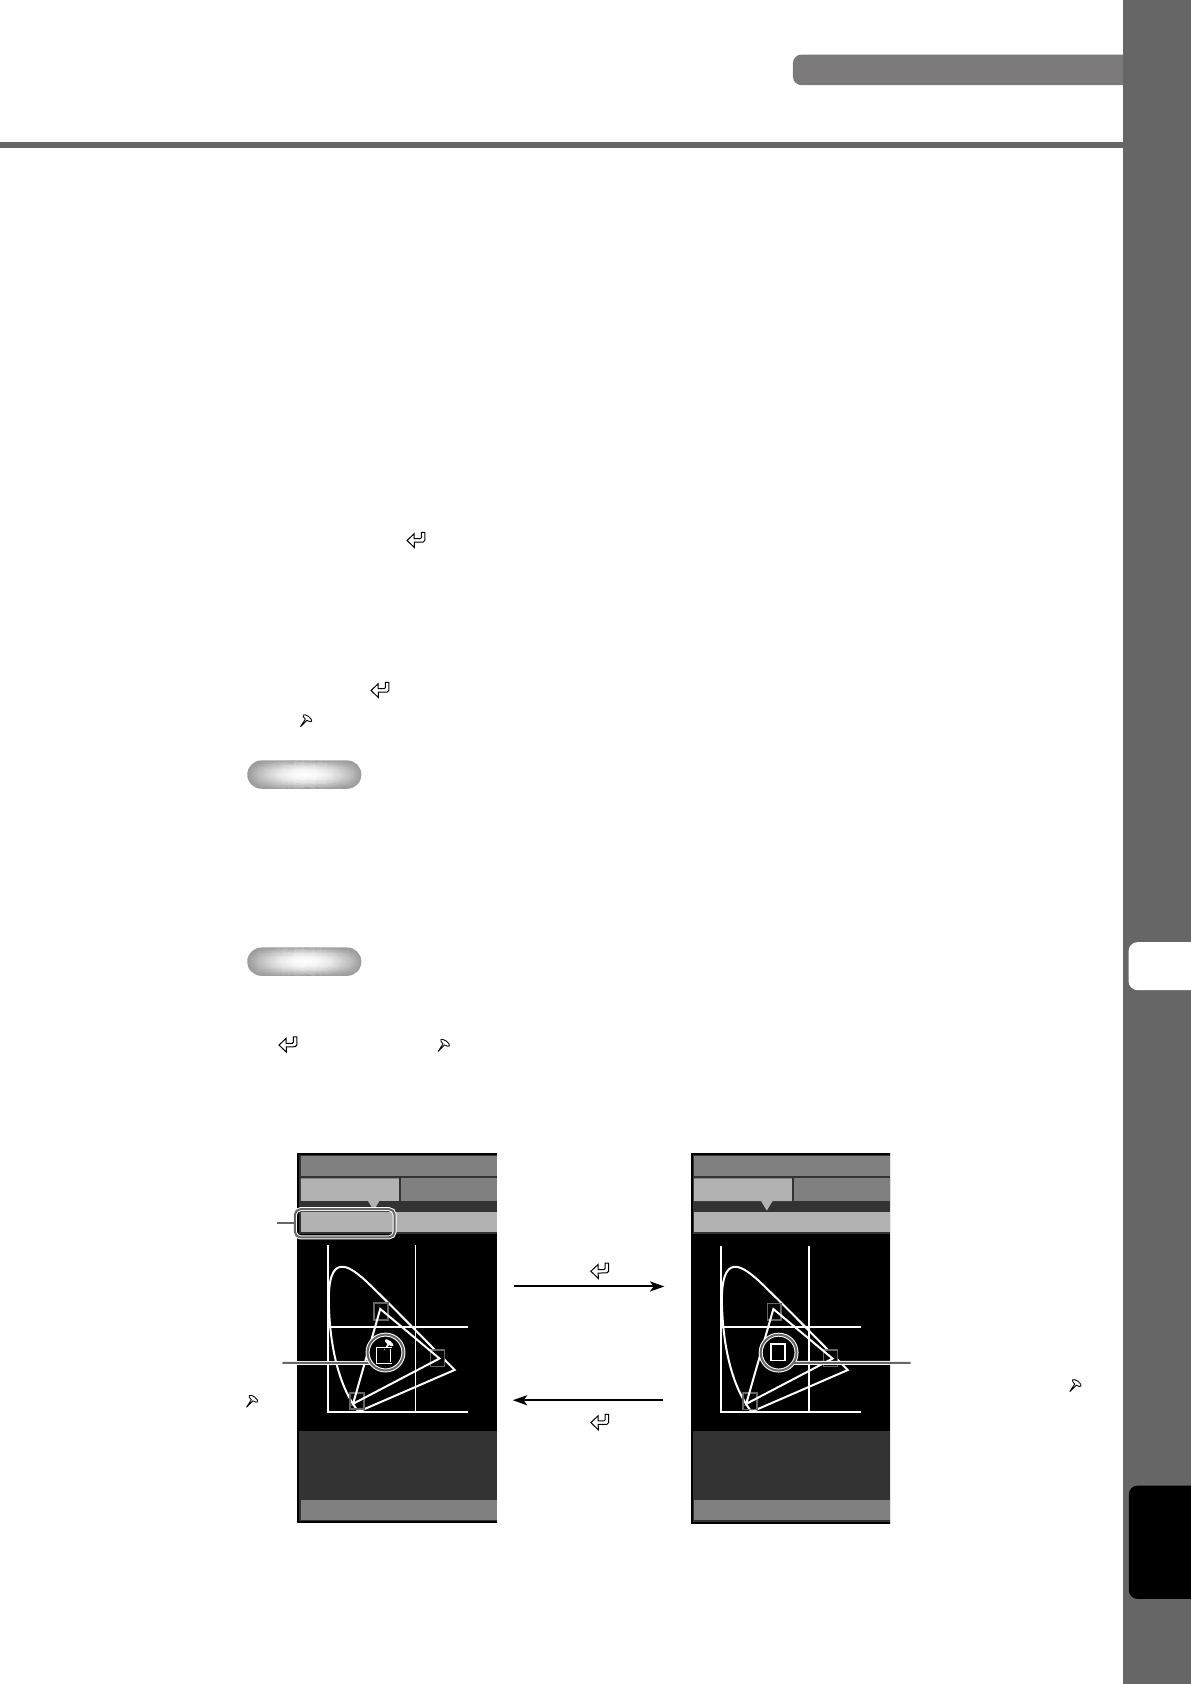
The name of the
selected item appears
here.
When this unit is in
the color temperature
fixed mode, the “ ”
icon appears on this
W (Color temperature
and h UV) box.
Press the button.
When this unit is in the
normal mode, the “ ”
icon dissapears.
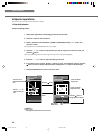
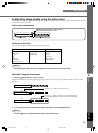
Use this mode when you want to adjust the RGB coordinate while keeping the color temperature setting unchanged.
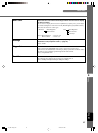
Example: Using the color temperature fixed mode
Image Signal
Move Men
ESCAPE : Return
y
0.5
0.0
0.0 0.5 x
Color Temp.
Image Signal
Move Men
ESCAPE : Return
y
0.5
0.0
0.0 0.5 x
Color Temp.
Memo
Memo
Press the button.
Example:
Color temperature fixed mode
Example:
Normal mode
14_DPX-1300_E.p65 9/21/05, 3:32 PM43