


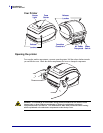

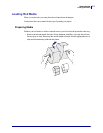

Getting Started
Attaching Power
12
980612-001 Rev. A GX420t / GX430t User Guide 12/14/07
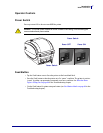
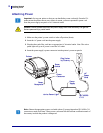
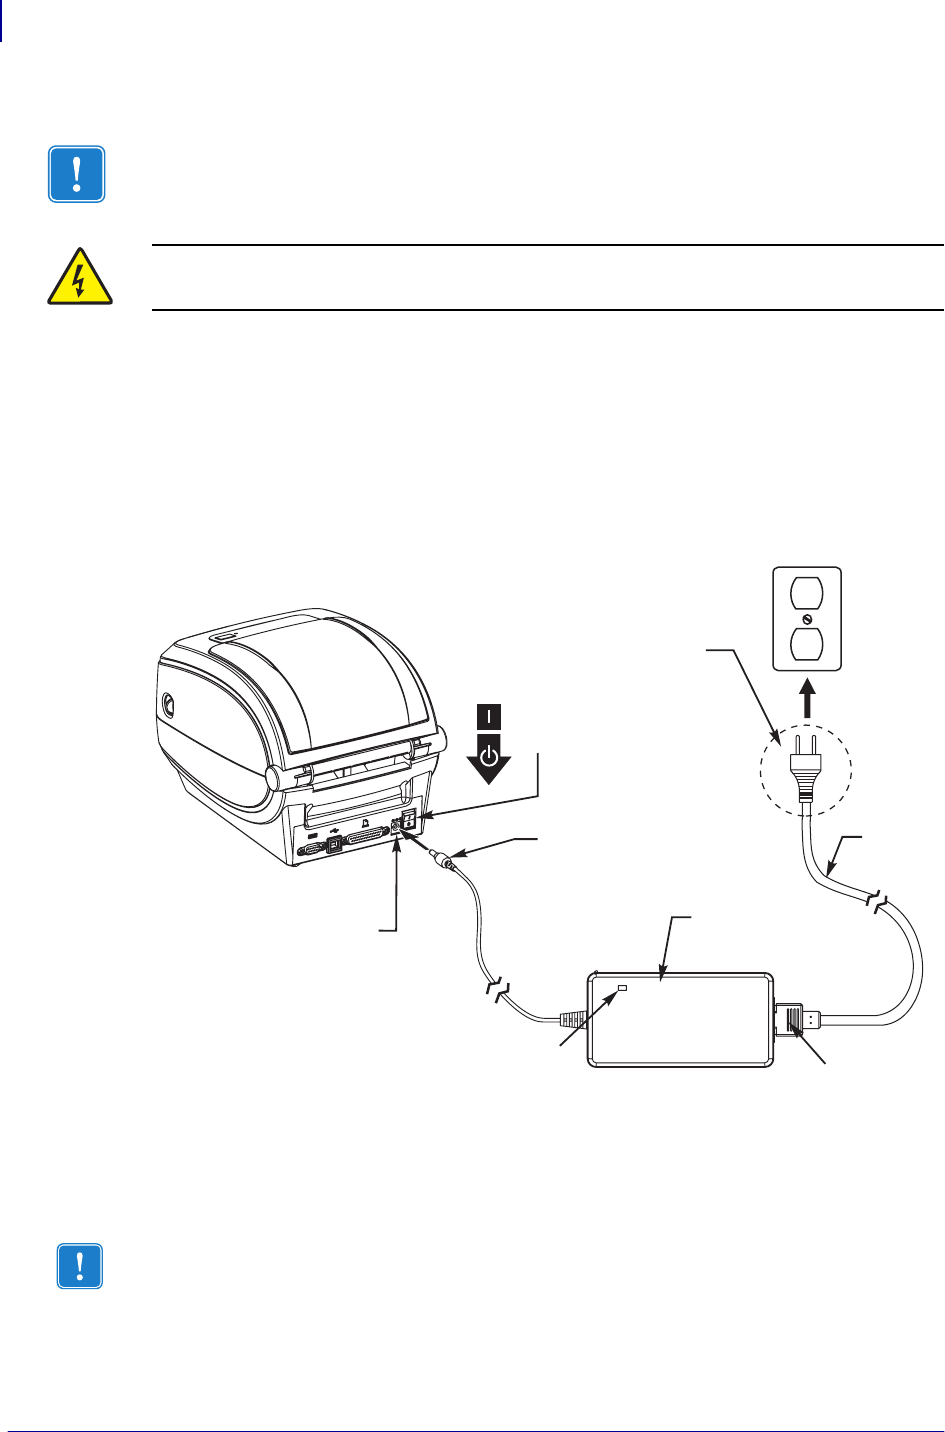
Attaching Power
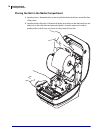
1. Make sure the printer’s power switch is in the off position (down).
2. Insert the AC power cord into the power supply.
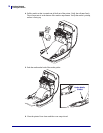
3. Plug the other end of the cord into an appropriate AC electrical outlet. Note: The active
power light will go on if power is on at the AC outlet.
4. Insert the power supply’s power connector into the printer’s power receptacle.
Important • Set up your printer so that you can handle the power cord easily if needed. To
make certain the printer cannot carry electrical current, you must separate the power cord
from the power supply receptacle or AC electrical outlet.
Caution • Never operate the printer and power supply in an area where they can get wet.
Serious personal injury could result!
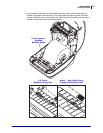
Power
Connector
Power
Switch
Plug Varies
by Country
Active Power Light
Power
Receptacle
AC
Power
Cord
Printer
Power
Supply
IEC 60320
C-13
Note • Ensure the appropriate power cord with a three (3) prong plug and an IEC 60320-C13
connector are used at all times. These power cords must bear the relevant certification mark of
the country in which the product is being used.