


General information
Getting started
Operation
Cleaning
Specifications
Appendix A
Appendix B
Troubleshooting
Printing a card
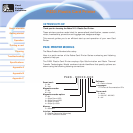
P420i Plastic Card Printer
Appendix C
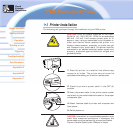
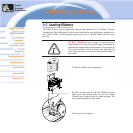
1•3 Printer Installation
The following will guide you through the installation of your P420i printer.
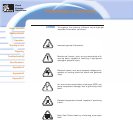
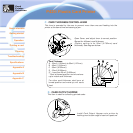
CAUTION: Limit AC power supplied to the P420i
Printer to 110 - 230 V AC, 60 - 50 Hz for an associated
680 mA - 310 mA. Limit excess current draw to 16
amps or less, using an associated circuit breaker or
other such device. Never operate the printer in a
location where operator, computer, or printer can get
wet. Personal injury could result. The printer must be
connected to an earthed electrical power supply and
properly protected against electrical surges and
grounding faults.
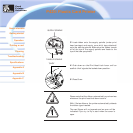
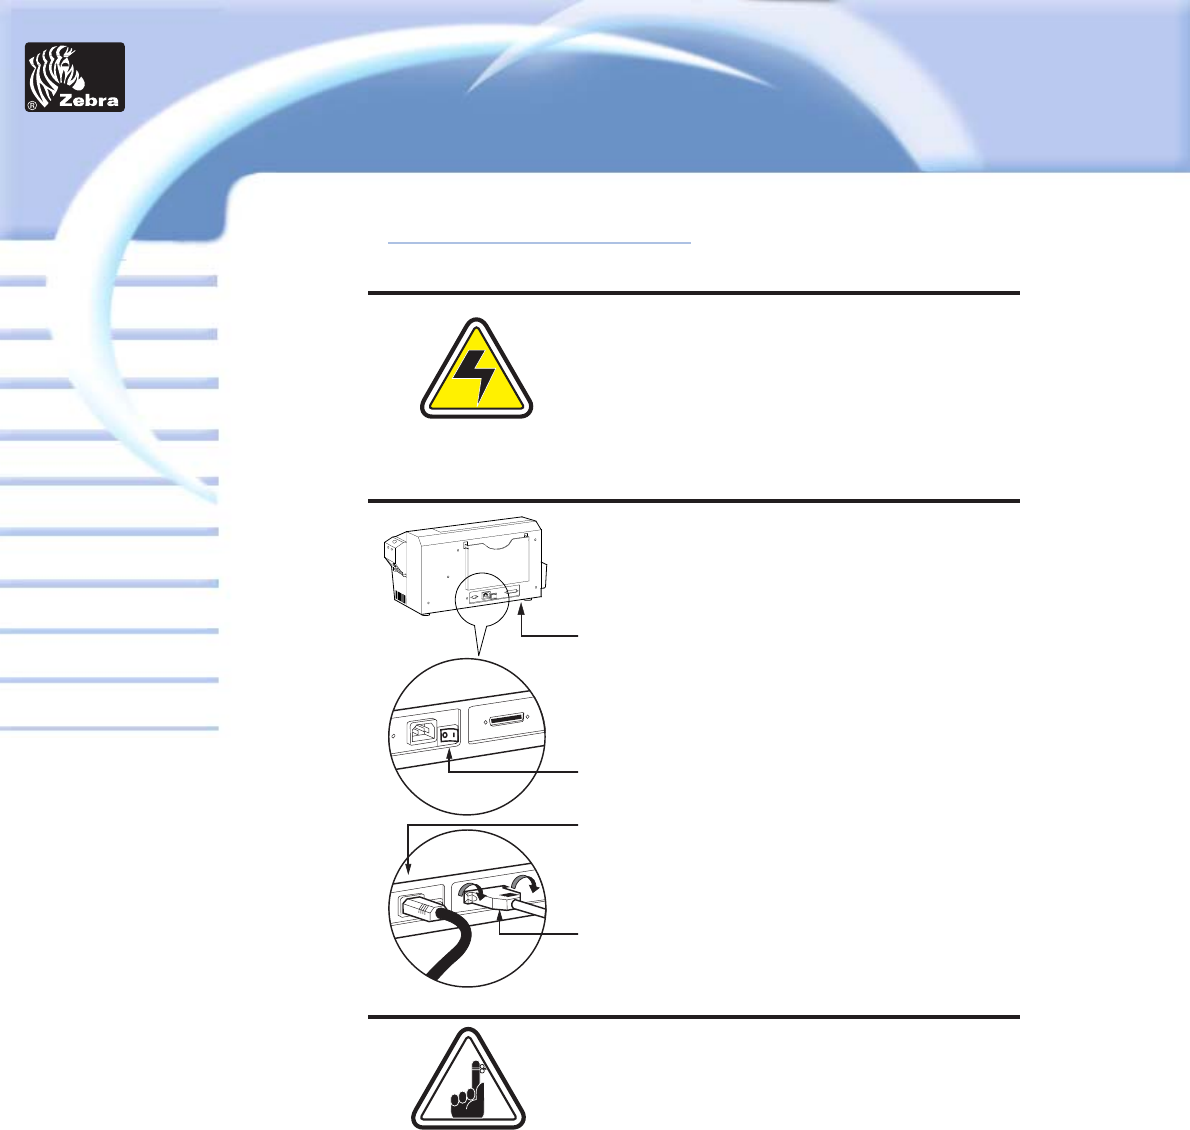
1.·
Place the printer in a location that allows easy
access to all sides. The printer should never be
operated while resting on its side or upside down.
2.·Place the printer's power swith in the OFF (0)
position.
3.·Insert the power cable to the printer power socket
and attach to grounded electrical socket of the proper
voltage and type.
4.·Attach interface cable to printer and computer and
then secure.
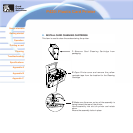
5.·Switch power on.
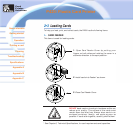
CAUTION: Intermittent or unpredictable operation may
occur from unsecured connectors. If damaged, the
power cable must be replaced by an exact equivalent.
Use only Parallel Cable under 3 Meters in length.
Card
Printer
Solutions