12 Quick Start and Reference Guide
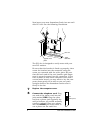
Click on the COMMUNICATE! button to begin the in-
stallation.
On the COMMUNICATE! LITE Main Menu you will be
offered a choice of languages. Choose the language
you want to install.
After a few seconds the COMMUNICATE! Installation
screen will appear.
2
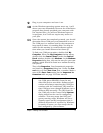
Click on the Install button.
3
The Install Configuration dialog box will be dis-
played. Enter your company name (if applicable),
your name, telephone, and fax number. This infor-
mation will appear on the header of each of your out-
going faxes.
4
If you want to start COMMUNICATE! LITE automati-
cally whenever you start Windows, check the Auto-
load checkbox. Choose this option if you want to have
communications capabilities (for instance, for in-
coming faxes) available all the time when you are in
Windows.
5
Click OK when you are ready to continue.
6
The default path for the source drive should be dis-
played; if it is not, select the correct source drive and
click OK. (As part of the installation, your Win.ini file
will be modified. The original version of the file will be
backed up and named Win.01.)
7
When COMMUNICATE! LITE has been successfully in-
stalled, you will be asked to restart Windows.
Click on Yes.
8
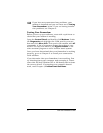
After Windows restarts:
If COMMUNICATE! LITE loads automatically, you can
start it by clicking its icon in the taskbar.
If COMMUNICATE! LITE does not load automatically,
start it by clicking on the COMMUNICATE! icon under
Start ä Programs.
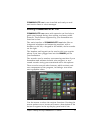
The program’s main interface, which looks like a tele-
phone console, will be displayed.


