addItIOnaL Setup
This section covers general preferences and
adjustments you can make to improve the
performance of Scratch Live. From the main
screen, tick setup to get to this area.
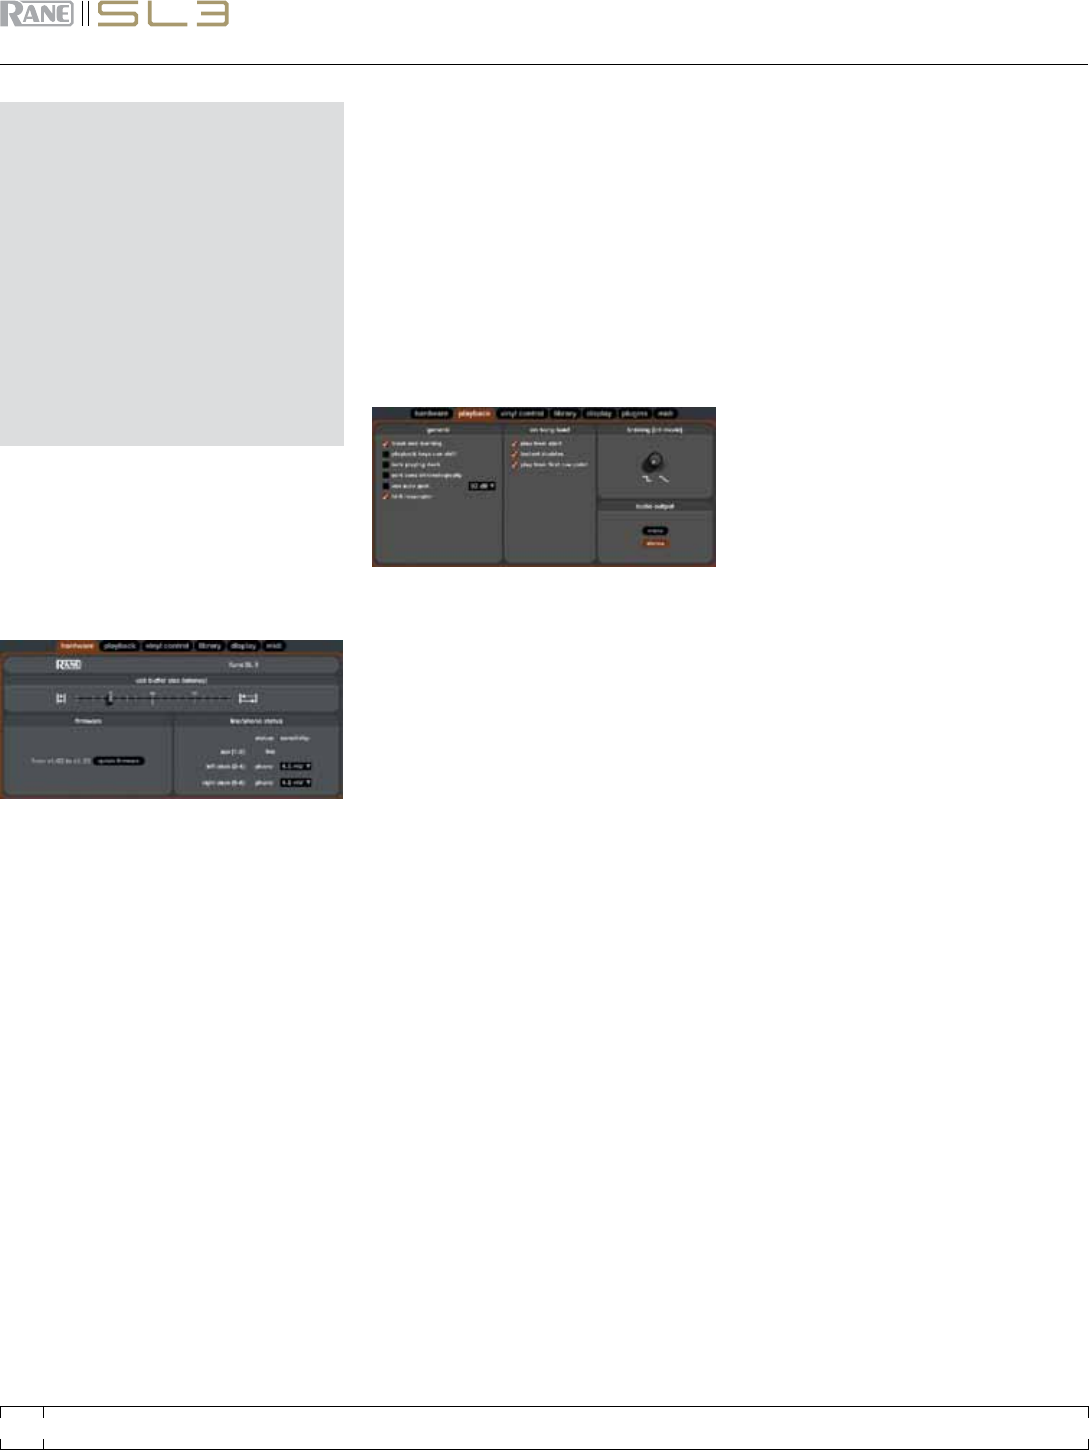
haRdWaRe
Scratch Live processes audio in small chunks.
When smaller chunks are used, the movement
of the record is translated into audio more often
which results in a lower overall system latency.
However, this requires more processing and
therefore a higher CPU load, so lower buffer size
settings require a more powerful computer to
produce uninterrupted audio. If you want tighter
control, you should try decreasing this setting,
on the other hand, if you experience audio
dropouts, you need to increase this setting (or
use a more powerful computer).
updatIng FIRmWaRe
If a rmware update is available after installing
a new Scratch Live software release, an update
rmware button appears in the setup screen.
The rmware upgrade takes approximately 10
seconds, during which time the SL 3 will not be
usable.
The input level currently set on the SL 3 is
displayed for each input. To change the input
level setting, use the dip switches on the SL 3.
Choose up for Phono and down for Line.
When phono is selected, the phono sensitivity
setting is also displayed. Set the phono sensitivity
to the same level of your cartridge (see your
cartridge documentation for the correct value).
tRack end WaRnIng
Enable track end warning to ash the virtual
deck as you approach the end of the track. The
label will start ashing 20 seconds from the end
of the record. The track end warning does not
apply to any tracks under 1 minute long.
This is checked by default. Unchecking this
option will enable all of these keys without
pressing shift or having caps lock on. This
applies to all cue points (1...0) and cue controls
(QWERTY etc).
LOck pLayIng deck
Every DJs nightmare used to be lifting the needle
of the wrong turntable in the middle of a set.
This setting helps to avoid the digital equivalent;
loading a new track to the wrong deck. When
this option is checked, you can only load a track
if the target deck is stopped.
SORt cueS chROnOLOgIcaLLy
The ve cue points can be placed in any order,
and can be dragged up and down if you wish
to reorder them. If you prefer to lock them to
chronological order, turn this option on.
uSe autO gaIn
Auto gain enables you to set a uniform volume
level for the tracks in your library. When a track is
in auto gain mode, the track gain knob appears
depressed.
To enable auto gain, check the “use auto
gain” box under the playback tab in the setup
menu. Provided you have built your overviews,
your tracks will now be loaded with the auto gain
applied.
Next to the “use auto gain” check box, a drop
down menu sets the target gain volume level.
Use this to adjust the level of your auto gain.
To nd the optimum setting, load a track with
an average volume level onto one of the virtual
decks. Now play the track, and note the volume
and LED lights inside the software.
The idea is to have the track volume sit just
under the clipping point (indicated by the LED
meter red lining). If the track is too quiet, unload
the track, then go to the setup screen and boost
that auto gain dB value more.
Once you’ve made that adjustment, load that
same track onto the virtual deck again. Notice
the volume knob has turned up and the volume
is louder.
Keep making those adjustments on that
particular track until its just below the clipping
point. Once that is set you don’t need to adjust
the target gain level ever again.
Because the track you used had an average
volume level, most of the other tracks in your
library will be around the same volume. You
may still need to turn up the separate track
volume when you load a quieter track onto the
deck and turn down the louder tracks but once
you’ve made those adjustments Scratch Live will
remember them the next time you load the le.
RANE SL 3 FOR SERATO SCRATCH LIVE • OPERATOR’S MANUAL 1.9
26
